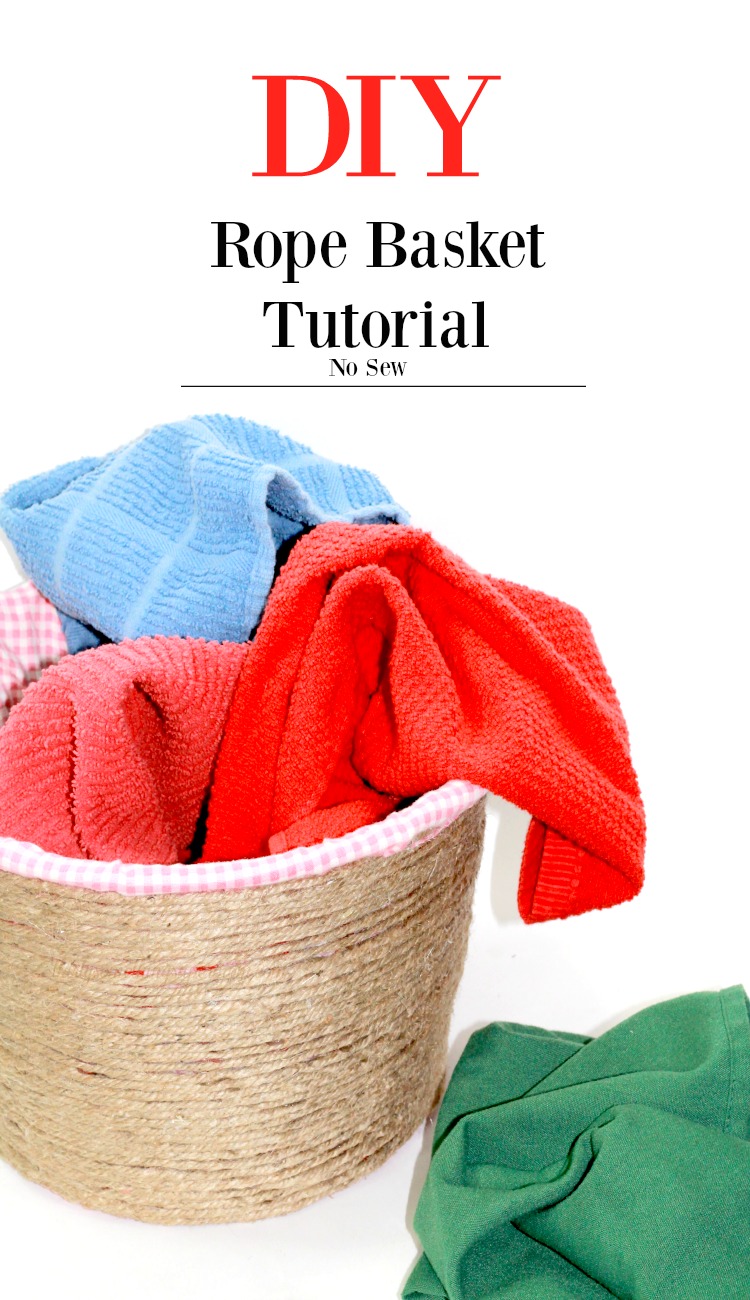
Discover the art of crafting with this easy and enjoyable tutorial on creating a no-sew rope basket using a hot glue gun and simple materials like cotton rope and a pillowcase. This stylish and functional project is perfect for enhancing various areas of your home, providing both beauty and practicality.
Let’s delve into the crafting world and transform the end of your rope into a stunning and useful creation.
This post that shares how to make a rope basket contains affiliate links. As an Amazon associate, I receive a small commission at no additional cost to you. See my full disclosure policy for more details.
How to Make a Rope Basket
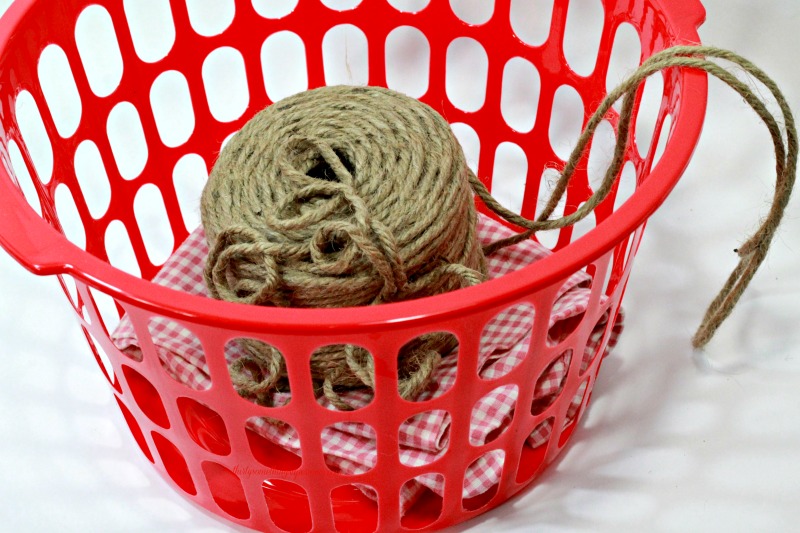
The best way to get started with this tutorial is to acquire the materials you will need for this project. You can find most of the items you need at fabric stores, hardware store, online, or even at the dollar store.
When you find the supplies to make a jute rope basket at the dollar store, picking up extra supplies to be safe won’t cost too much money.
Plus, you may decide to make some DIY rope bowls after you are done with this project.
No need to look up a rope bowl tutorial, just use this same method for rope placement that you learned here to create fabric rope bowls or for adding rope to the base of the bowl.
Materials
Pillowcase– You could also use fabric strips for the rope basket bag or choose to not use a fabric insert.
The main thing to keep in mind here is that without the fabric piece inside you will not be able to see the inside of the basket.
The sides of the rope basket will be blocked but the rim will be showing.
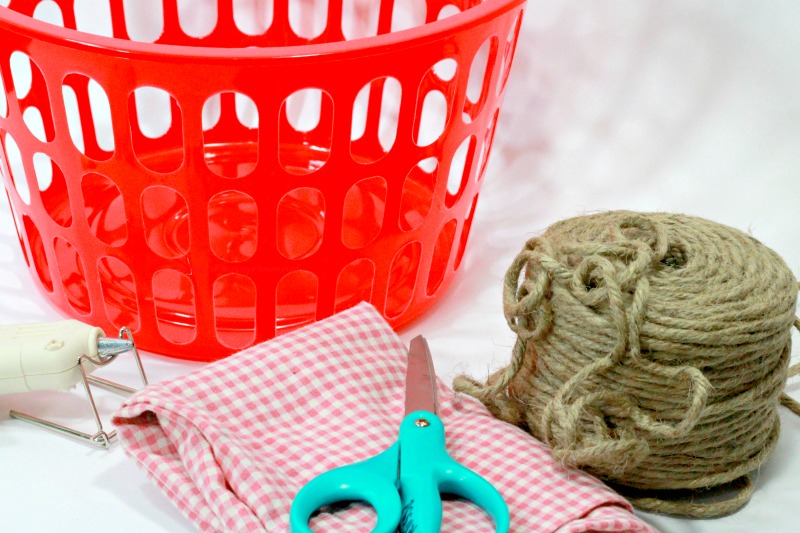
Hot Glue Gun & Glue Sticks– The amount will depend on the size of the basket and which type of rope you use.
Scissors– To cut the fabric and the rope for your basket.
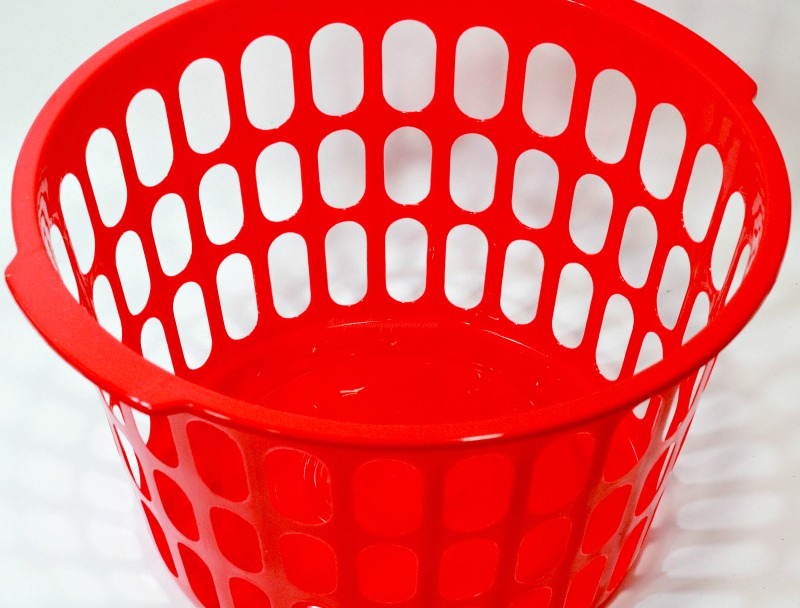
Dollar Store Basket– Whichever size or shape you choose is completely up to you. I had so much fun creating a circle basket for this post that I also created an oval basket just last week. So feel free to stock up on supplies for future DIYs.
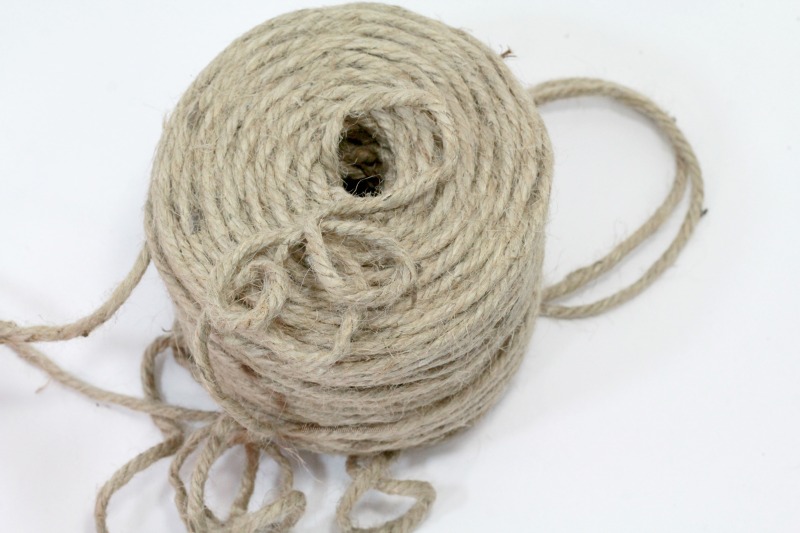
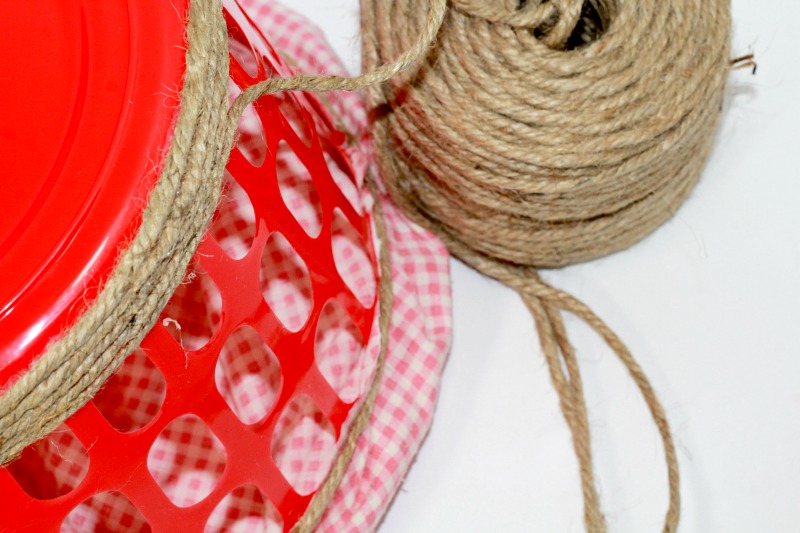
Rope– Any kind of rope such as macramé rope or Jute will work. The amount of rope you will need for this project will depend on the size of the basket.
I lean on the side of buying too much rope to make sure that I have at least enough rope for one project.
Instructions
Step 1
Plug in your hot glue gun and allow it to warm up.
Step 2
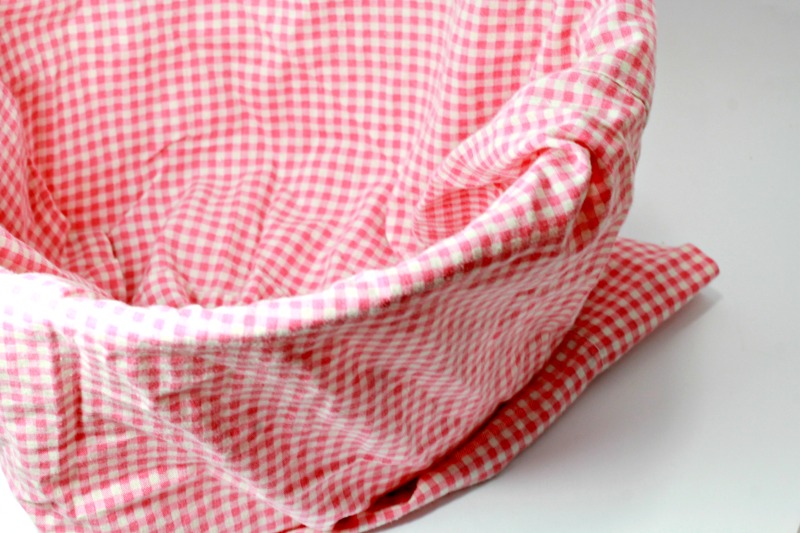
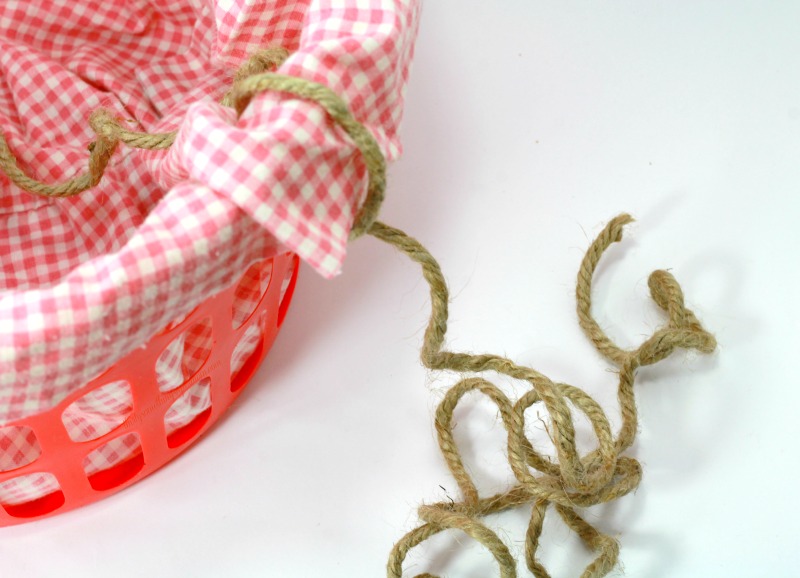
Whether you’re upcycling or opting for a budget-friendly Dollar Store pillowcase, line the basket with the inside facing inward and the colorful side out.
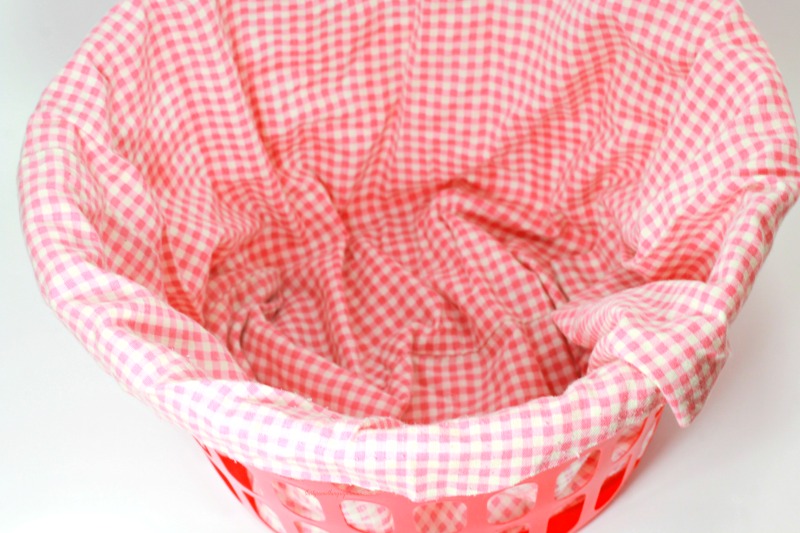
Step 3
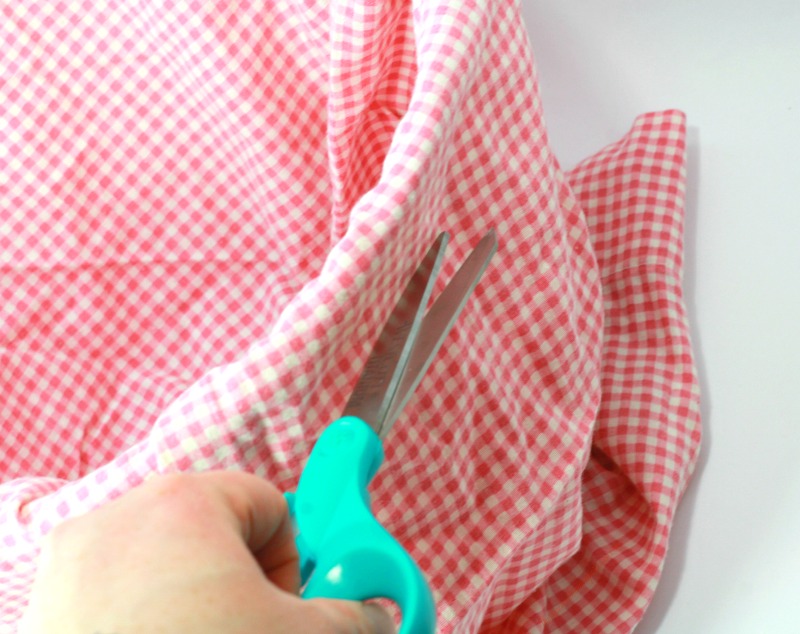
Pull the pillowcase edges over the sides of the basket, pressing down on the insides for good coverage without excess material.
Trim off any surplus fabric.
Step 4
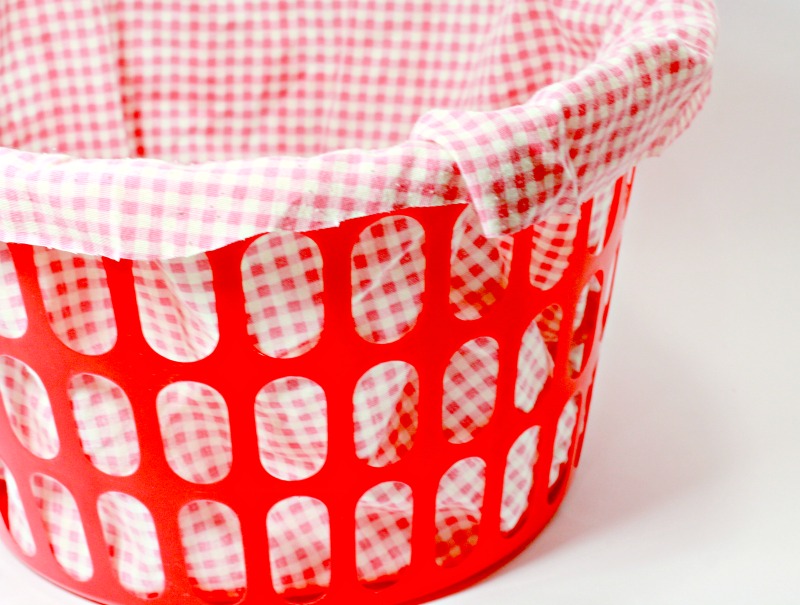
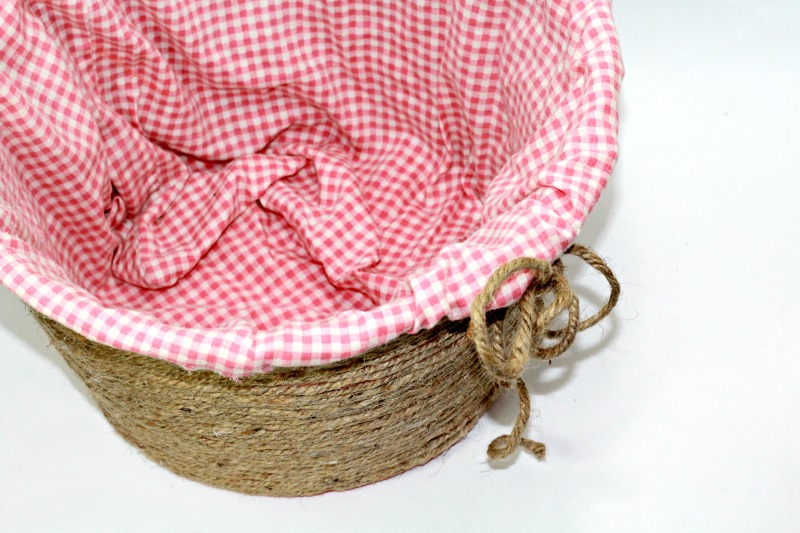
Cut a piece of rope to tie around the basket’s rim, keeping the pillowcase fabric in place for easy removal during washing.
Step 5
Start wrapping the base of the basket in rope, adding a glue line to ensure secure adhesion. Hold the rope in place, being cautious not to accidentally glue the fabric when reaching the rim.
Step 6
As you ascend the sides of the basket, maintain a consistent tension in the rope, guiding it with deliberate movements.
Take a moment to assess the alignment, making slight adjustments to guarantee a symmetrical and visually pleasing result.
Optional Supplies & Upgrades
Use a different type of rope, such as a macrame cord, cotton cord, or a sash cord, for an easy way to customize this basket.
This DIY rope basket is so easy to customize that you could use new rope or make use of every last inch of loose rope you have lying around.
Even a clothesline rope from a cotton clothesline would work to create this easy craft.
Enhance your basket with creative touches such as tying a pretty bow on the side or gluing ends evenly.
These rope baskets also make a great gift basket for holiday gifts.
Experiment with beads, and a leather punch for decorative holes, or if you are up for hand sewing, use strong thread to customize your fabric basket with the name of your recipient.
Sewing projects have never been my thing but if your sewing skills are strong you can customize the scrap fabric with a zig zag stitch, a straight stitch, or even sew on a little handle at the end of the rope.
Use embroidery thread to make larger baskets that you can use as storage containers or sew rope baskets to use as an Easter basket.
When making your own rope baskets to hold Easter Eggs, you can use pastel fabric scraps to craft a bunny or egg at the bottom of your basket.

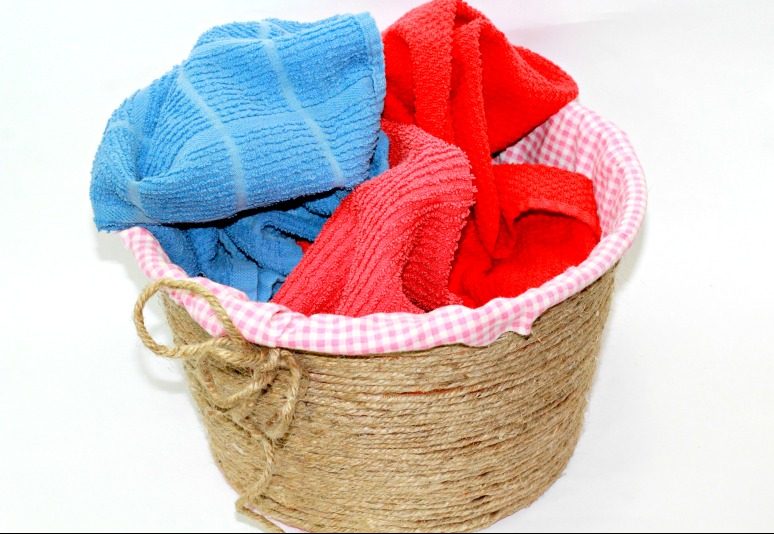
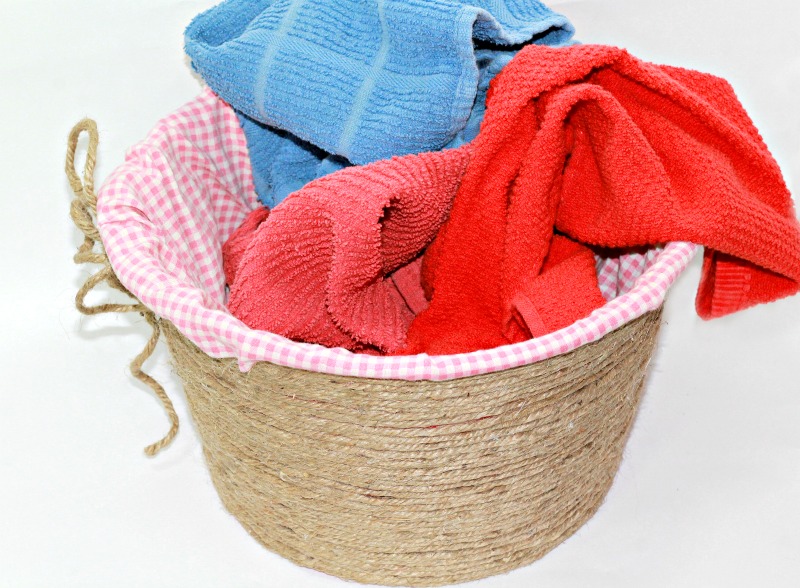
This project makes a great under-the-sink laundry basket.
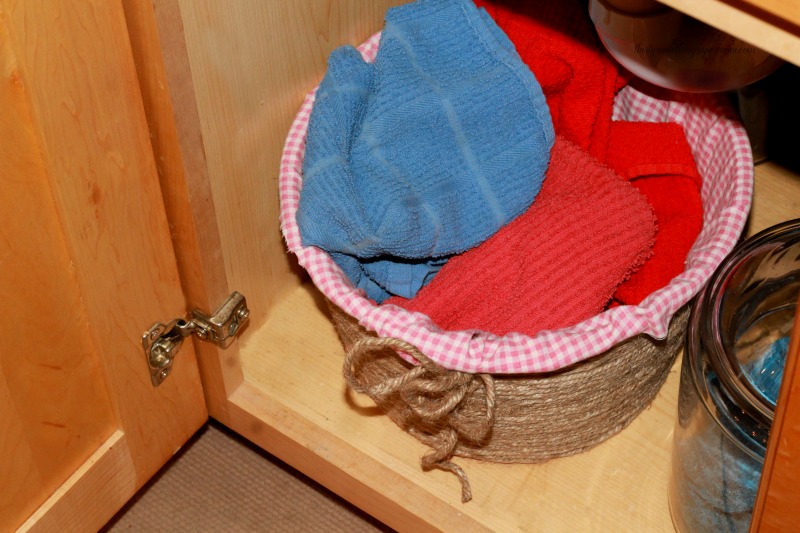
Whether you’re crafting your own baskets for housewarming gifts or adding a pretty basket to your living room, this DIY project allows you to create beautiful and functional items with just a little bit of effort.
More Easy DIY Projects You’ll Love
If you are a big fan of no-sew projects and are not even sure what the foot of your sewing machine is for, you will love these No Sew Farmhouse Curtains.
If you want to try an incredibly easy hand sewing project you may enjoy learning how to upcycle a skirt into a purse.
This is a great way to reuse the kid’s old clothing.
The only thing I love more than DIY projects are DIY upcycles and this trash-to-treasure tray is one of my favorite ones yet.
Although I loved this tutorial that shares how to upgrade an old lamp into a garden lantern and I think you will too.
If you want more free tutorials, consider signing up for the free newsletter or following along on social media so you never miss another post again.

How to Make a Rope Basket
Learn how to make your own rope basket with this easy to follow no sew DIY tutorial.
Materials
- Jute or Rope of Your Choice
- Basket
- Pillow Case or Fabric
Tools
- Scissors
- Hot Glue Gun
Instructions
- Plug in your hot glue gun and allow it to warm up.
- Line the basket with the inside of your pillow case or fabric facing inward and the colorful side out.
- Pull the pillowcase edges over the sides of the basket, pressing down on the insides for good coverage without excess material.
- Trim off any surplus fabric.
- Cut a piece of rope to tie around the basket's rim, keeping the pillowcase fabric in place for easy removal during washing.
- Start wrapping the base of the basket in rope, adding a glue line to ensure secure adhesion.
- Hold the rope in place, being cautious not to accidentally glue the fabric when reaching the rim. As you ascend the sides of the basket, maintain a consistent tension in the rope, guiding it with deliberate movements.
- Take a moment to assess the alignment, making slight adjustments to guarantee a symmetrical and visually pleasing result.
Notes
Use any rope or basket that you want for this project!
Recommended Products
As an Amazon Associate and member of other affiliate programs, I earn from qualifying purchases.


About Thirty Something Super Mom

My journey started after a Crohn's disease diagnosis, inspiring a commitment to well-being. This site shares my distinctive approach to healthy living with my collection of nutritious recipes that boast authentic flavors, mimicking the indulgence of traditional dishes. I love sharing guilt free recipes for low carb, keto, gluten-free, paleo, and the specific carbohydrate diet. I also share tips on natural living, including homemade cleaners and cleaning hacks. I also share my experience as a veterinary technician and pet groomer, to integrate pet health tips, homemade dog food recipes, and grooming insights to ensure your pets thrive.
That is such a great idea! I love how easy it is to make, and I LOVE how pretty it turned out. I need to give this a try.
This is really cute! I love how you dressed up that cheap plastic basket to make it fun.
This is such a cute project! I bet my kids would love to make one of these.
That is such a good idea! It looks easy too! I am not the craftiest person in the world, but I think I can handle this!
This rope basket is really ingenious. It looks easy to make too. Reminded me of my aunt who was a wizard with craft and DIY stuff and used to make baskets from plastic wires.
That’s a cute idea for a basket makeover! I never would have though to do that on my own! Cute!
This is so cute! They have small plastic baskets at the dollar store, I’ll have to grab some of those and give this project a try. We keep our cat toys in a plastic tub and this would definitely dress it up a little.
Bravo Super Mom! I could have really used something like this after I ran out of that building with the burning baby all over my clothes!
This is awesome! I would love to do this with one of my old laundry basket. I need to buy the rope and some glue!
This basket turned out great. I love the whole idea of a rope basket. I need to make a few of them myself.
That is really cute! This would be perfect for my teenager to make for her room. It’d be great for the college dorm room too! Inexpensive and cute!
WOW! This is super adorable. I think it would be a great storage solution for any space really! They are cute too. I am going to have to make one ASAP!
That is so cute. I’m planning to make some rope flower pots so I’ll have to try one or two of these too. I can’t ever seem to have enough baskets for organizing.
This is really clever. I would have never guessed there was a plastic basket under there. I also love the lining you used and how it could be customized.