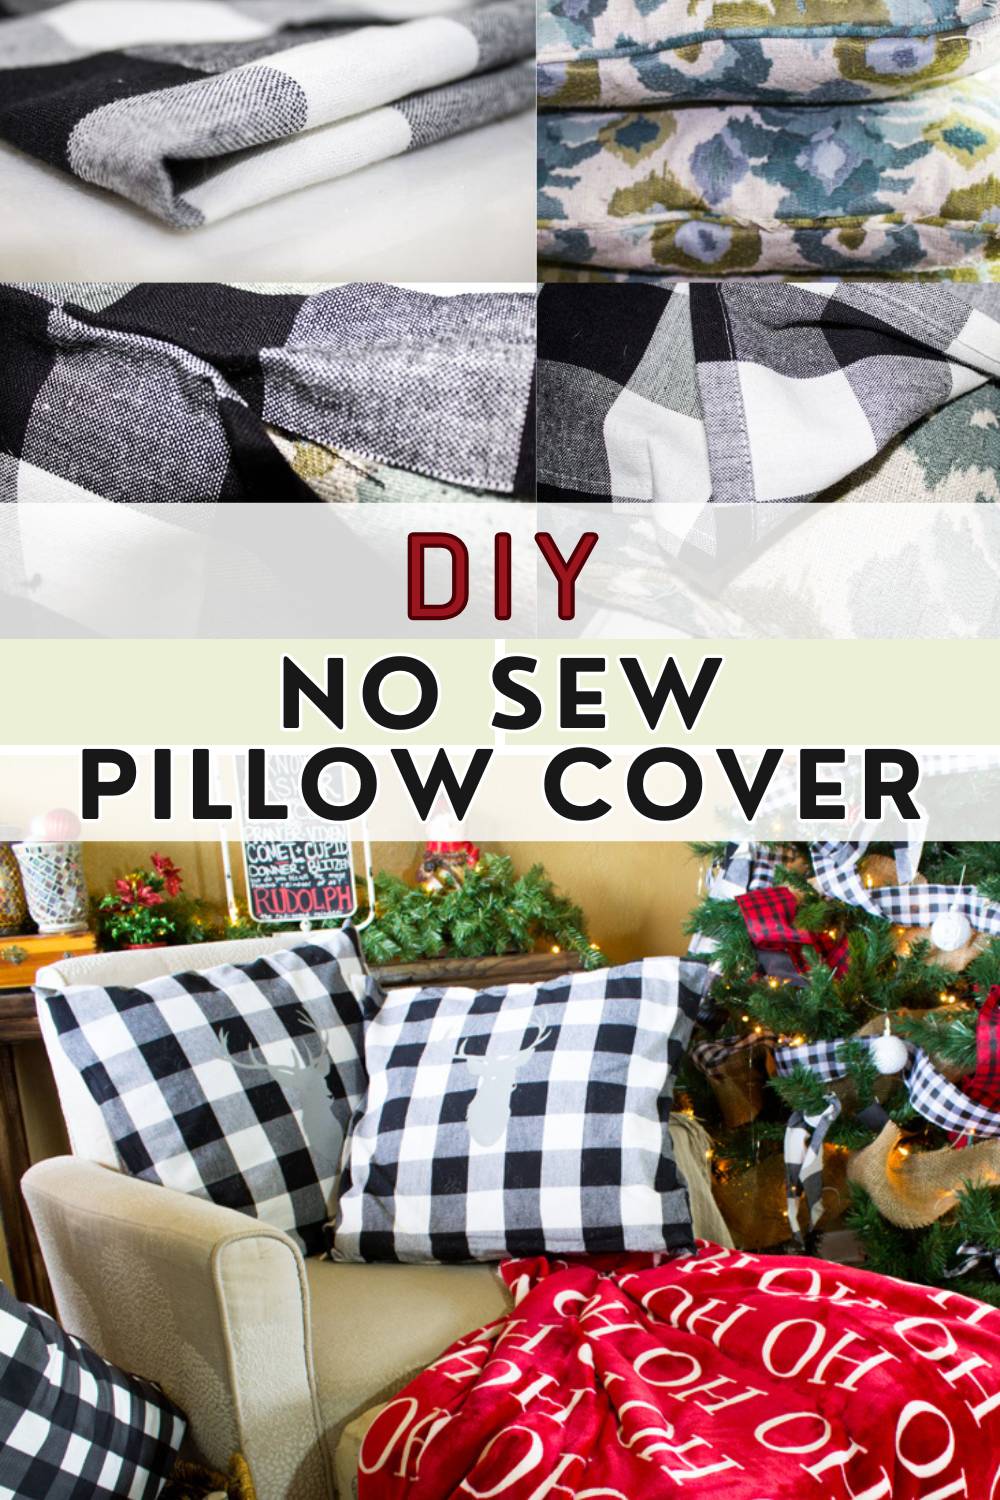
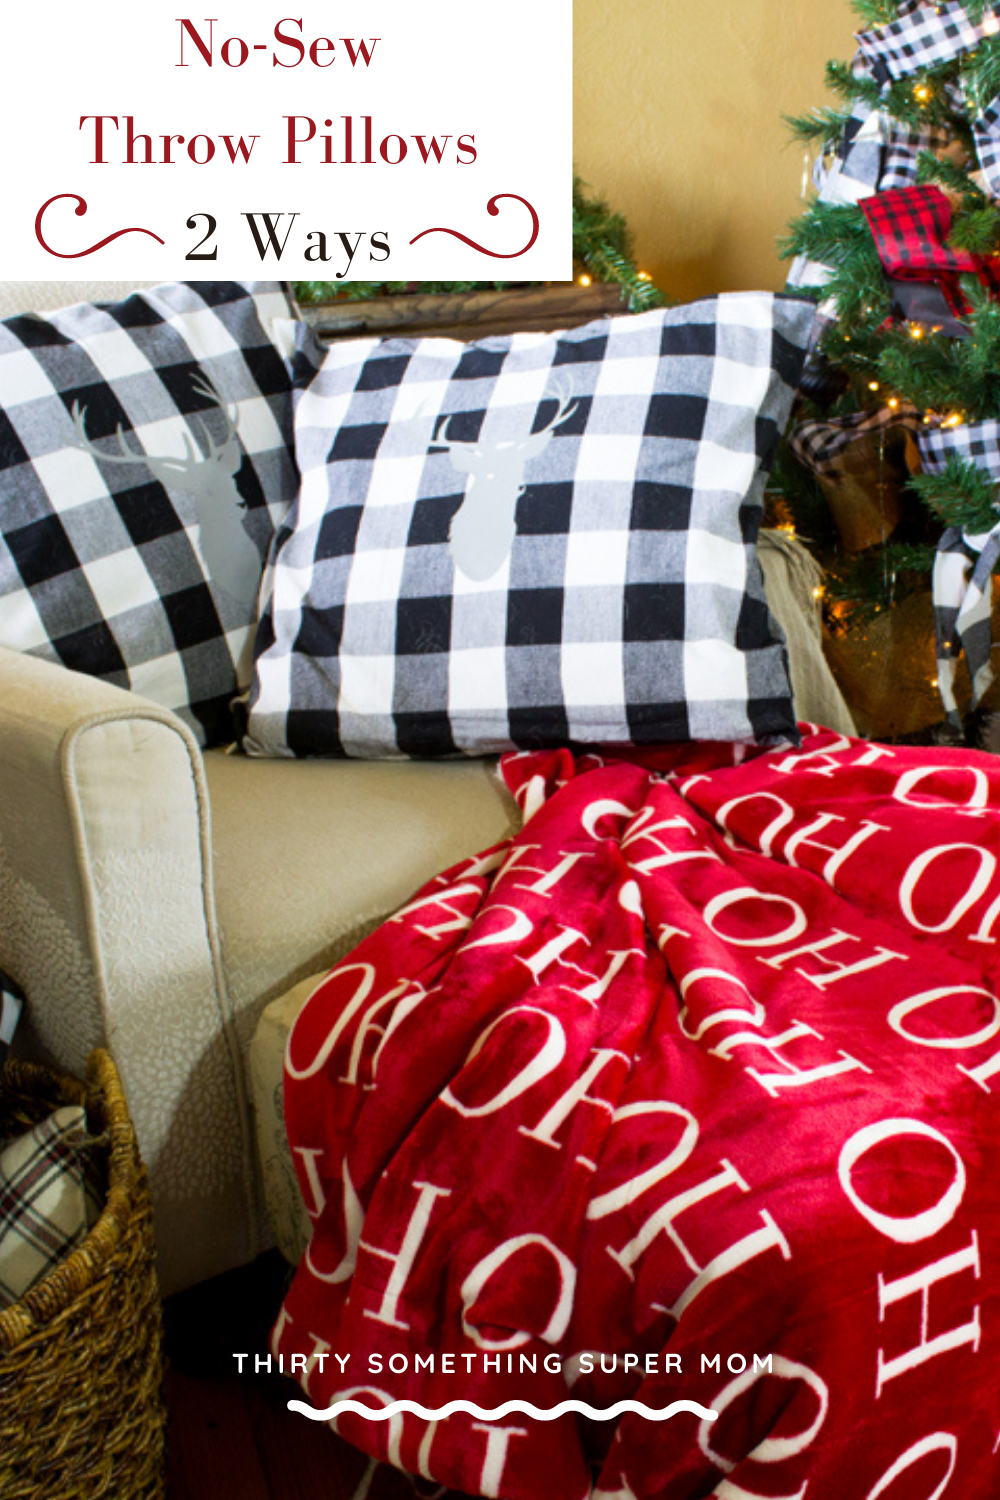
With this no sew pillow cover tutorial, you can create beautiful, professional-looking pillow covers using two simple methods: fusible bonding tape or a hot glue gun. Upgrading your throw pillows doesn’t require a sewing machine or advanced skills.
Whether you’re using leftover fabric, a tablecloth, or new fabric, this guide will show you how to make throw pillow covers with ease.
This post contains affiliate links. If you make a purchase after clicking a link, I may earn a small commission at no additional cost to you.
Why Choose a No-Sew Pillow Cover Over Sewing?
Let’s face it—sewing isn’t for everyone. Whether you don’t own a sewing machine or you’re intimidated by bobbins and tangled thread, a no-sew pillow cover is the perfect solution.
These easy techniques save time, effort, and frustration while giving your living room a fresh look.
How to Make a No-Sew Pillow Cover: Step-by-Step Guide
Step 1: Gather Your Supplies
To create your no-sew pillow cover, you’ll need the following materials:
- Throw pillows or Pillow Forms
- Buffalo check tablecloth or leftover fabric
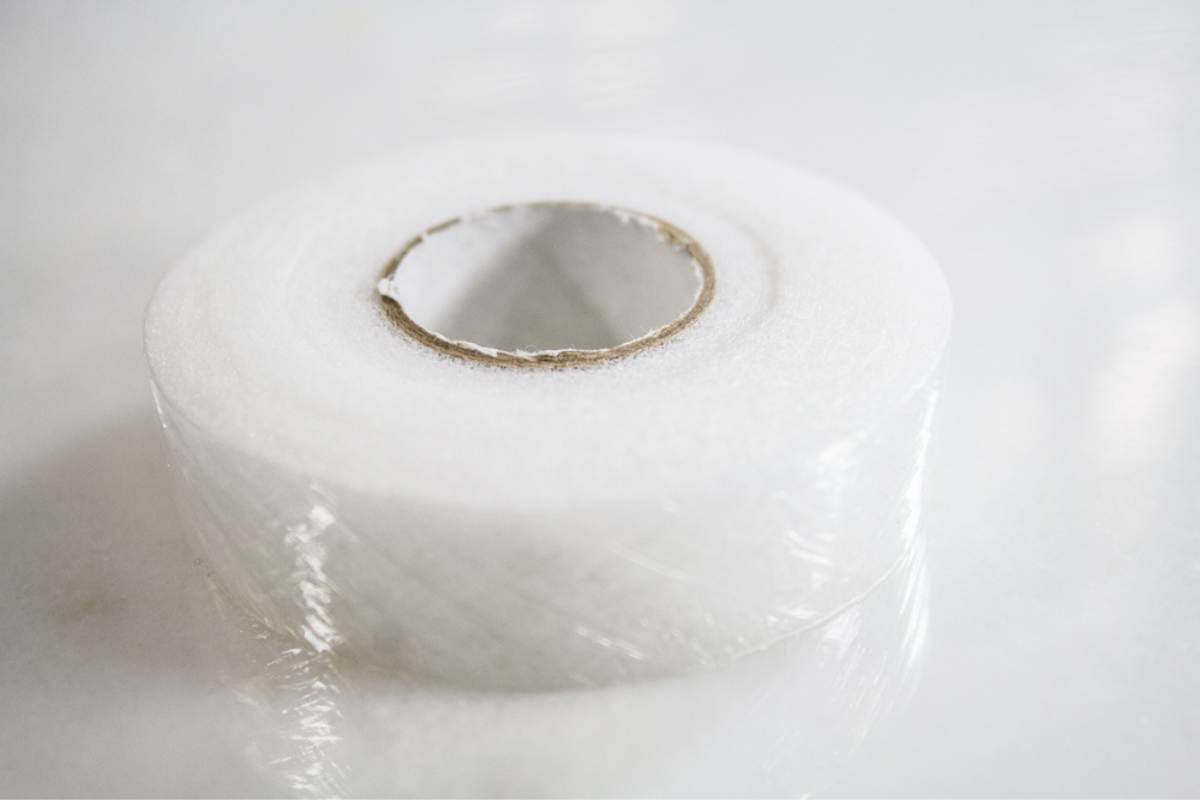
- Fabric glue or fusible bonding tape
- Glue gun and glue sticks
- Measuring tape
- Fabric scissors
- Iron
- Optional: Cricut machine or silver iron-on vinyl for custom designs
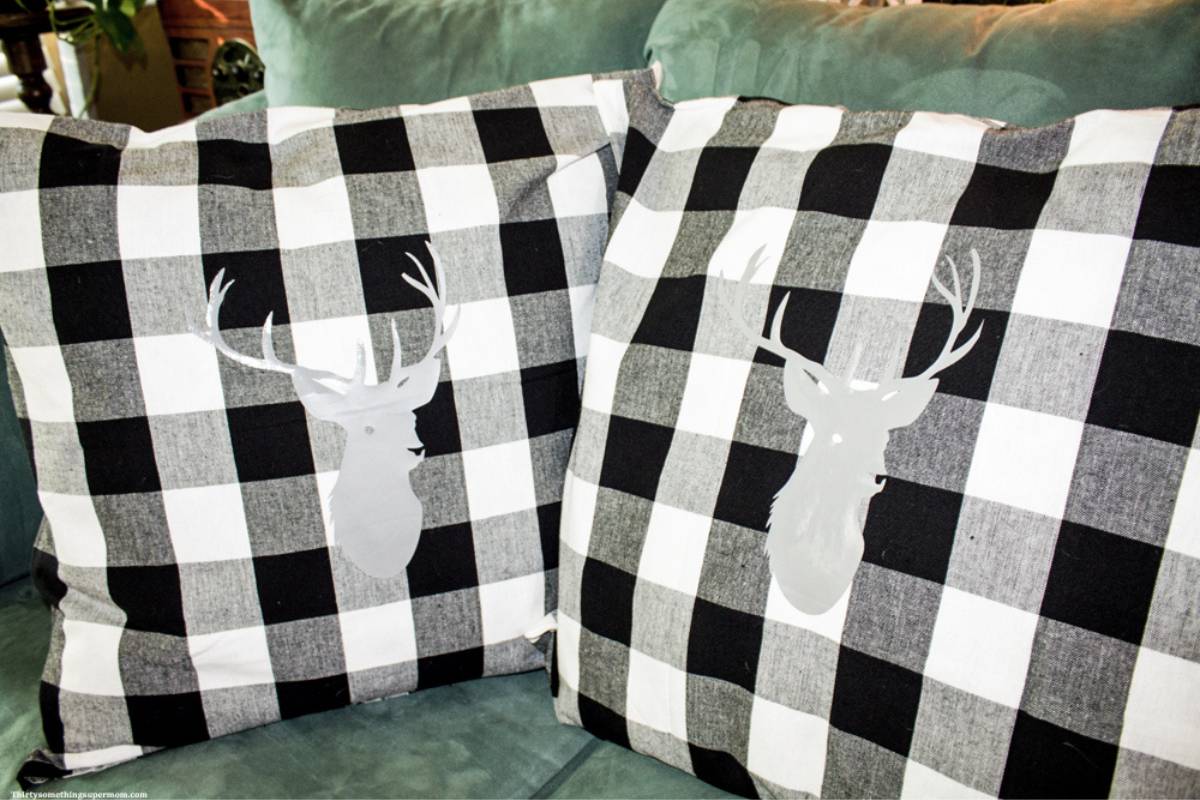
Having a Cricut Machine isn’t necessary to make pillows but this is what I used to make the deer pattern. You can buy iron-on patches here if you don’t own a Cricut machine.
If you do have a Cricut Machine, you can get the cut file here that I used to make the deer patches.
Pro Tip: Use thick fabric like a tablecloth for durability.
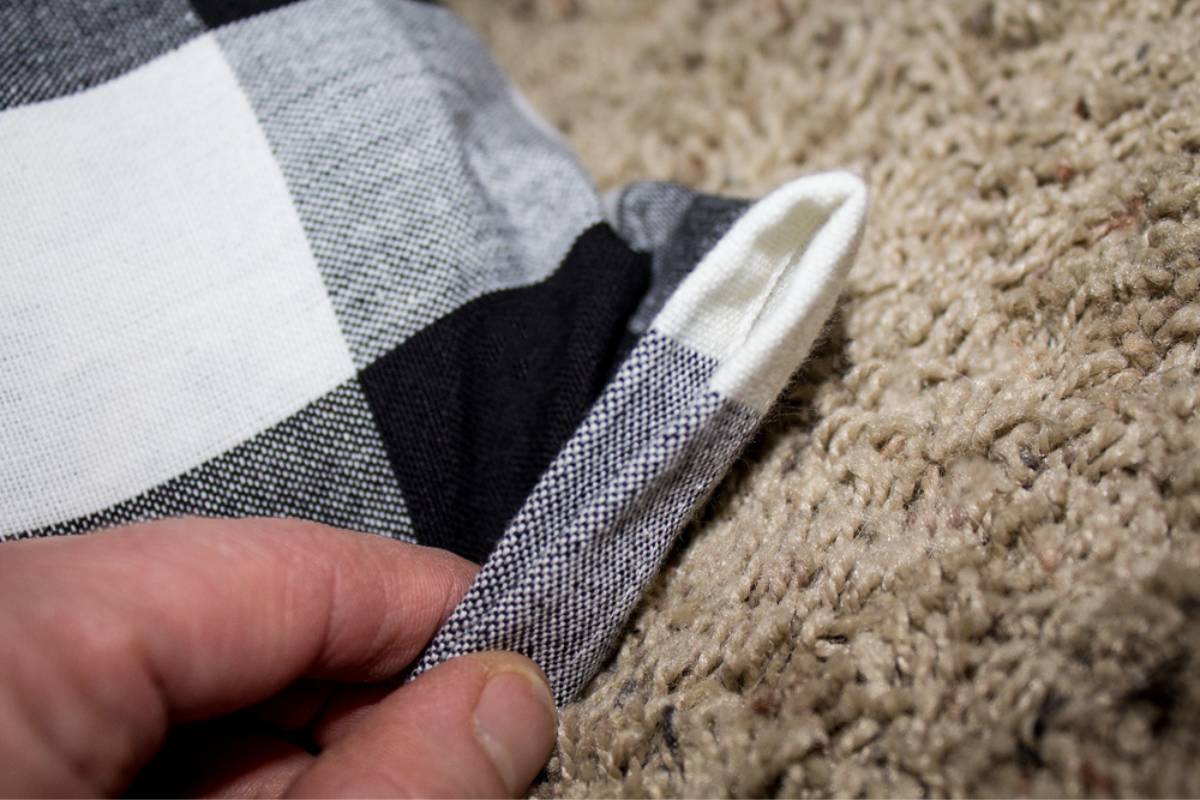
Step 2: Cut the Fabric to Size
- Lay your fabric on a flat surface.
- Place your pillow form or throw pillow on top.
- Measure and mark enough fabric to wrap around the pillow, leaving an additional inch on all sides for seams.
- Cut the fabric carefully, ensuring straight lines for a professional finish.

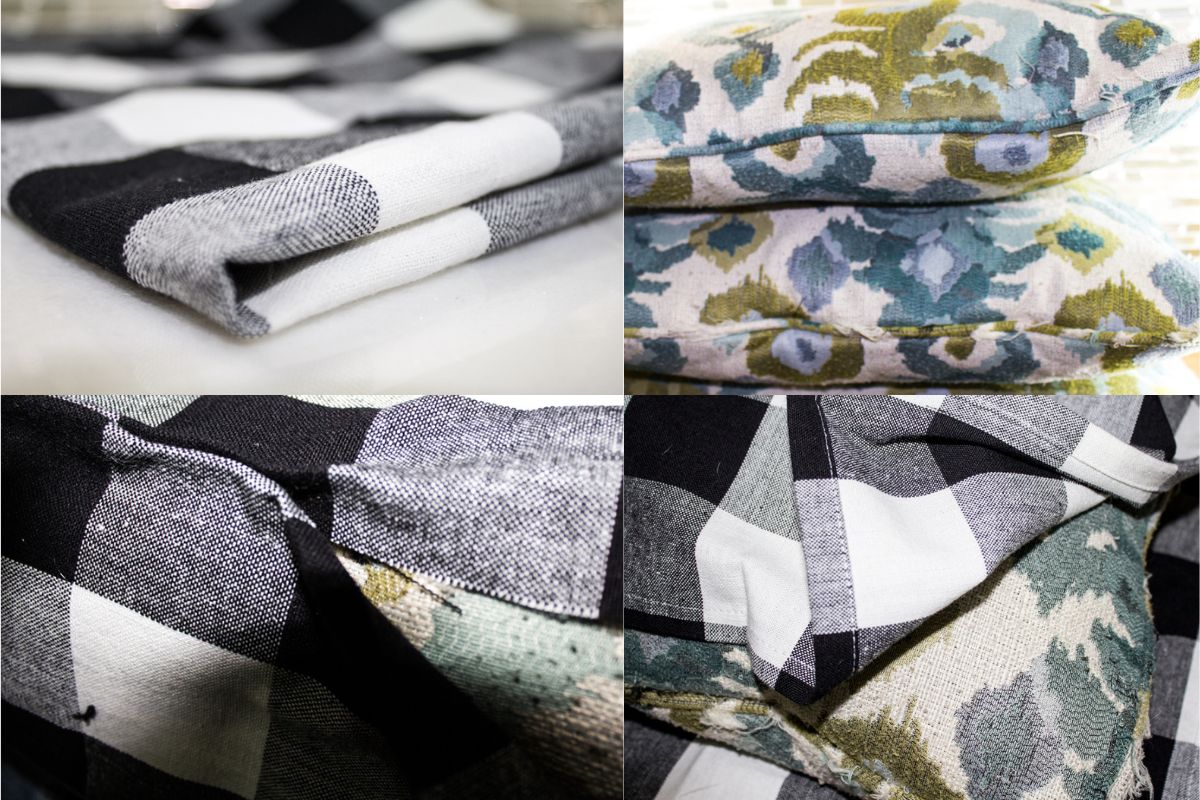
Step 3: Choose Your Method: Bonding Tape or Hot Glue
Option 1: Using Fusible Bonding Tape
- Place the bonding tape along the edges of your fabric where you want the seams.
- Fold the fabric over the tape to create a clean edge.
- Heat an iron to the recommended setting and press firmly on the tape for 10-15 seconds to seal.
- Repeat for all sides, leaving one side open to insert the pillow.
- Insert the pillow and seal the final edge with bonding tape.
Option 2: Using a Hot Glue Gun
- Apply a thin line of hot glue along the edges of your fabric, leaving one side open.
- Press the edges together and hold for a few seconds to secure.
- Insert the pillow and seal the final side with glue.
- Trim any excess glue for a clean finish.
Step 4: Add Custom Designs (Optional)
For a personalized touch, use a Cricut machine to create custom patterns or purchase iron-on vinyl designs.
Tips for Professional-Looking Pillow Covers
- Use the Tablecloth Seam: Take advantage of the finished edges on a tablecloth to minimize cutting.
- Fold and Seal: If cutting fabric edges, fold the raw edges inward before gluing or bonding to create a clean seam.
- Match Fabric Type: Thicker fabrics may require extra bonding time or stronger glue.
Frequently Asked Questions
Can I use fabric glue instead of a hot glue gun?
Yes! Fabric glue is a great alternative and works well for most fabrics. It’s less messy and safer for beginners.
How durable are no-sew pillow covers?
With proper bonding or gluing, these covers are surprisingly durable. They can withstand light use and occasional washing if the fabric and adhesive are compatible.
What kind of fabric works best for no-sew projects?
Cotton, polyester, and blends are ideal for no-sew pillow covers. Avoid fabrics that fray excessively or are too thick for bonding.
Which Method is Best for DIY No-Sew Pillow Covers?
When it comes to creating DIY no-sew pillow covers, both methods—using a glue gun or fusible bonding tape—have their advantages. Here’s a closer look at each approach to help you decide how to make a no-sew pillow cover in minutes.
No-Sew Pillow Covers with Glue
Using a glue gun is a quick and effective way to create no-sew pillow covers. This method is ideal for those who want to know how to make a pillowcase without sewing. The process is fast, and the glue sets almost instantly, making it perfect for impatient crafters like me.
However, one challenge with no-sew pillow covers with glue is managing seepage. Excess glue can sometimes seep out, leading to a messy project and the risk of burns if you’re not careful. If you’re wondering how to make a pillow without a sewing machine or sewing skills, this is a great option—just be sure to take precautions like using a thimble or working carefully.
No-Sew Pillow Covers with Fusible Bonding Tape
For a cleaner finish, no-sew cushion covers made with fusible bonding tape are an excellent choice. This method works well if you’re looking for tips on how to make a pillow cover without sewing. The bonding tape provides a polished seam and avoids the mess of hot glue.
While fusible bonding tape can take slightly longer due to the need for ironing, it’s worth the effort for thicker fabrics or projects where a neat edge is important. It’s an especially good method if you’re tackling no-sew fleece pillow covers or other fabric types that benefit from a stronger bond.
Choosing the Right Method
Ultimately, whether you choose no-sew pillow covers with glue or bonding tape depends on your fabric and crafting style. Thicker fabrics may require the bonding tape, while lighter materials work well with hot glue. Both methods are excellent solutions for learning how to make pillows without sewing or a sewing machine.
Regardless of the method, both options make it easy to cover a cushion without sewing. Whether you’re using leftover fabric for a quick project or creating a more decorative design for your living room, either approach beats the frustration of using a sewing machine.
Best Way to Make No-Sew Pillows
Both the glue gun and bonding tape are far easier to work with than a sewing machine, especially if you’re new to crafting.
If you’ve ever wondered how to make a no-sew pillow or how to cover a cushion without sewing, these techniques are all you need.
Why I Love DIY No-Sew Pillow Covers
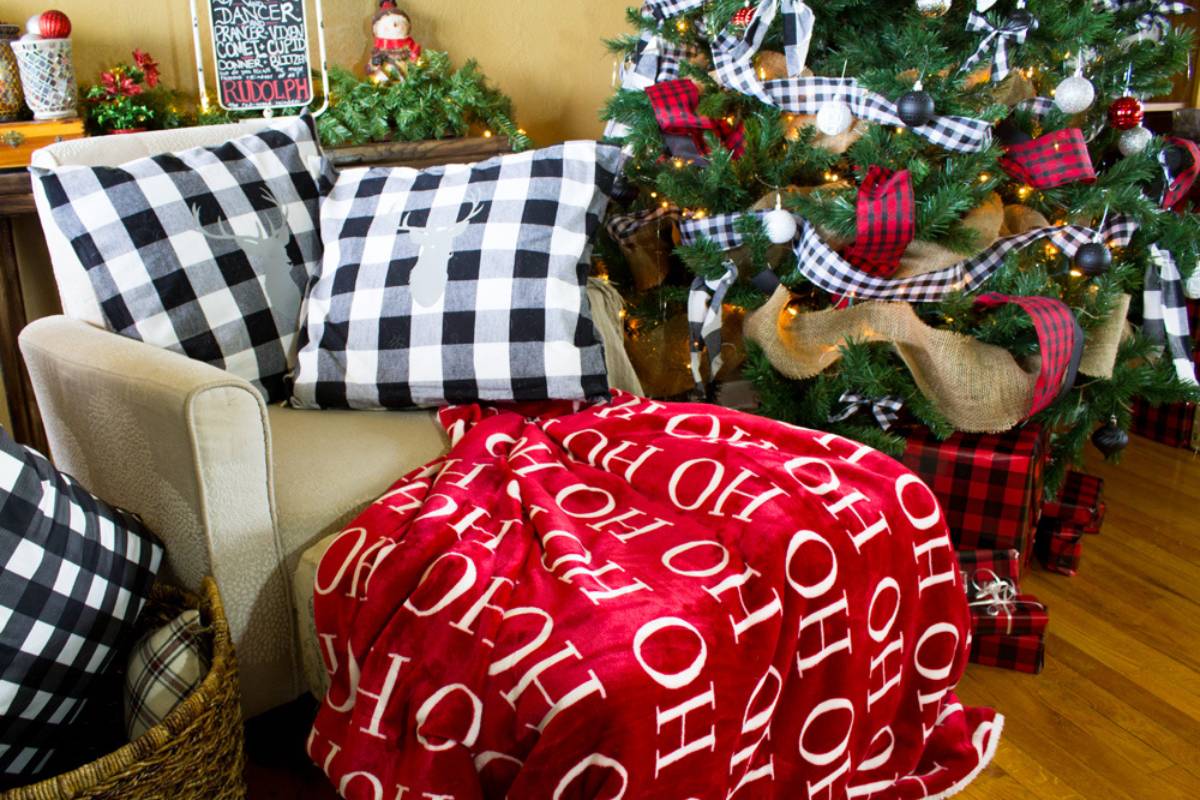
Creating no-sew pillows is not only easy but also a fun way to refresh your home decor. These projects allow you to repurpose leftover fabric or add a seasonal touch to your living room with minimal effort.
Whether you’re using bonding tape or a glue gun, these methods will save you time and keep your crafting frustration-free.
Don’t forget to sign up for the newsletter and follow along on Pinterest for more DIY home decor ideas and tutorials!
More Easy Christmas Crafts
- How to Fold Napkins into Christmas Trees
- Best Cricut Christmas Gifts
- Christmas Decorating Ideas
- Budget Christmas Decorating Ideas
- 15 DIY Christmas Gifts
About Thirty Something Super Mom

My journey started after a Crohn's disease diagnosis, inspiring a commitment to well-being. This site shares my distinctive approach to healthy living with my collection of nutritious recipes that boast authentic flavors, mimicking the indulgence of traditional dishes. I love sharing guilt free recipes for low carb, keto, gluten-free, paleo, and the specific carbohydrate diet. I also share tips on natural living, including homemade cleaners and cleaning hacks. I also share my experience as a veterinary technician and pet groomer, to integrate pet health tips, homemade dog food recipes, and grooming insights to ensure your pets thrive.
You’re way more creative than I am. And I love the deer design on these no-sew pillow covers.
I am really hopeless at sewing so this sounds like my sort of activity to do to get some beautiful pillow covers sorted in time for Christmas
This is great as it’s been years since I’ve sewn anything and don’t think I’d do a great job. It’s nice to be able to create your own pillow covers.
Ooh. This is such a great DIY project. Thanks for sharing this with us! Will have to try it myself someday.
Sewing and creating something tailored, especially for home, has always been my worry but I hate being totally denied!
What an innovative idea, and so personal too. My mother-in-law is very creative and would like to try this out. I will get her some material.
Love this idea. I have a few pilows that could use some updating
Such a great tutorial! This is so easy…love it. I’m going to have to try this…it’s a nice way to give new life to pillows and throws!
I am just loving this and what a real project for the kiddos too. I am picking up three items needed for these for a project as we just got a new home and I would rather make some throw pillows myself, It is more gratifying and savvy!
lol bobbin can get angry sometimes the trick is to get just the right amout of thread on and also to check your thread tension for non automatic machines.
My mom is an expert in this field whereas I suck at sewing 😟 However, I am loving this tutorial! Such an easy DIY😍
I love this technique. Thanks!
This is a super technique for a quickie decorating make-over.