
This Personalized Name Sign Craft Tutorial contains affiliate links which means that if you make a purchase after clicking a link, I will receive a small portion of the sale at no additional cost to you.
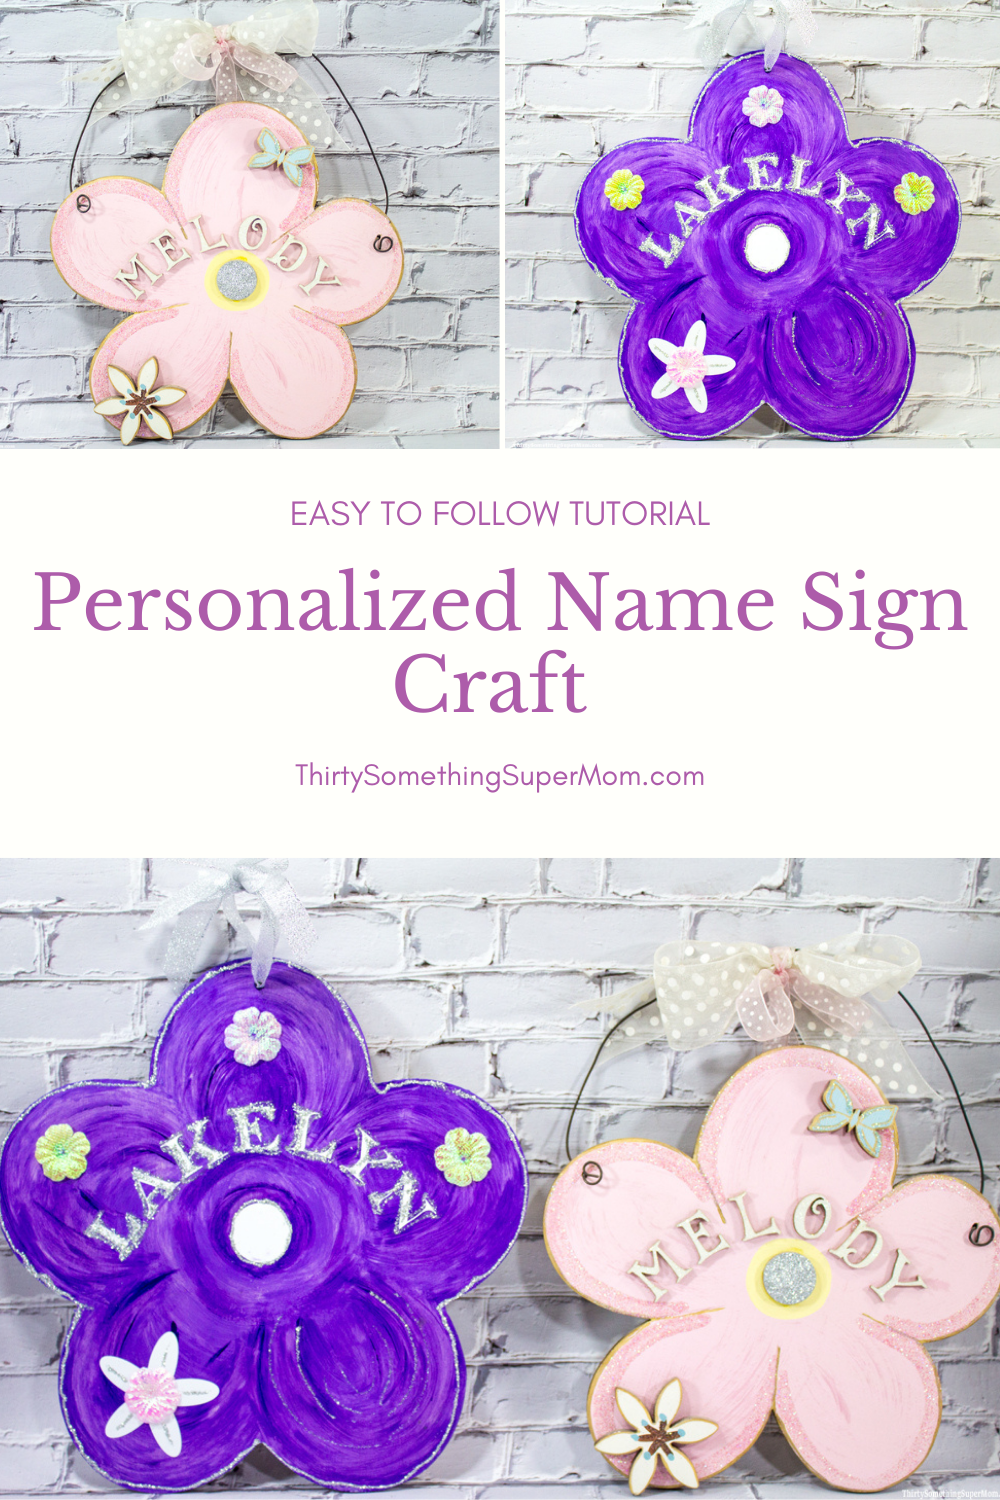
Are you looking for a baby shower gift or just want to create a pretty craft for your home? This Personalized Name Sign Craft is perfect, so easy to make and it can be easily customized to fit into any decor.
I have always loved to craft, I just wish I had more time to do it. I have lots of ideas and plenty of materials but it has been hard to find the time to craft.
So whenever I get a chance to create, I try to make each DIY project as easy to do as possible. This way I can start a project and actually get it finished in a reasonable amount of time.
Instant gratification is usually the theme of my projects so I have never been the type of person to tackle a project that has to span over a long period of time. I like to start working on something and see the end results before moving on to something else.
This Personalized Name Sign Craft is perfect for this kind of crafting, fast and easy, plus it can easily be customized for any occasion. This craft makes a great baby shower or anytime gift. 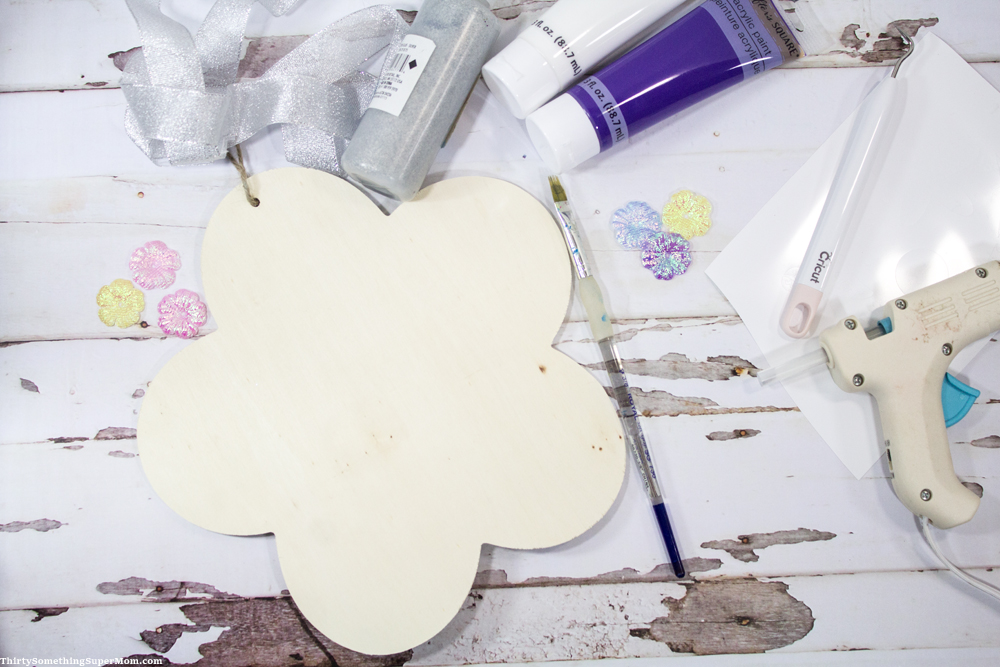
What You Need to Make this Personalized Name Sign Craft
- Unfinished Flower Wood Sign Blank
- Hot Glue Gun
- Paint
- Flower Craft Appliques
- Ribbon
- Glitter Glue
- Craft Wire for hanging if you choose this way. (Optional)
- Wooden Letters or Cricut Machine with White Vinyl
- Wooden Designs or Cricut Machine with White Vinyl
- Drill for punching holes if your sign doesn’t already have this done. (Optional)
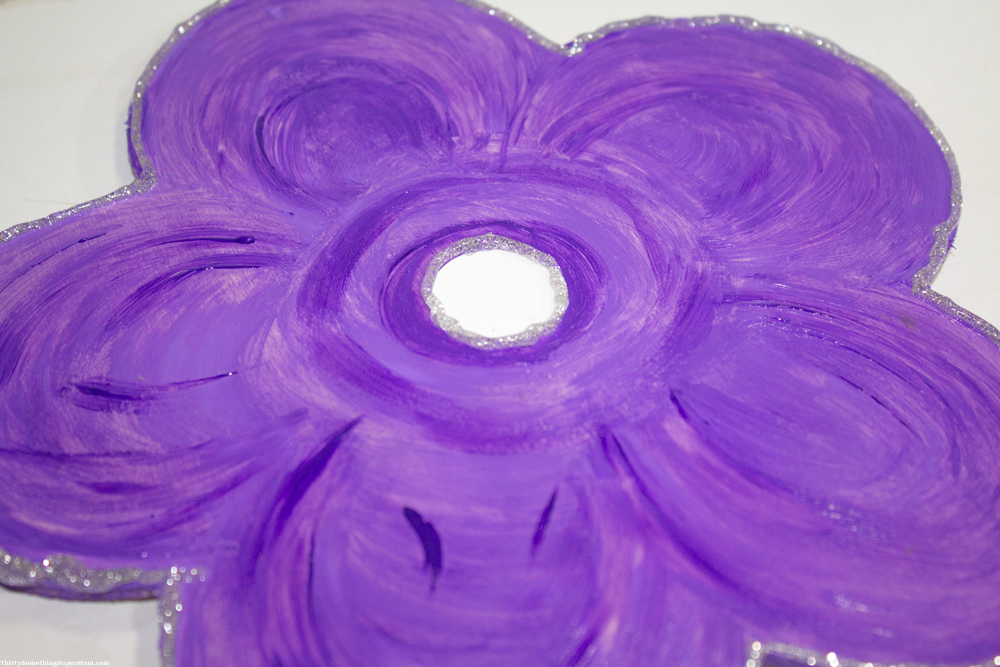
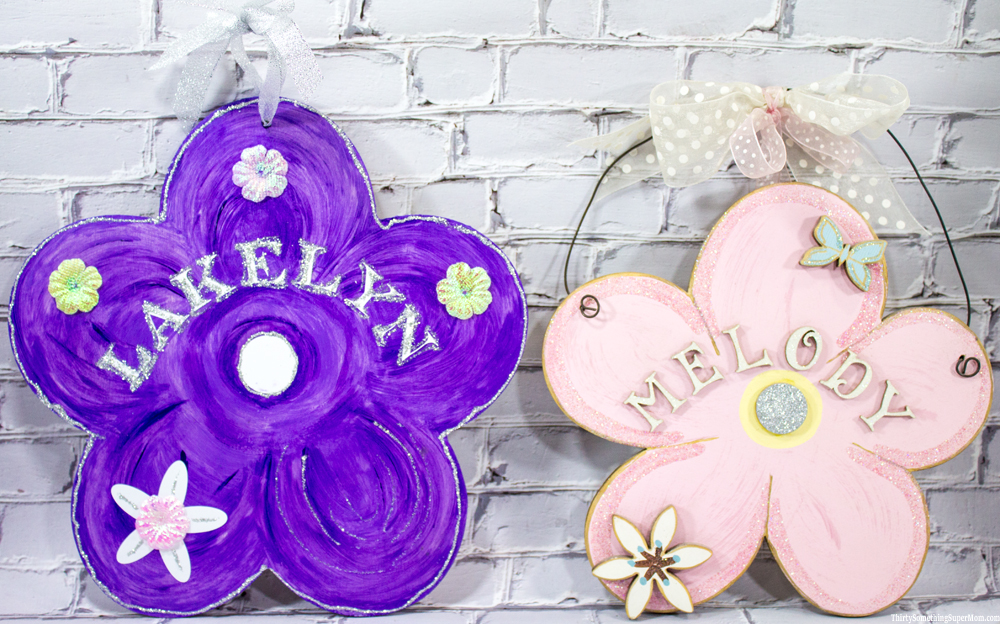
The first step for making your own Personalized Name Sign Craft is to select the colors you would like to use and then paint the sign.
Tips for Painting
Use circular motions when painting the petals, half-circles in line with the petals and full circles in the center of the flower. Use a light color to start the first coat and then use a darker color to highlight certain areas of the flower.
This works best when mixing the paint yourself. I used a dark purple and added white as needed. When applying the second coat, I used less white and more purple to make the strokes stand out.
If you are using the Cricut machine, I have found that the vinyl sticks better over paint rather than plain wood. So I paint the inside even though you will not see this part when the project is finished.
Outline the entire flower with glitter glue and allow it to dry completely before moving on to the next step.
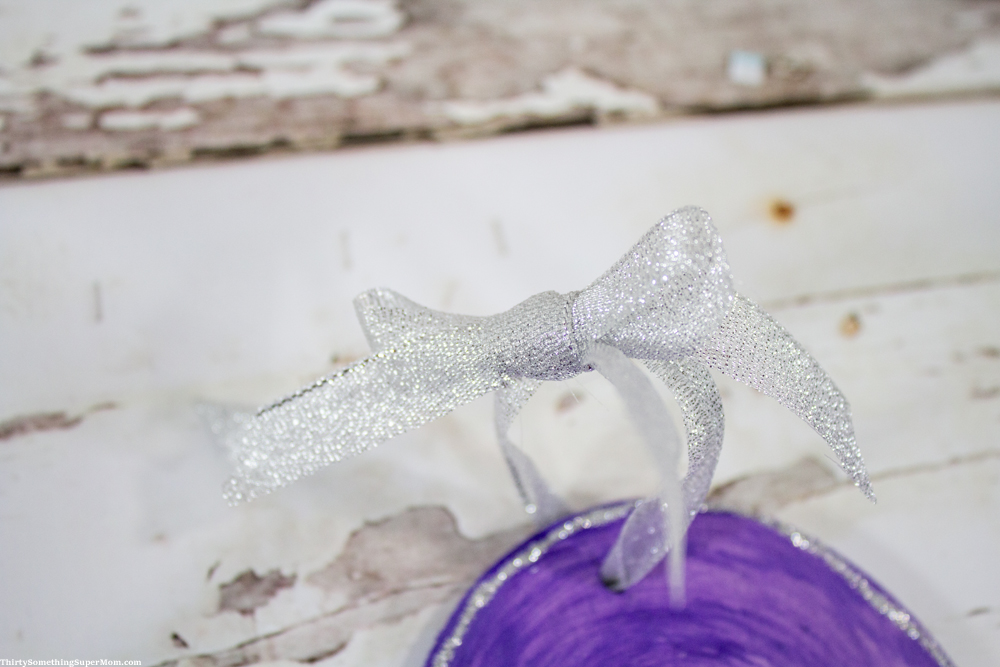
How to Hang Your Personalized Name Sign
I picked up the wooden sign at the local dollar store and it came with a hole already in the center. This made hanging the sign much easier when using ribbon. If you are using wire and hanging your sign, you will need to drill a couple of holes using a drill.
After drilling the holes on both sides of the flower, if you chose this method, run the wire through on both sides, twisting the ends to hold in place.
If you are hanging from the center using ribbon, run the ribbon through and tie a bow at the end to keep the knot in place.
How to Decorate Your Sign
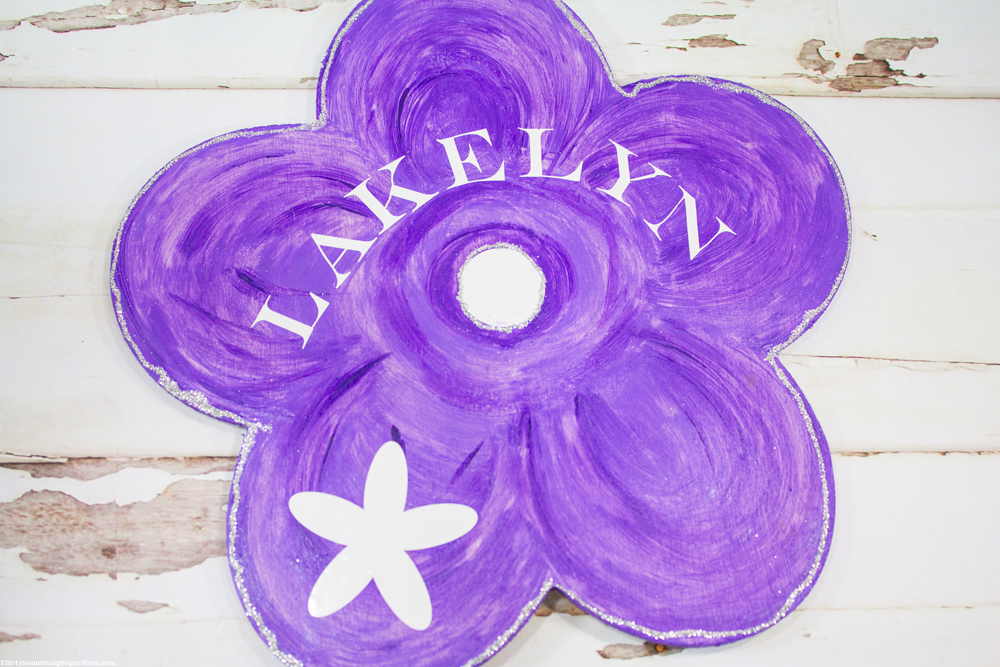
If you are using wooden letters, you will need to use a hot glue gun to keep the letters in place. If you are using your Cricut machine with vinyl letters, you will want to use this cut file and edit it to add the name you want.
The cut file also includes the flower and circle for the center of this sign. If you are using wooden letters and want to use wooden designs, you can get those here.
Add Finishing Touches to Your Craft
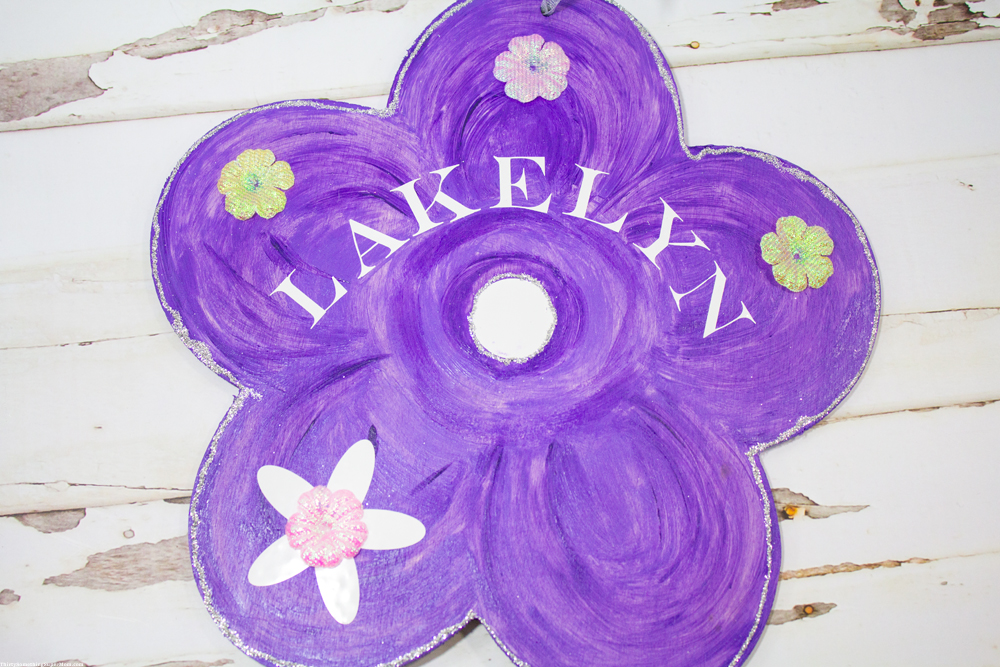
After adding the vinyl flower and letters, the next step is to add the finishing touches. These flower appliques are pretty cheap and really make the sign pop.
Use glitter glue to add a sparkle to the letters and highlight the petals with a few sparkles at your discretion. This has always been the hardest part of crafting and painting for me, knowing when the craft is done. I have a bad habit of adding too much or changing things endlessly but with this project, I think I walked away and called it done at the right time.
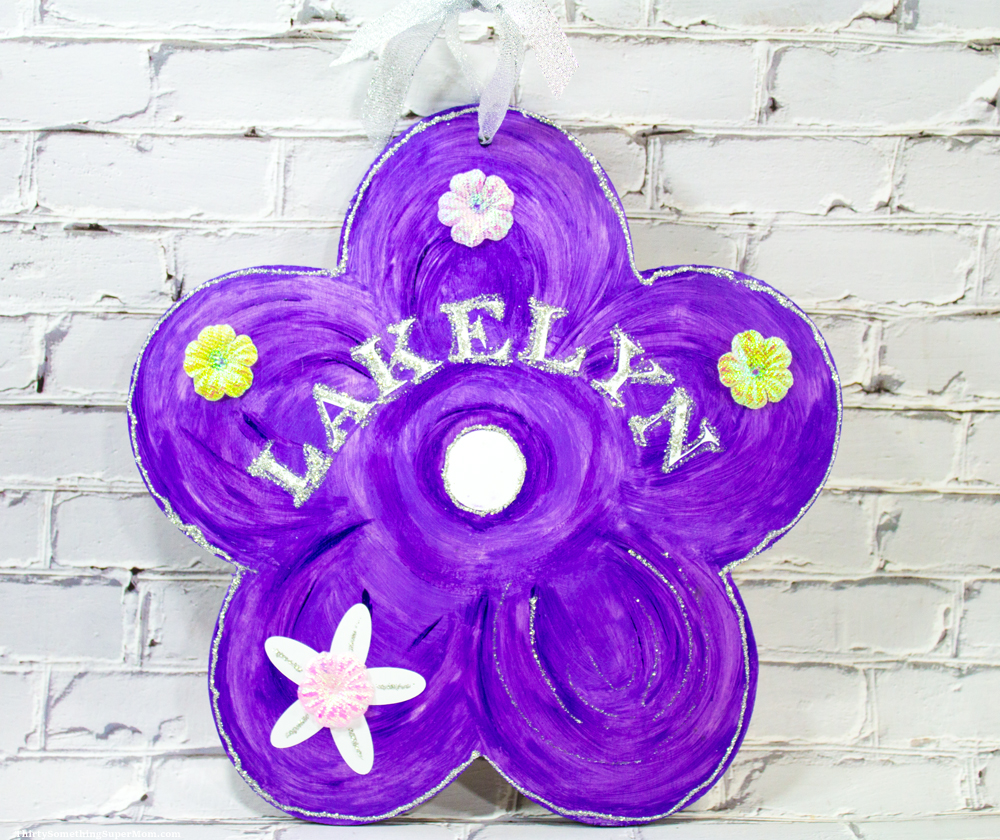
You can add an outline of glitter glue to the sides of each petal or put a dab in the center of the flower. That is what I like best about this craft, you can customize it in any way you like so easily.
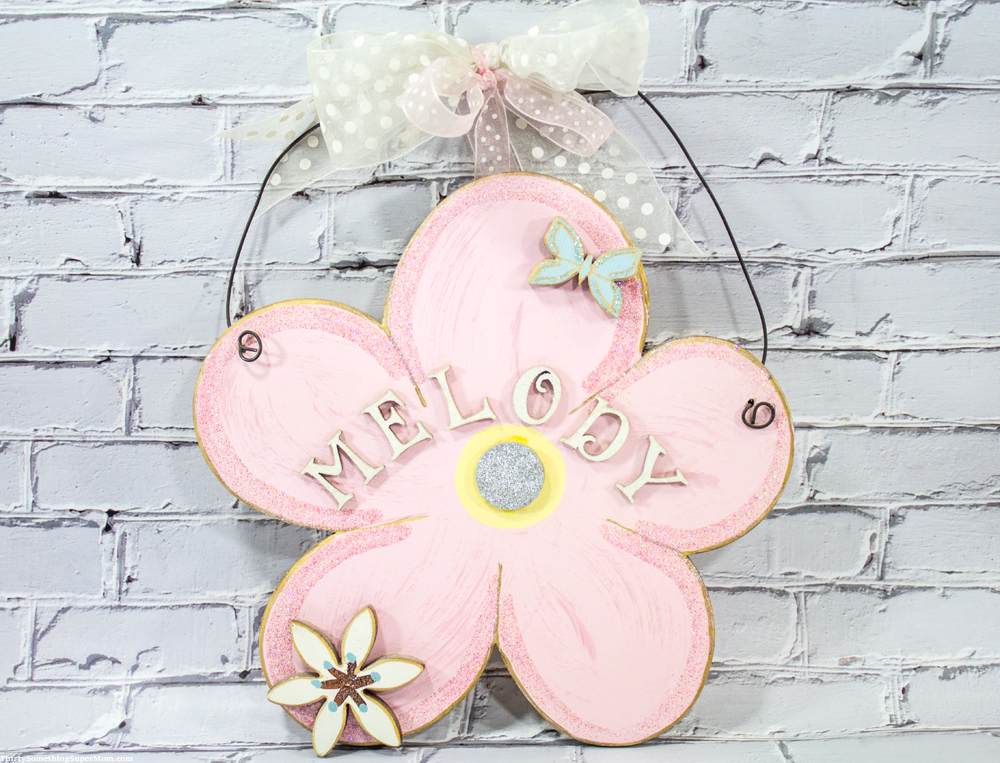
These Personalized Name signs make the perfect gift, so be sure to pick up extra supplies so you can make it again and again. Personalize it for different occasions, holidays, and customize it to fit in with any decor.
I hope you enjoyed this tutorial showing how I made this Personalized Name Sign Craft. If you are like me and don’t always have the time you need to craft, share this project on Pinterest so you can do it later. Also, don’t forget to sign up for the free newsletter so you can get all of my posts right to your inbox.
Do you like to craft? Leave me a comment below letting me know what kind of crafts you would like to see shared in the future. I could always use that extra bit of motivation to get me crafting again.
Check out these other crafts while you’re here.
Make Your Own Garden Light Post
See How I Turned Trash into Treasure with this Upcycled DIY Tray
Make Purses from Skirts with this Easy to Follow Tutorial
Create Your Own Sword & Shield Toy Set
About Thirty Something Super Mom

My journey started after a Crohn's disease diagnosis, inspiring a commitment to well-being. This site shares my distinctive approach to healthy living with my collection of nutritious recipes that boast authentic flavors, mimicking the indulgence of traditional dishes. I love sharing guilt free recipes for low carb, keto, gluten-free, paleo, and the specific carbohydrate diet. I also share tips on natural living, including homemade cleaners and cleaning hacks. I also share my experience as a veterinary technician and pet groomer, to integrate pet health tips, homemade dog food recipes, and grooming insights to ensure your pets thrive.
Such a great craft and I know so many people that would love a personalised sign for their room, house or childs room. I wIll try and recreate this for the next shower i go to.
Oh my gosh, these are the cutest. I know my daughter will want to make a sign.
I love this idea, so cute!! Kids will love this in their room.
That sounds like a great arts and crafts project. I know my middle child would love it, she really enjoys these sorts of things.
My girls would love to help make these! We love a good craft project.
Those personalized name crafts are so cute. I agree that they would be perfect for a baby shower gift!
How cute! These would be perfect for my girls to make and have on their bedroom doors!
This is such a great idea. I bet my daughters would really love this. They love doing things like this. My youngest especially loves to pain. They’d love these for their rooms.
Wow! This is wonderful! Making this Personalized Name Sign Craft will be fun and exciting!
Beautiful craft to make with the kids, it would be a great activity for our Easter break to keep us busy and decorate the rooms
These are so cute! How fun would it be for my kids to make signs for their bedroom doors.
This is really cute. It is going to be fun. Great fun for my kids they love the coloring.
This is such a cute tutorial. My kids would love this activity. I will be doing this with our kids this weekend!
Oh wow, how cute and very well done. This takes a lot of patience that I wish I had. Beautiful though!