This DIY canvas frame project is the best way to frame your canvas art on a budget since canvases often come with a hefty price tag when you need to purchase custom framing. However, this savvy way to make your own frame for a canvas will help you stay within your budget and create a DIY canvas frame without requiring advanced DIY skills.
This budget-friendly and straightforward approach not only saves you money but also adds a touch of elegance to your canvas art. In this guide, I’ll walk you through the step-by-step process of making a DIY canvas frame for any canvas artwork in an easy and cheap way!
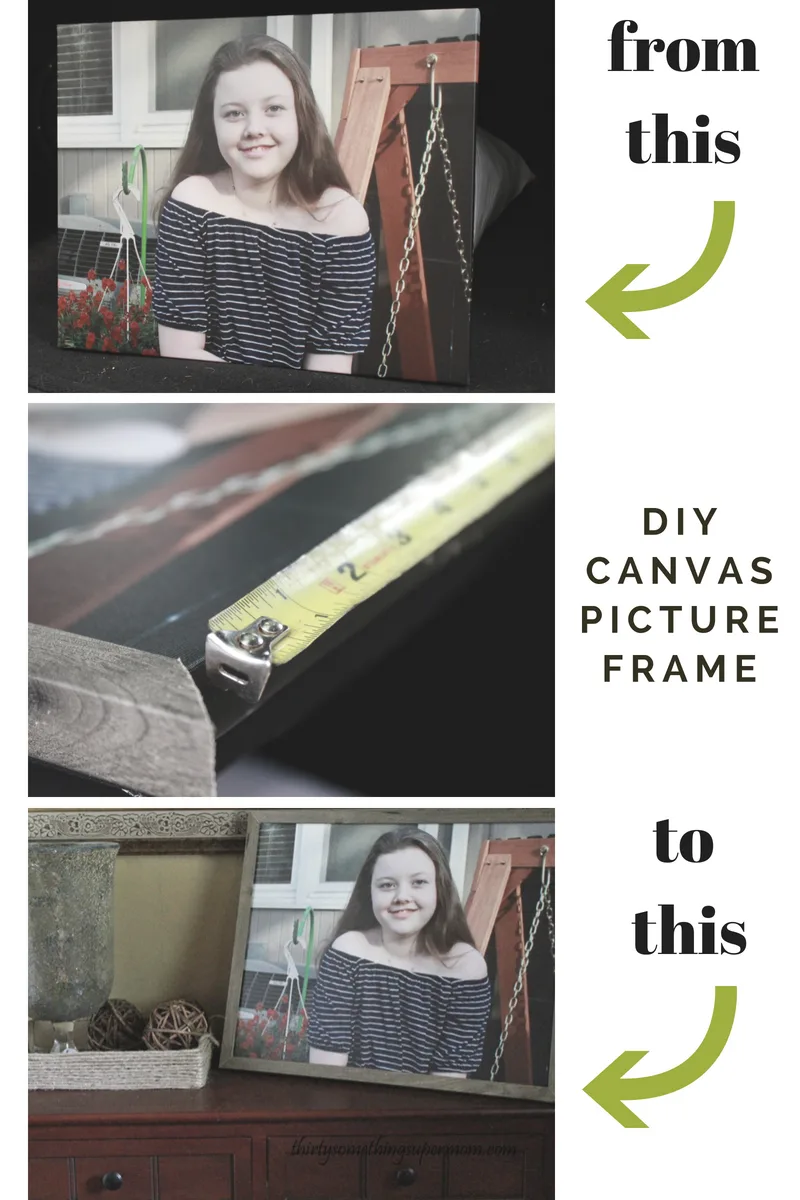
Transforming your cherished memories into a visually appealing masterpiece doesn’t have to break the bank. With our DIY canvas frame tutorial, you can achieve professional-looking results at a fraction of the cost.
Whether you’re a seasoned DIY enthusiast or a first-time crafter, this guide simplifies the process, proving that crafting your canvas frame is not just about saving money but also about personalizing your space. Follow along for a budget-friendly journey to elevate your canvas art and showcase it with pride.
- How to Make DIY Canvas Picture Frame
- Step 1: Measure Your Canvas
- Step 2: Choose Your Trim
- Step 3: Gather Supplies
- Step 4: Cutting with Miter Saw
- Step 5: Repeat for Other Sides
- Step 6: Adjust for Uneven Canvas Art
- Step 7: Create Outside Corners for Canvas
- Step 8 Assemble the DIY Canvas Frame
- Customizing Your DIY Canvas Frame
- More Easy DIY Projects
How to Make DIY Canvas Picture Frame
Crafting your DIY Canvas Picture Frame is not only easy but also cost-effective. Follow these comprehensive steps, including measurements and details, to create a stunning frame that enhances your cherished memories.
Keep in mind that these measurements are perfect for a 16″ x 20″ canvas but you can adjust the measurements to fit whichever canvas you choose.
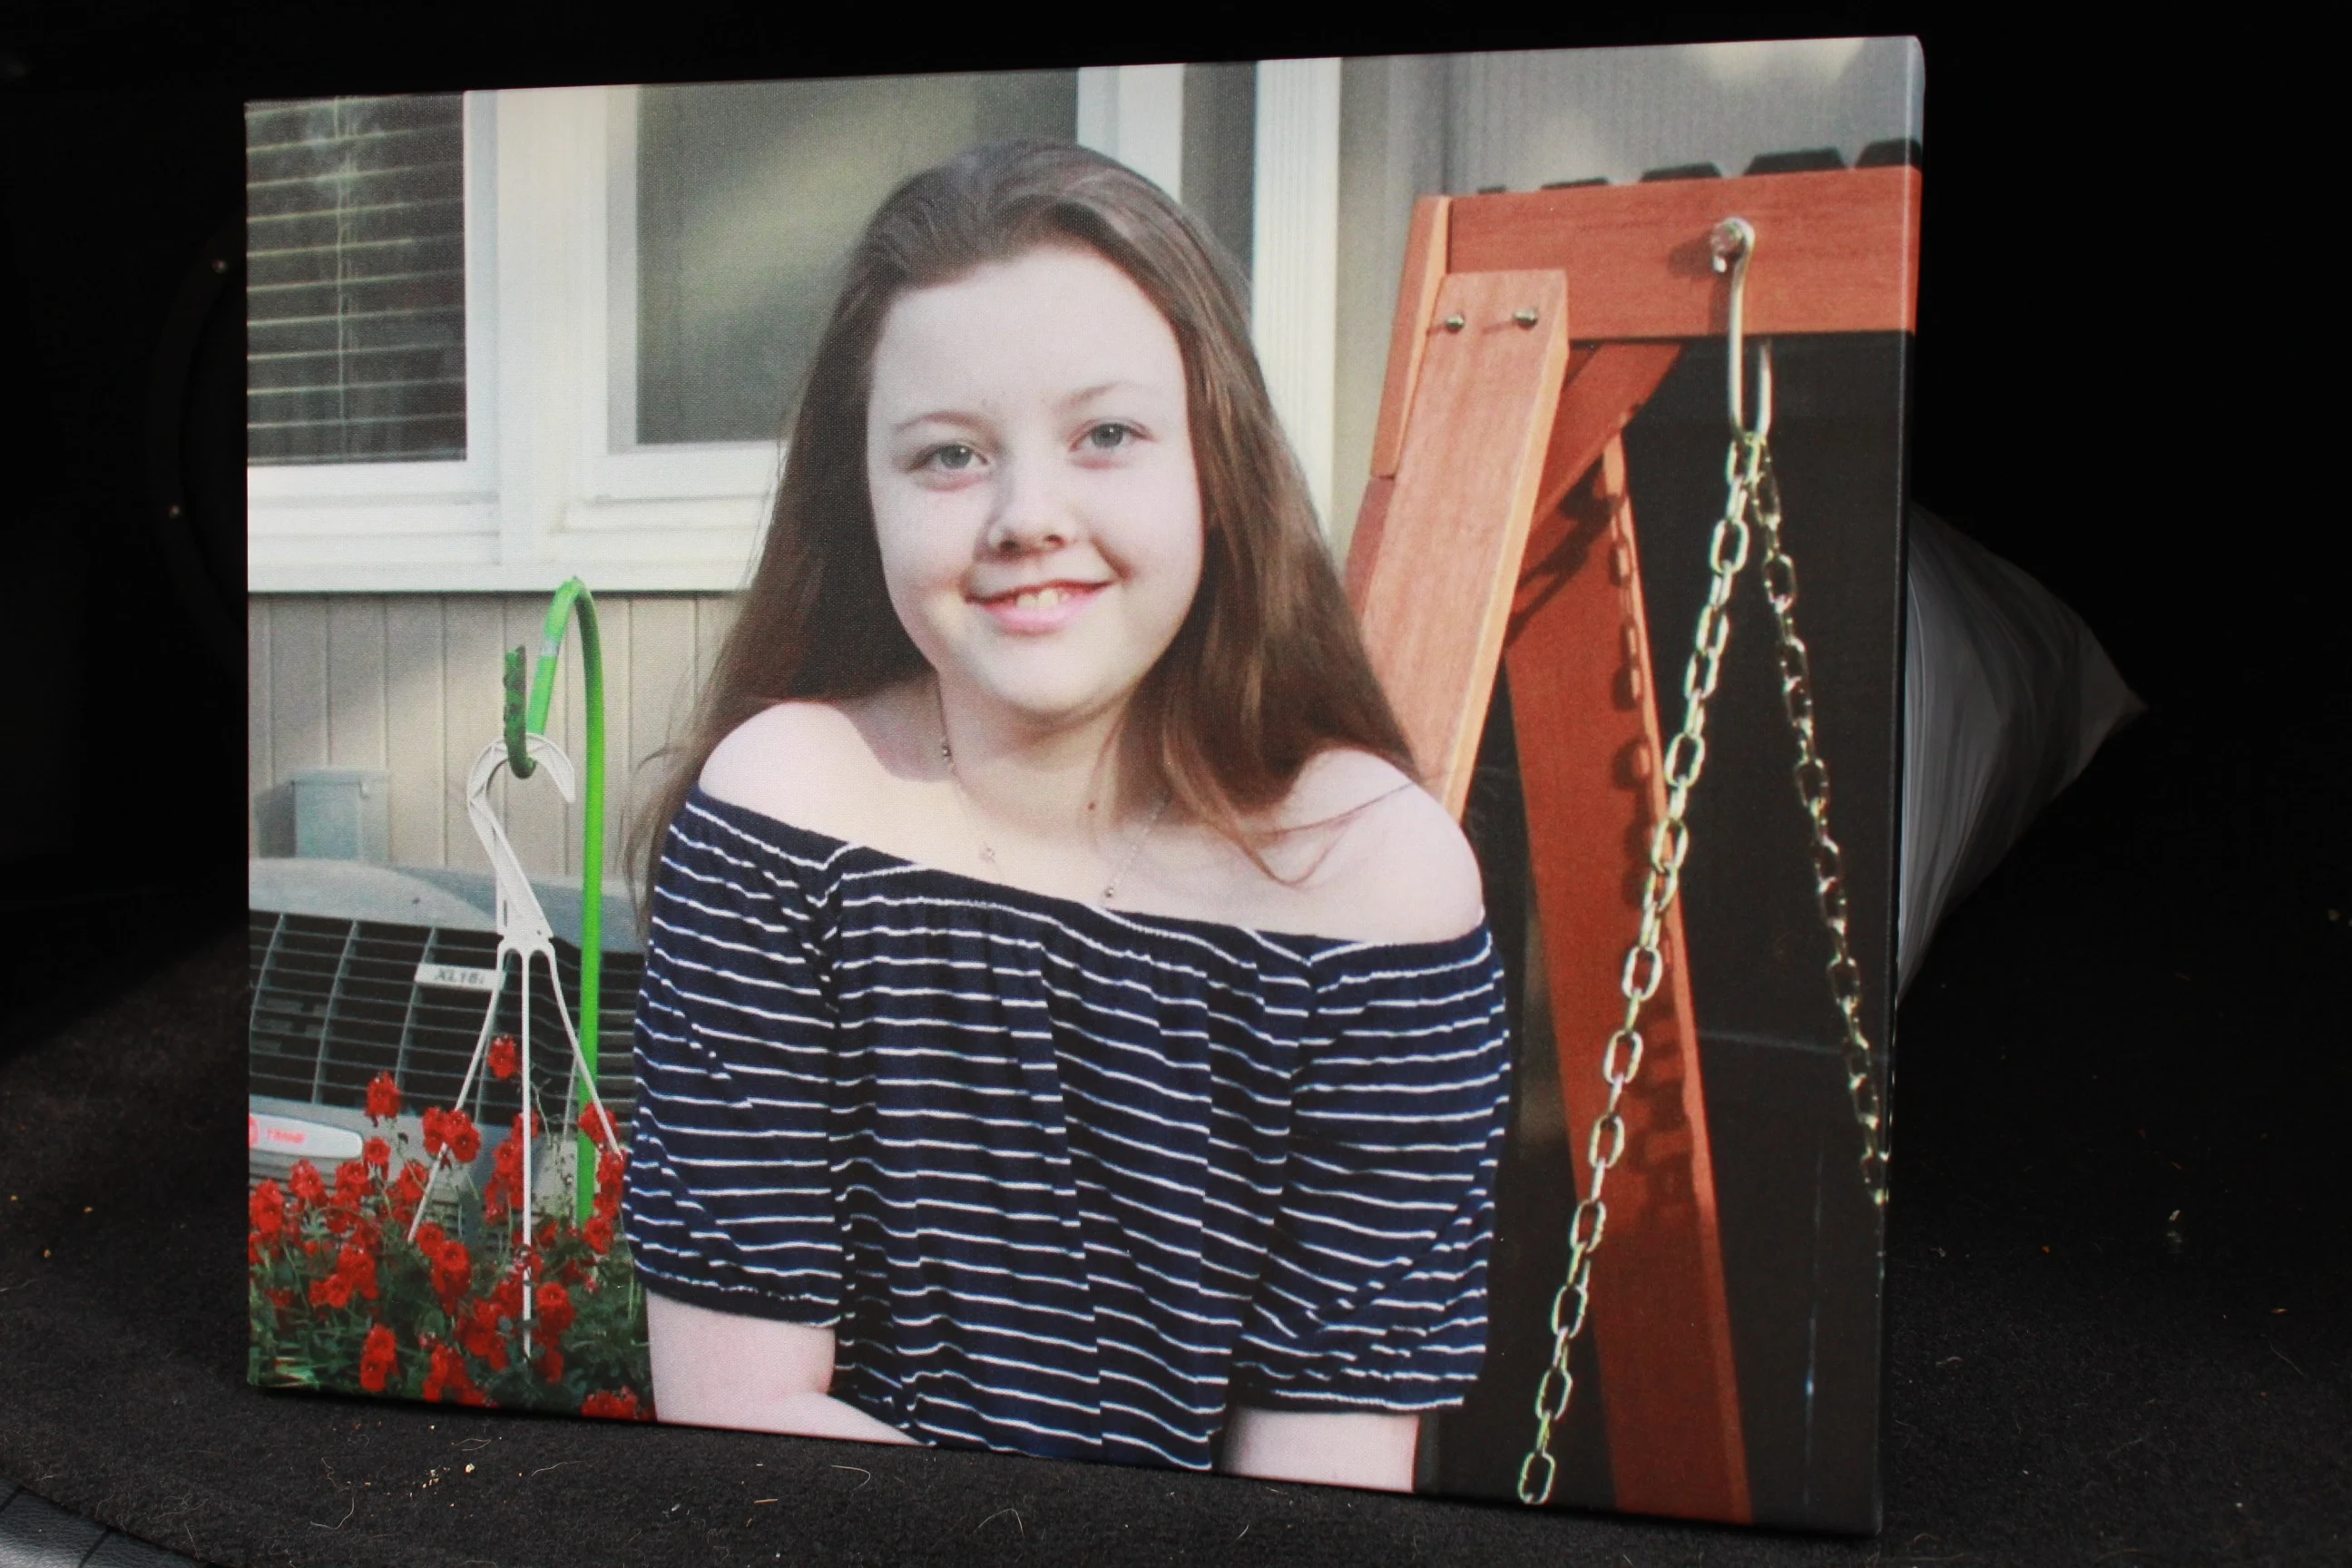
Step 1: Measure Your Canvas
The first step is to measure your canvas around all sides to determine how much trim you will need to create your DIY Canvas Picture Frame.
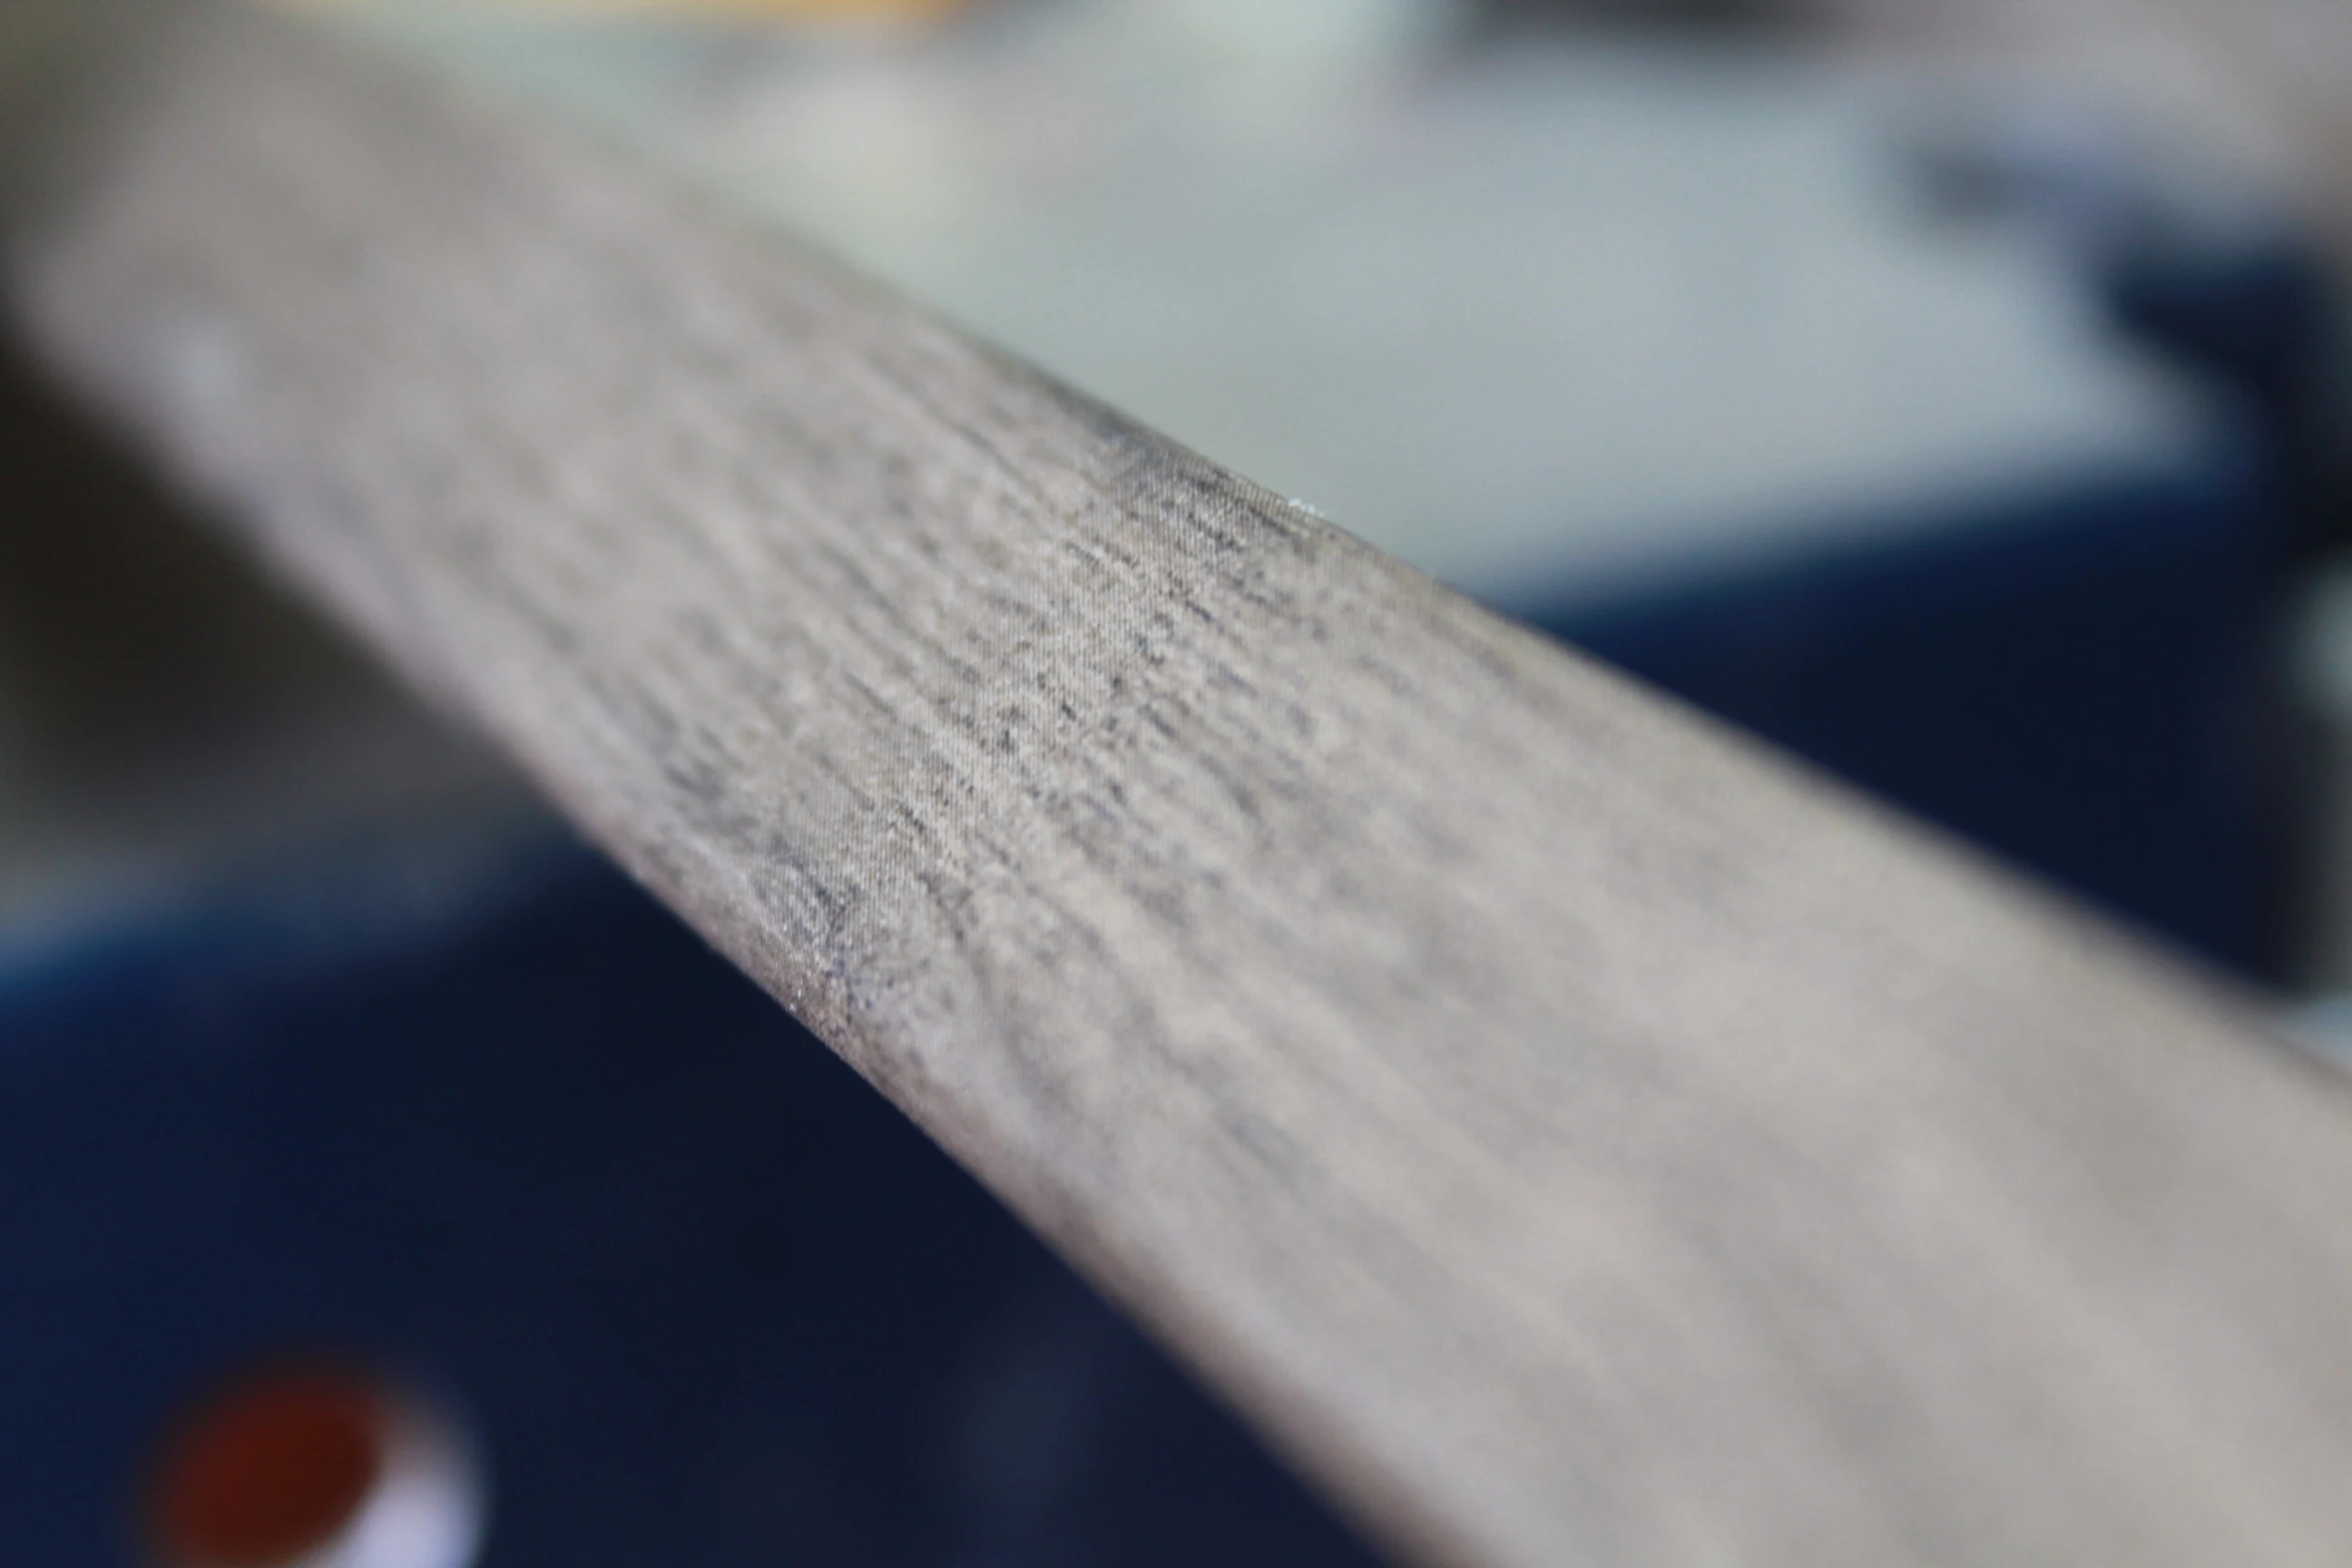
Step 2: Choose Your Trim
Head to your local hardware store to pick up a piece of trim. They have many options to choose from, so be prepared to second guess your original choice about twenty times before making your final selection.
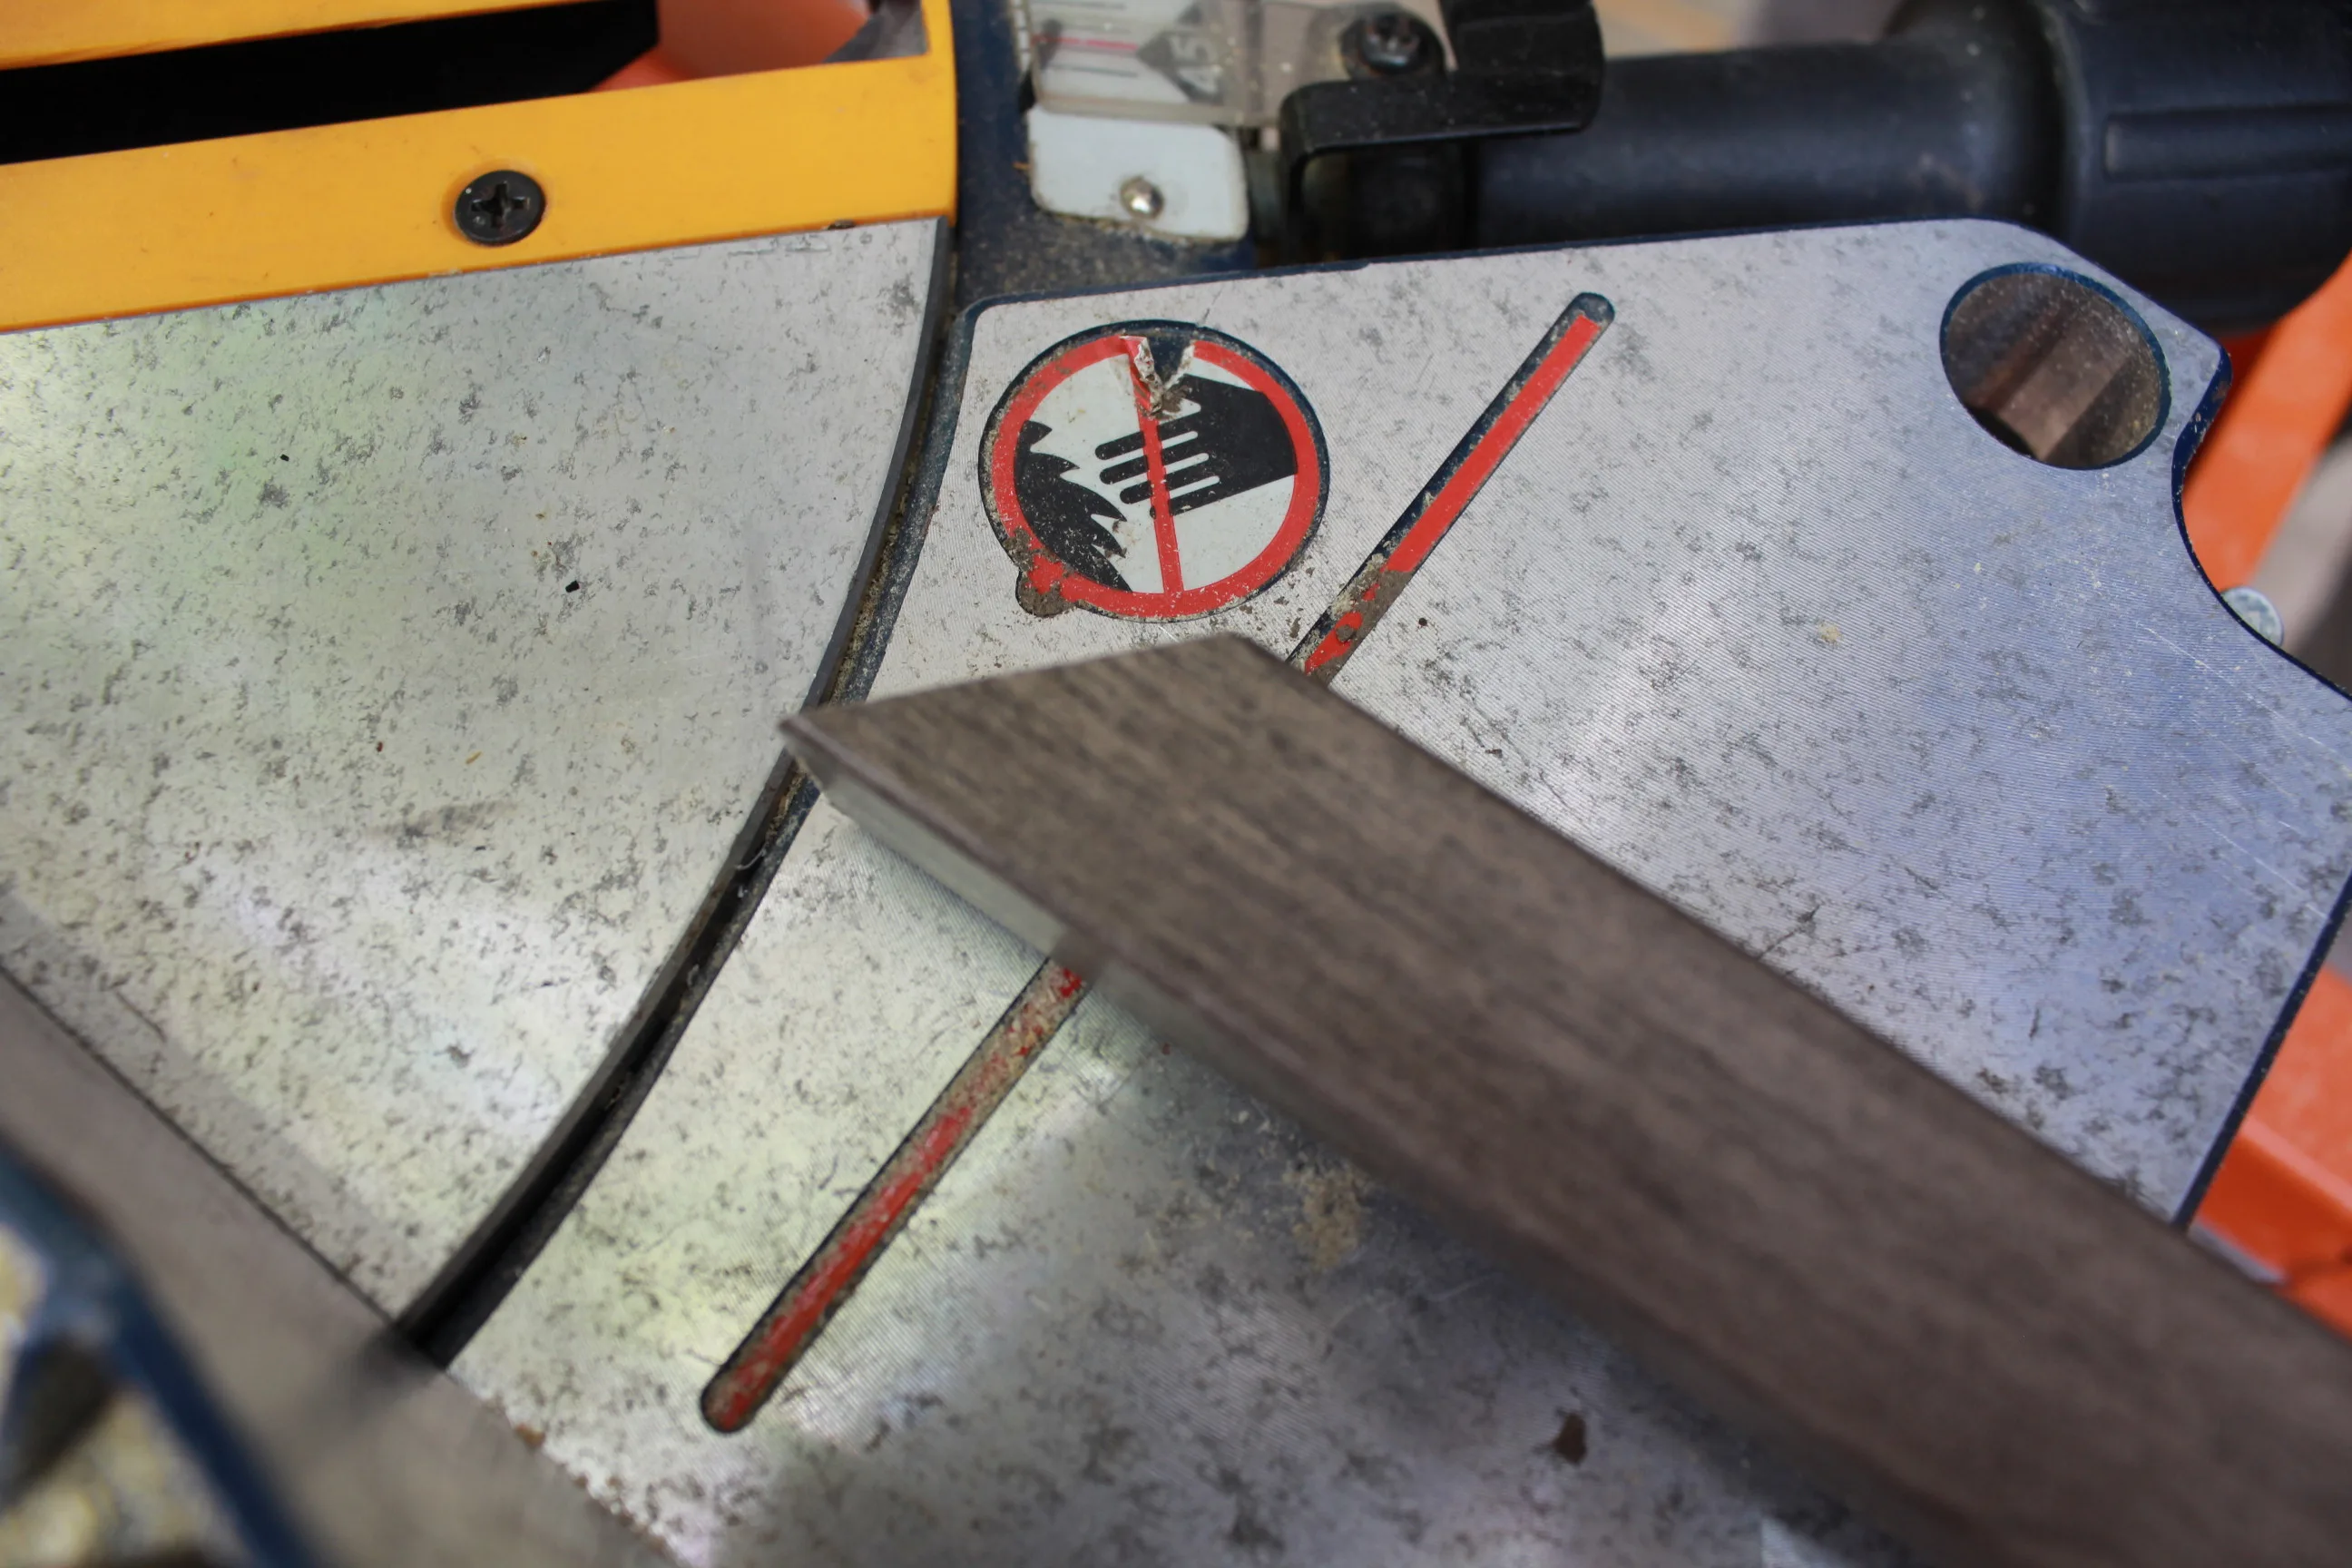
Step 3: Gather Supplies
Once you are able to make a decision, head home with your trim and gather your supplies. It’s time to get started creating your DIY Canvas Picture Frame.
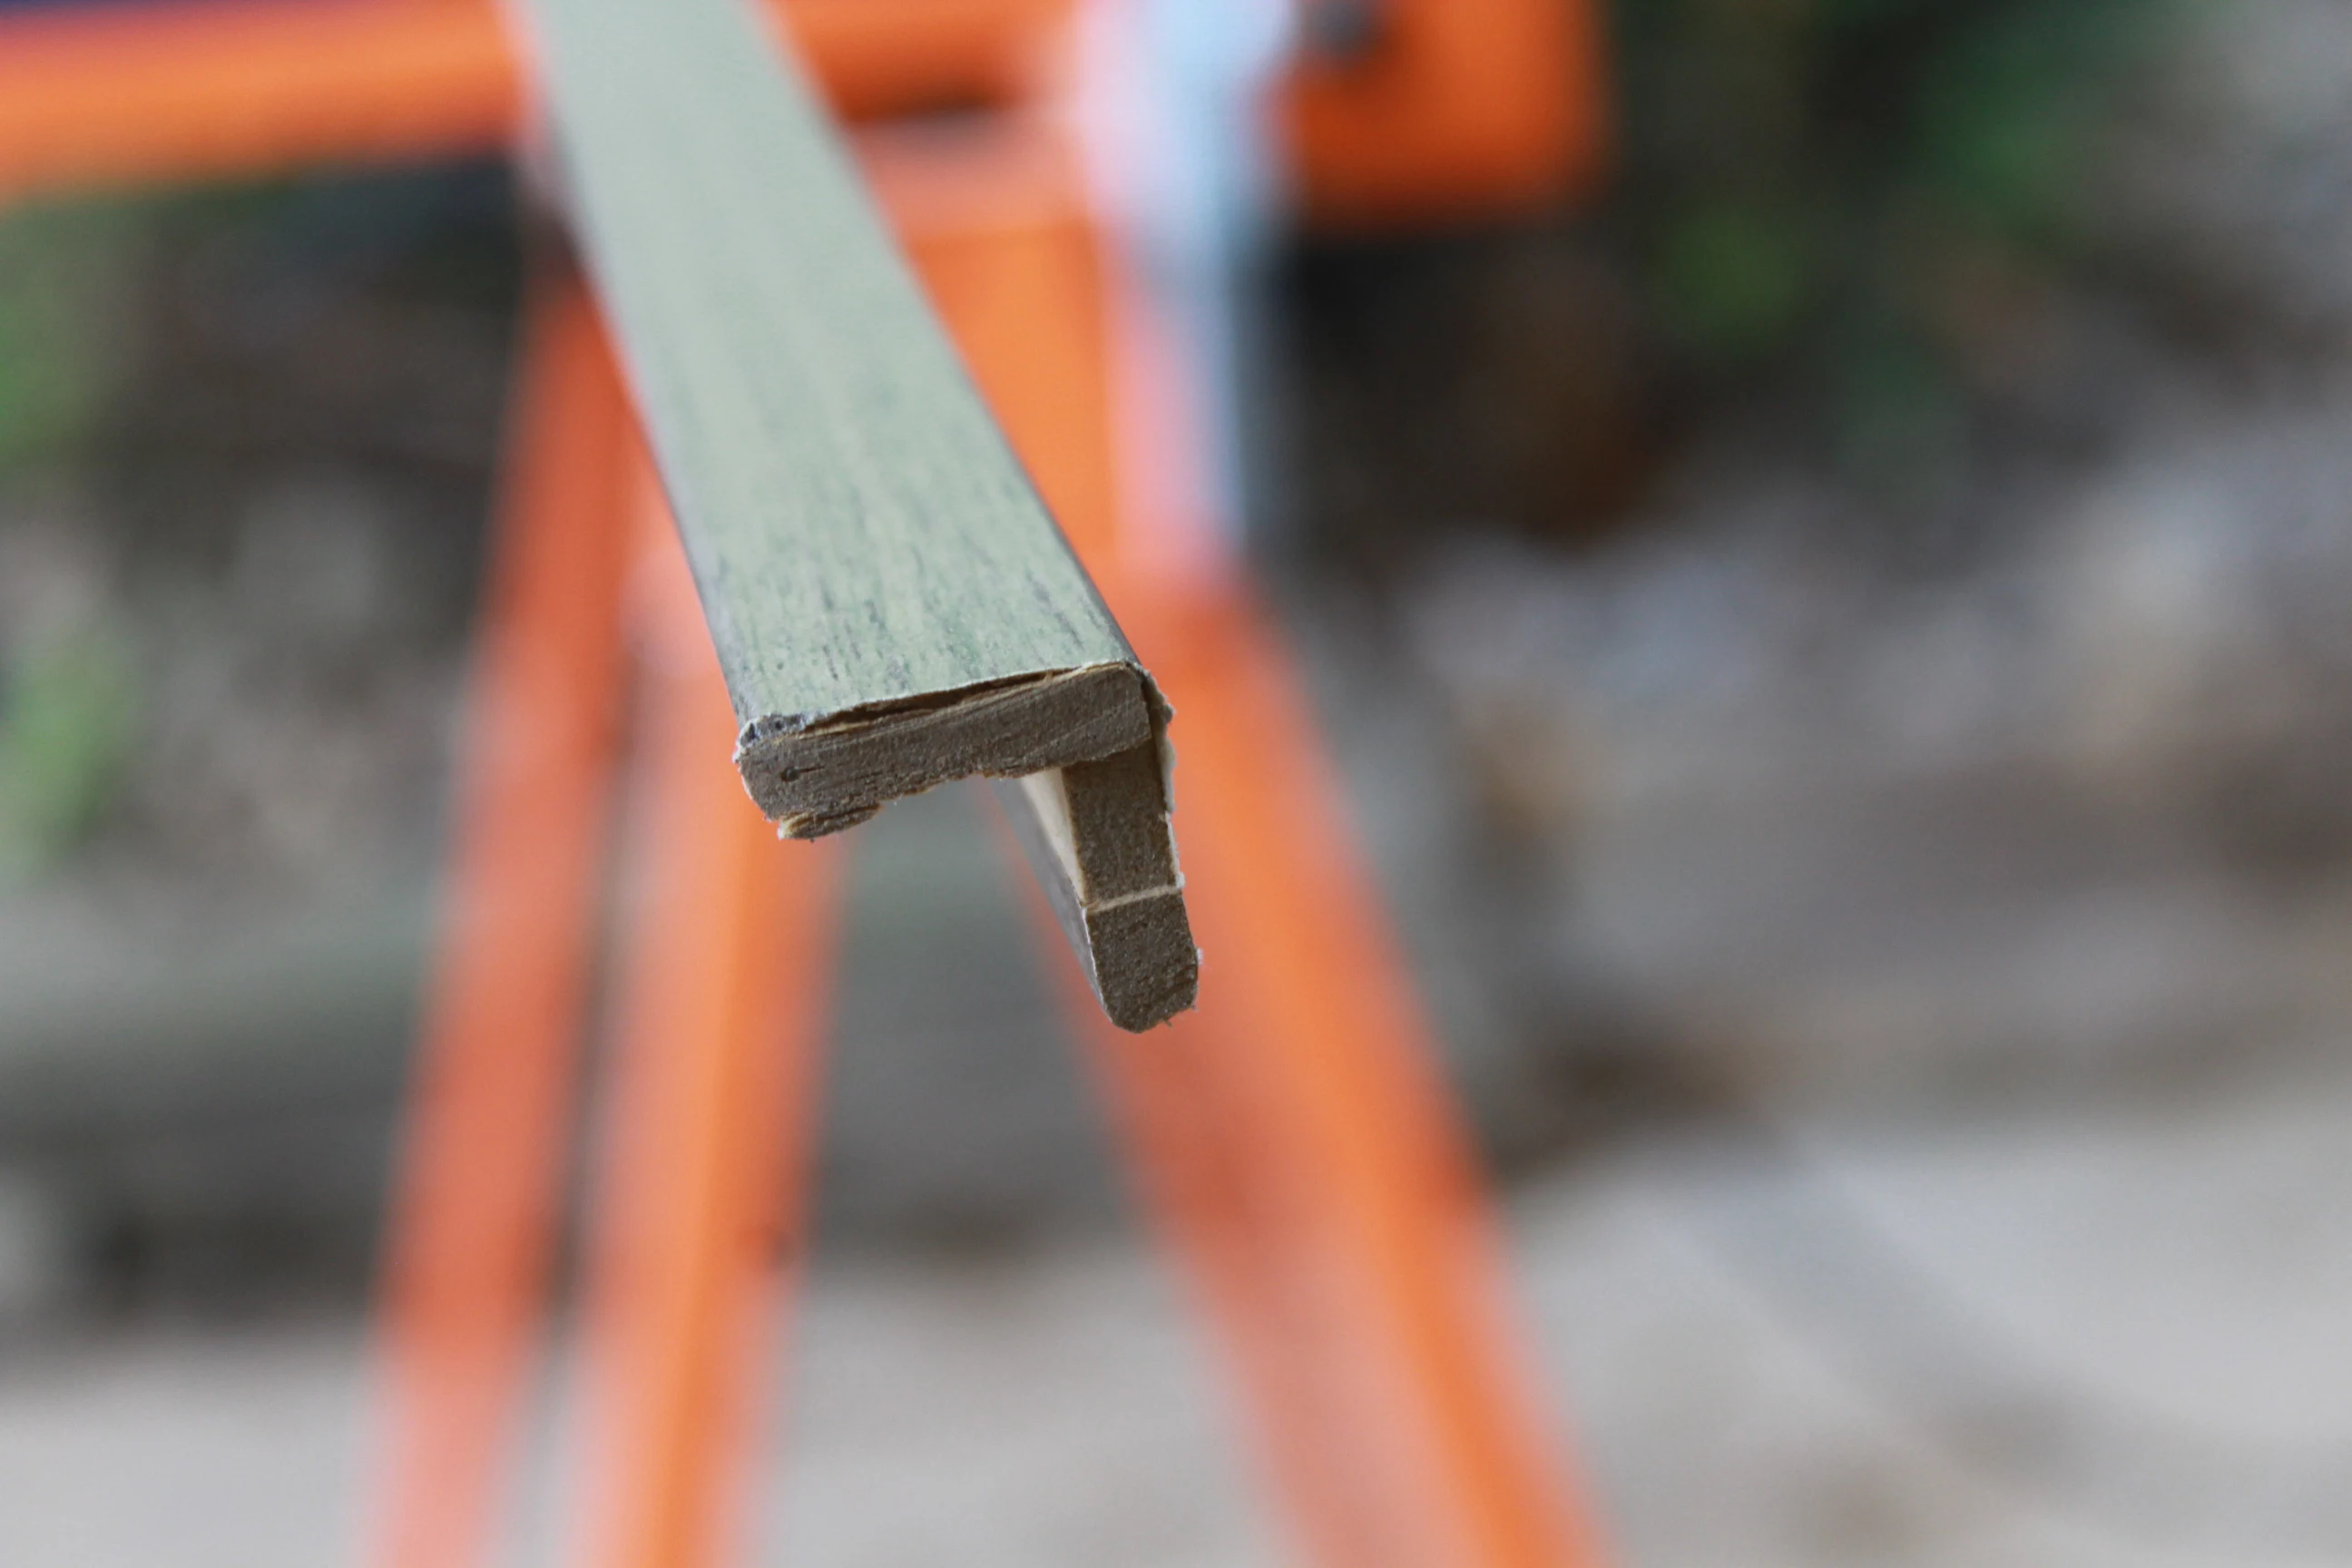
Step 4: Cutting with Miter Saw
Using a Miter Saw, cut a 45-degree angle off of one end first. Then cut 18 and 11/16 inches off at a 45-degree angle going the opposite way. Make sure you are cutting on the outside of the line, accounting for the miter saw blade coming in at 1/8 of an inch to avoid measurement errors.
Step 5: Repeat for Other Sides
Repeat the process for the other sides of the trim, ensuring symmetry based on your picture’s dimensions. If your canvas is 16″ x 20″, both the shorter and longer sides of your trim should match accordingly. This step is essential for a custom canvas frame tailored to your specific artwork.
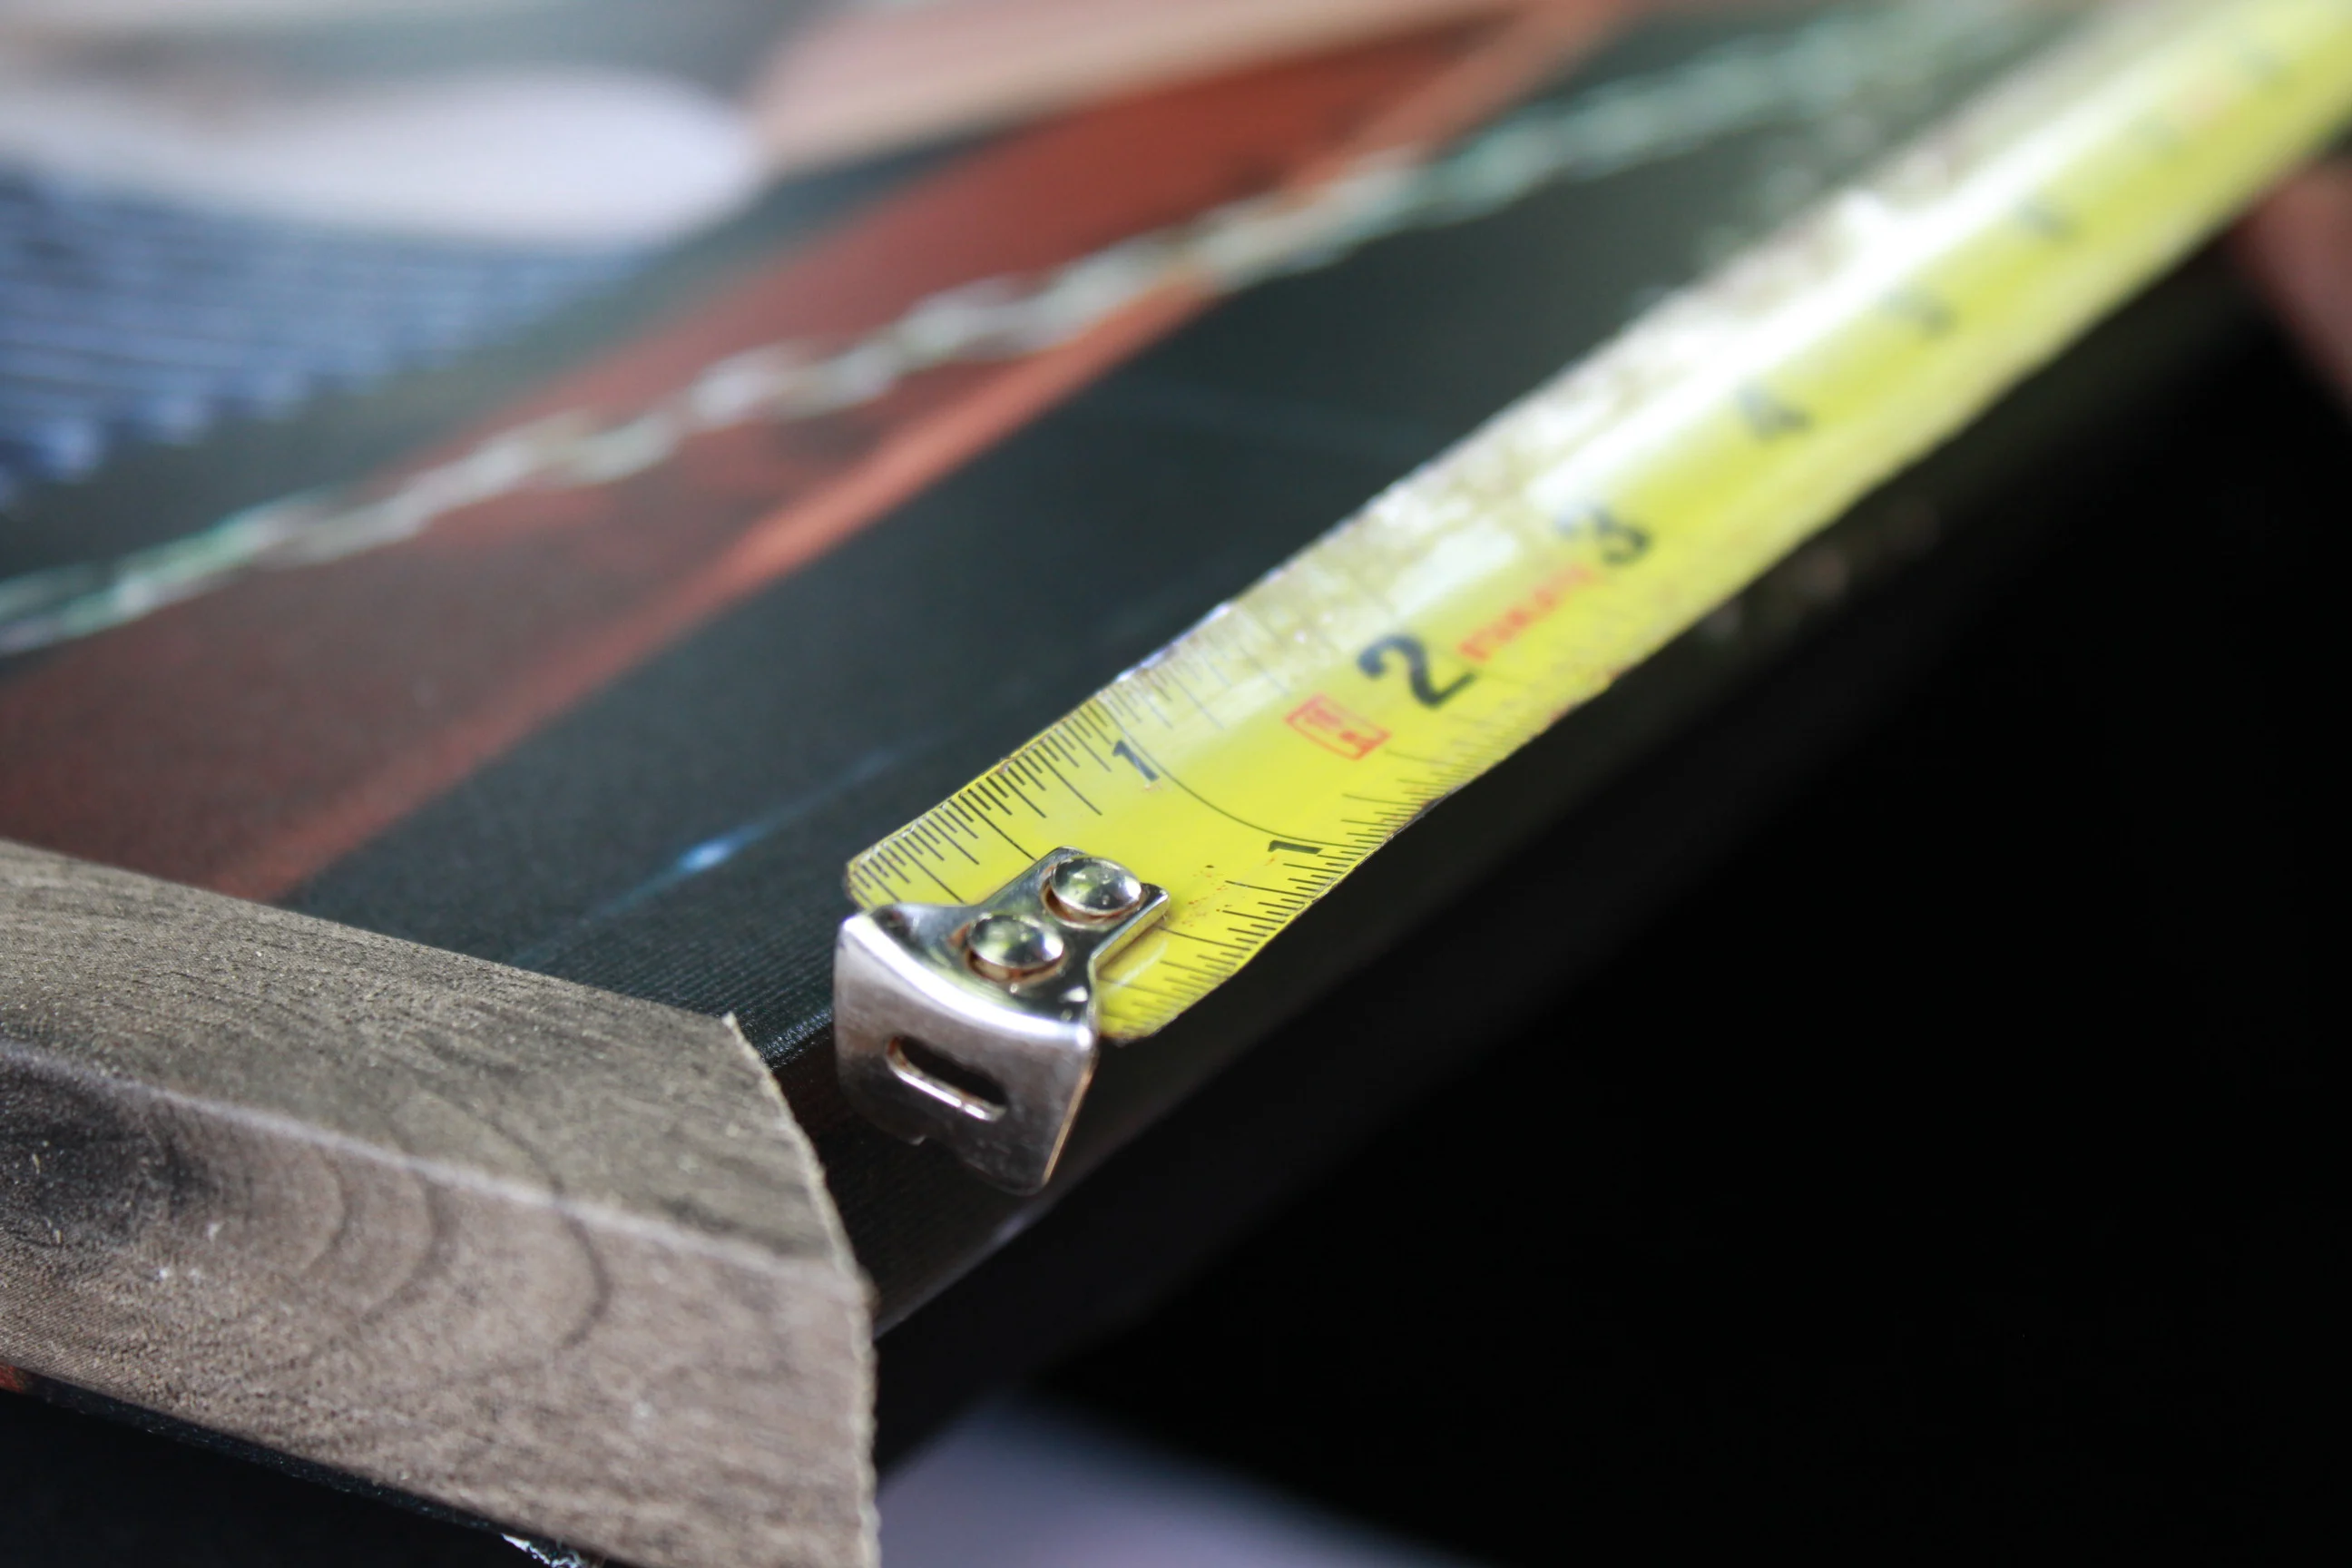
Step 6: Adjust for Uneven Canvas Art
Measure obsessively, especially if your canvas is slightly uneven. It’s better to be safe than sorry when creating projects like this DIY canvas picture frame. This ensures a smooth process for those dealing with uneven canvases.
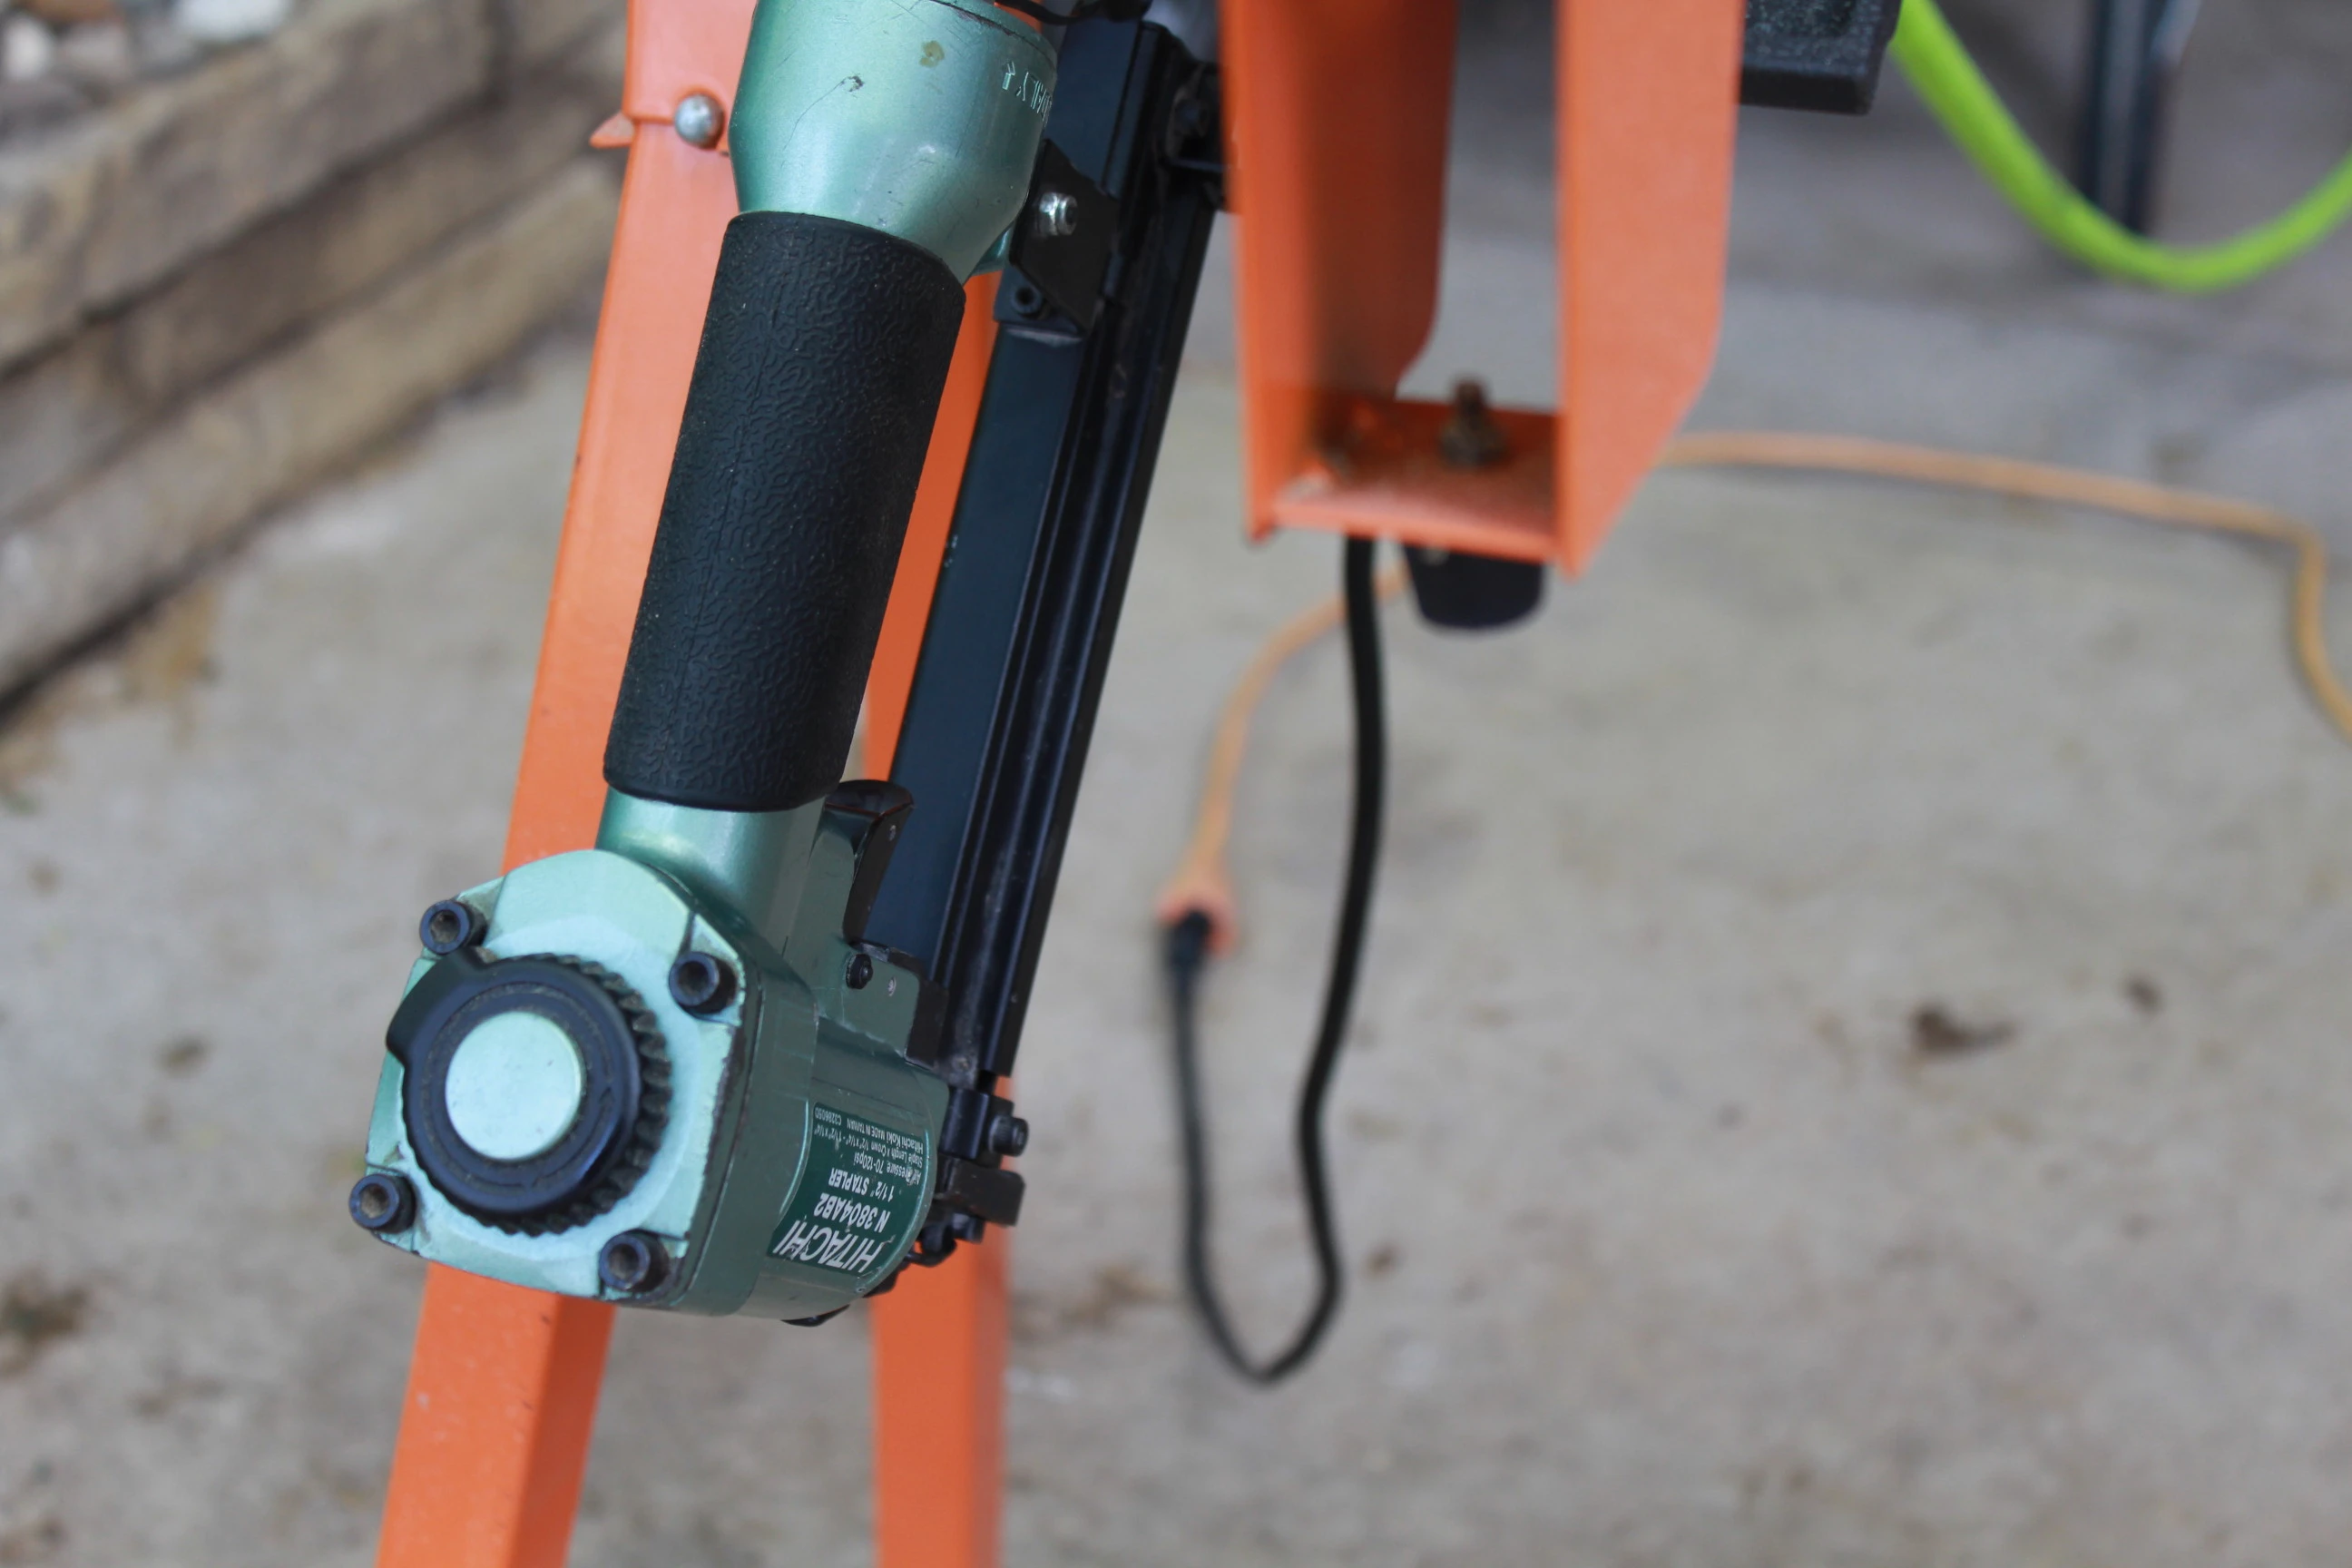
Step 7: Create Outside Corners for Canvas
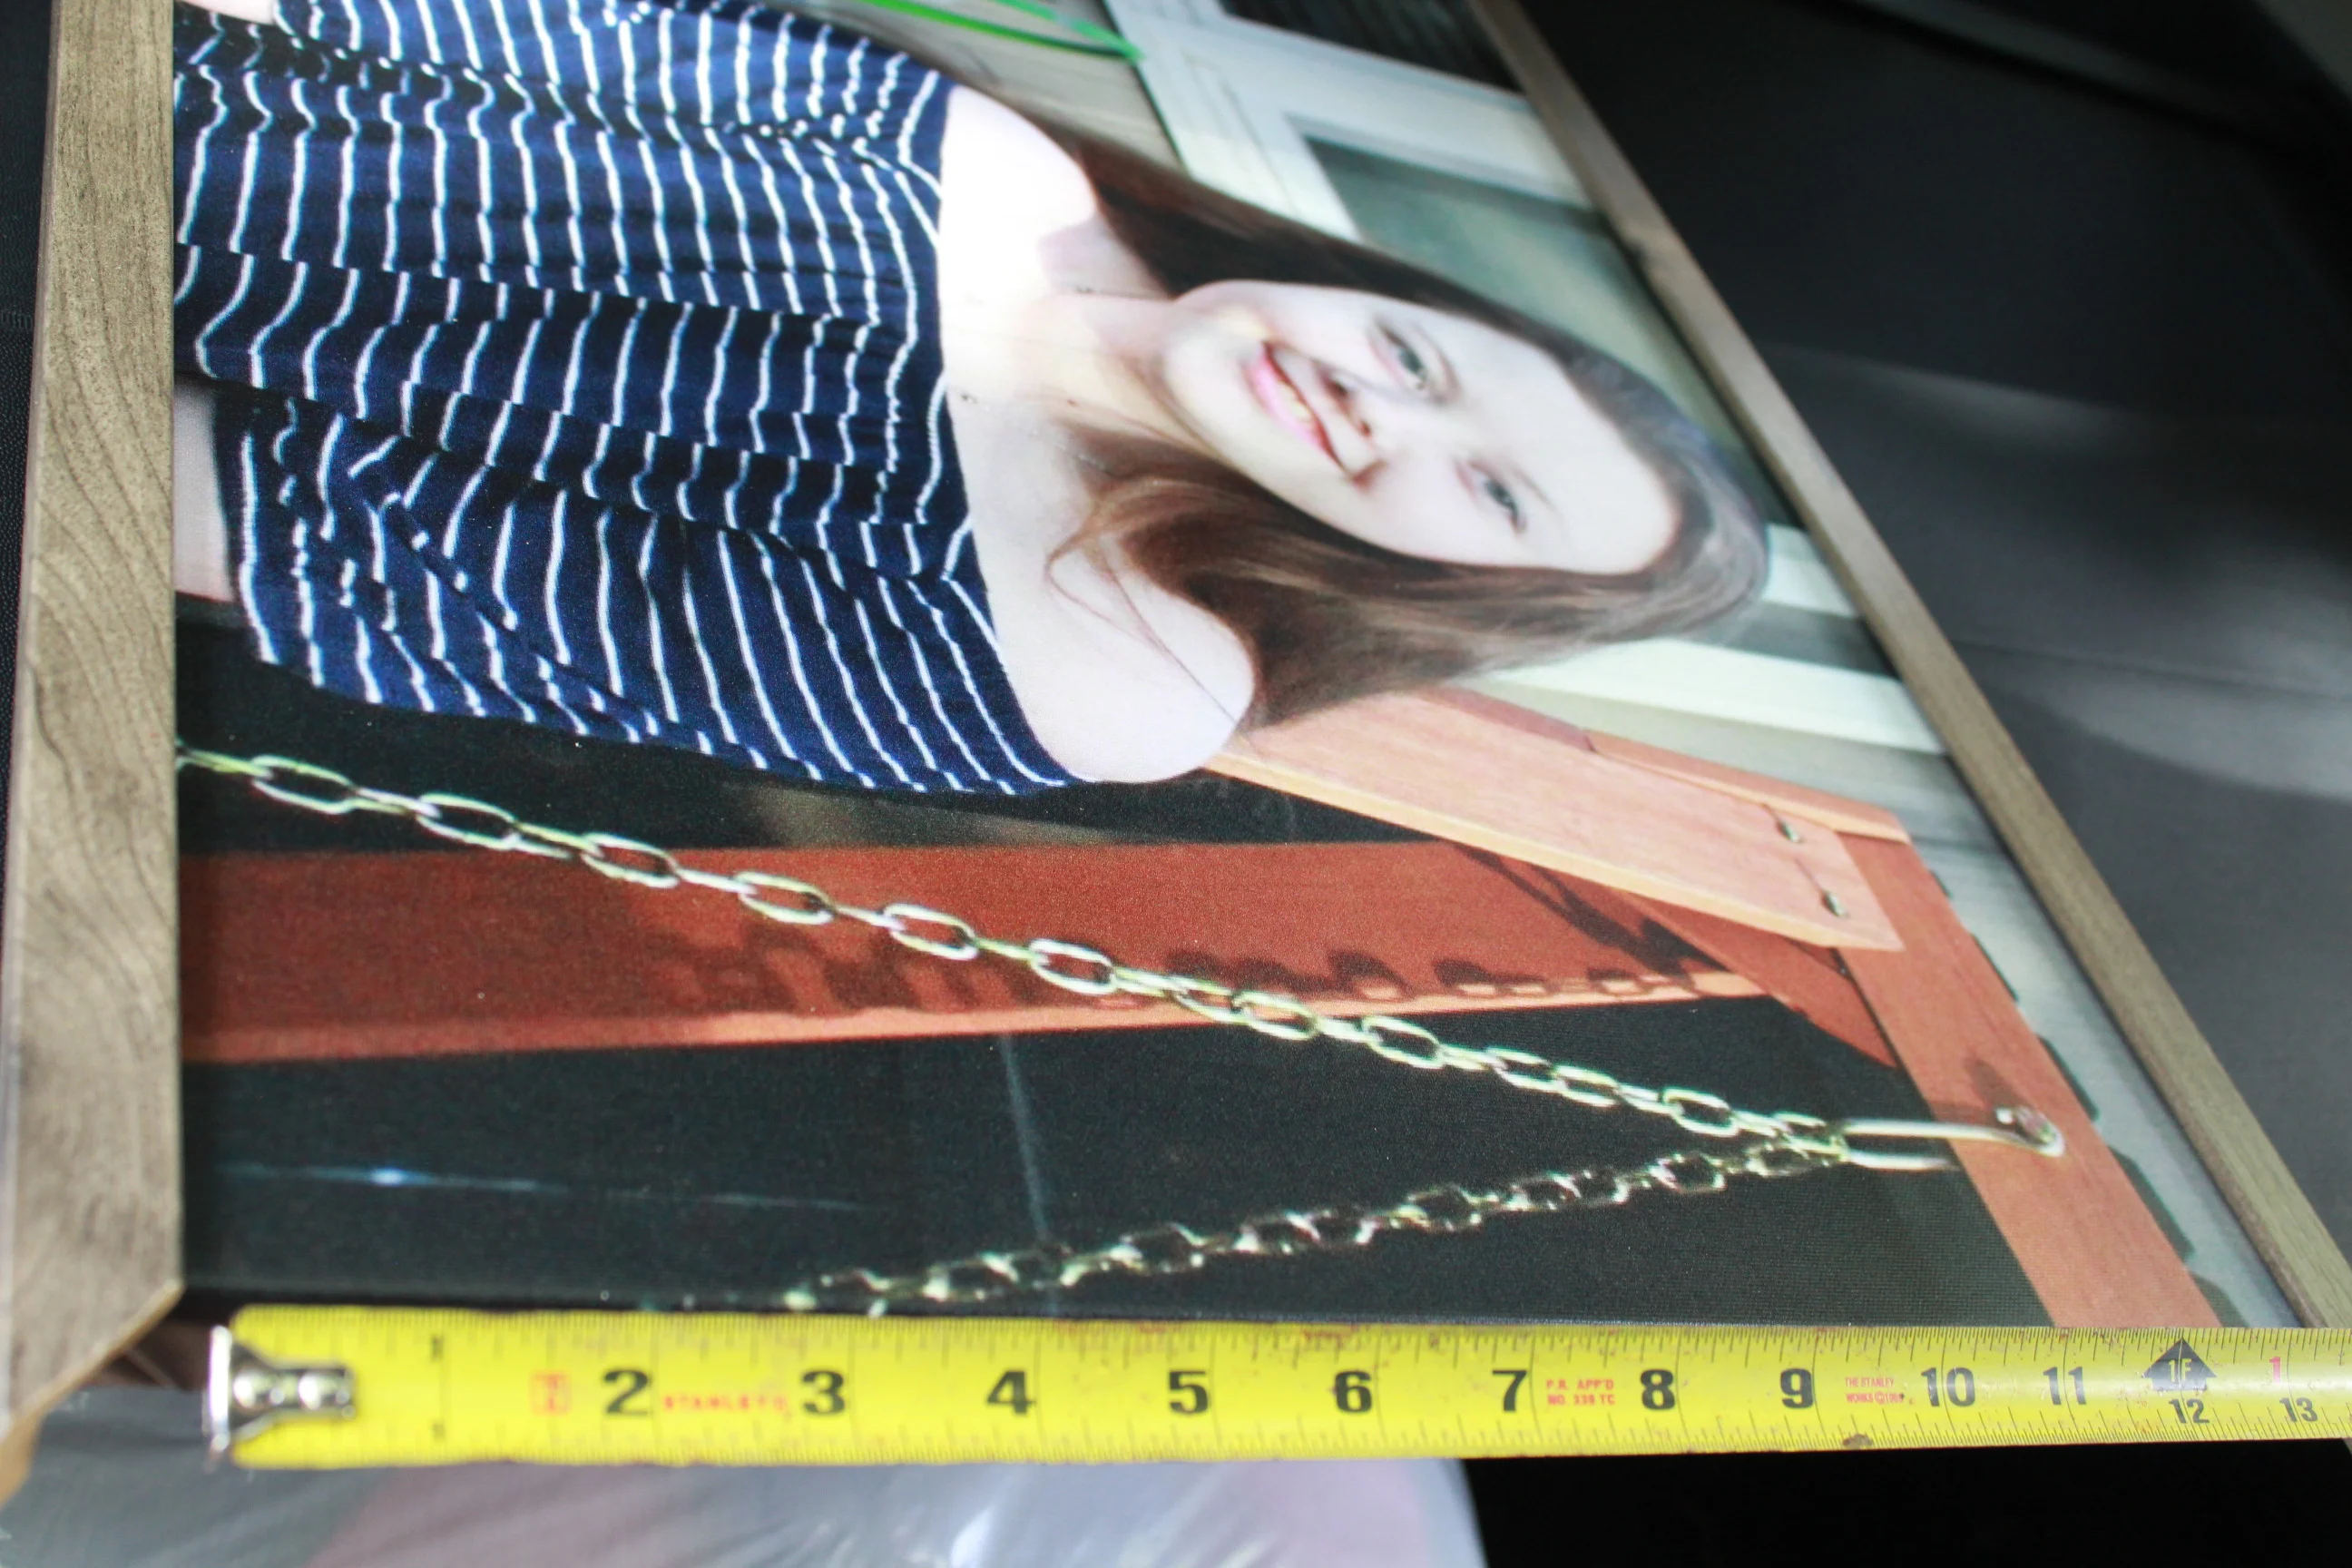
Change the saw to the other side and set it to a 45-degree angle for the next corner. Measure to make sure the bottom is the same size. Cut the end to make an outside corner while your saw is still turned in this direction.
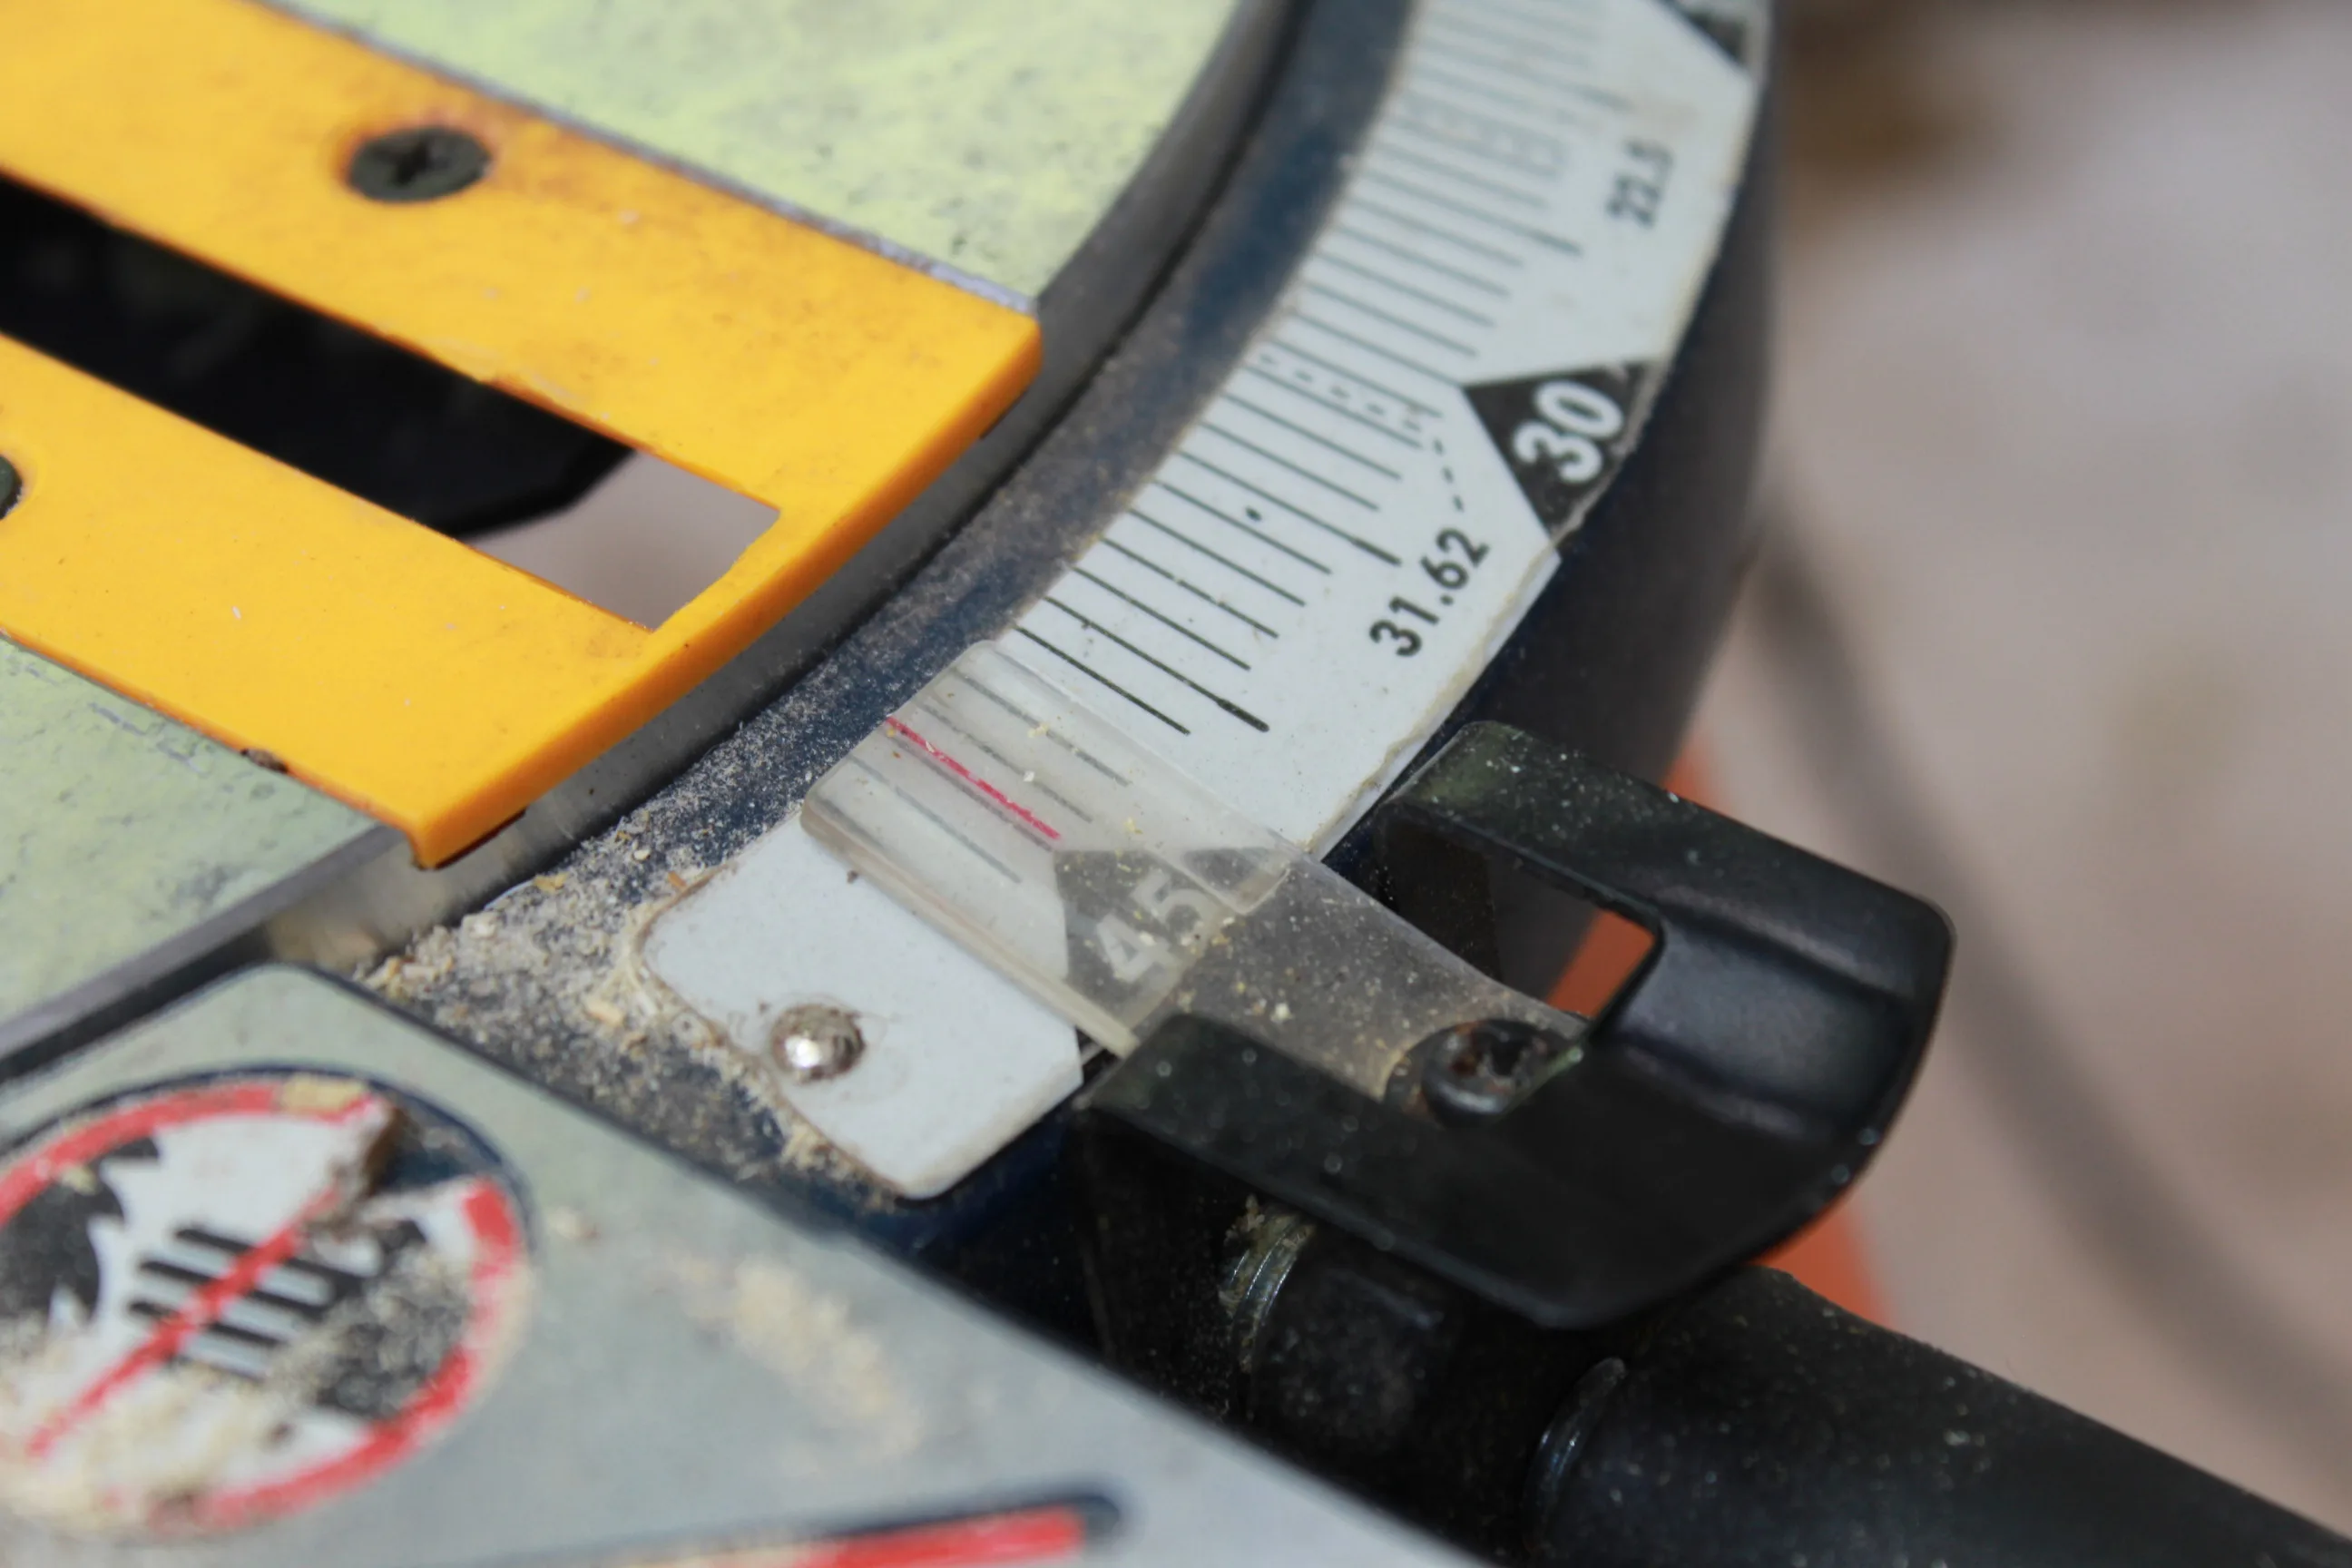
Measure the distance between the top and bottom; this should be 14 13/16″. After making the cut, turn your miter saw around and cut at another 45-degree angle. Now, do the same for the other side piece.
Step 8 Assemble the DIY Canvas Frame
Line up the cut pieces on the canvas edges. If they align perfectly, go ahead and Brad nail those pieces down. This step ensures a secure and visually appealing DIY canvas frame assembly.
These detailed steps ensure the precise construction of your DIY Canvas Picture Frame, providing a budget-friendly and personalized solution for framing your canvas art.
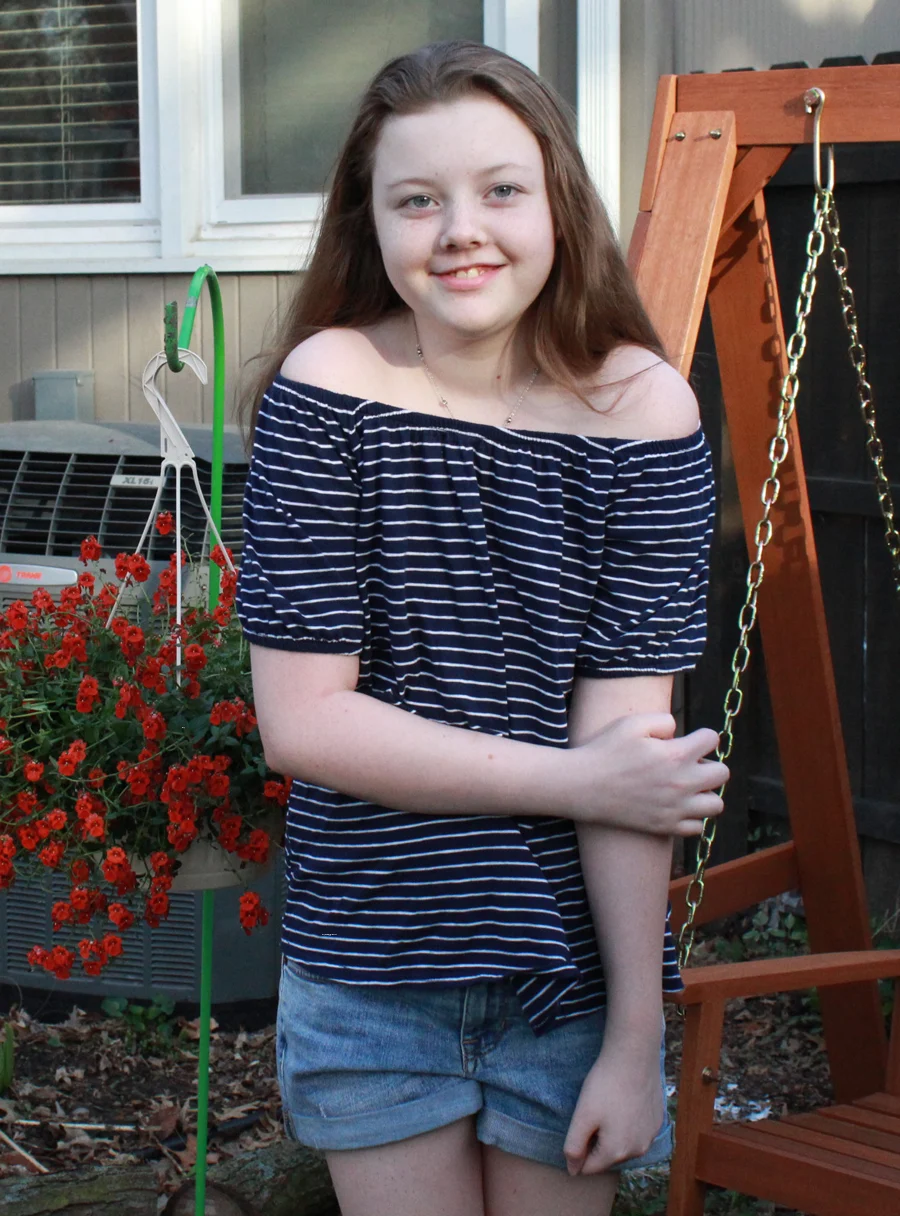
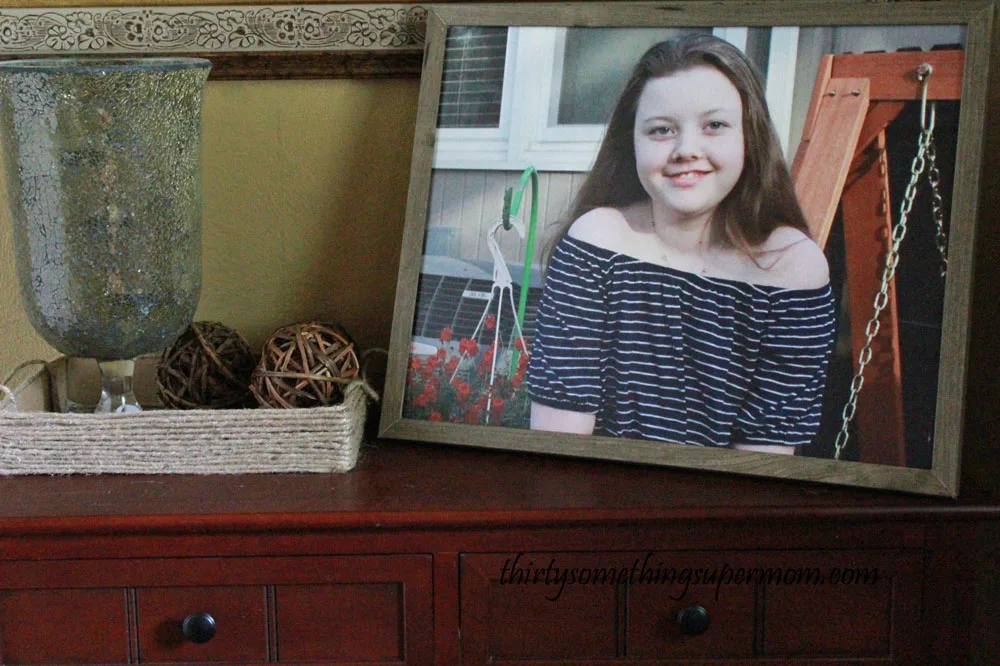
Your canvas is now beautifully framed and ready to be showcased on your wall or displayed on a table. This completed DIY canvas frame is a budget-friendly alternative to custom framing services.
Customizing Your DIY Canvas Frame
Enhance the uniqueness of your DIY Canvas Picture Frame by exploring creative customization options.
Adding personalized elements to your frame not only makes it one-of-a-kind but also allows you to express your style. Here are some ideas to inspire your customization:
- Paint and Stain Combinations: Experiment with different paint and stain combinations to achieve a customized look that complements your artwork and home decor. Whether you prefer a rustic finish, a modern touch, or a distressed appearance, the possibilities are endless.
- Decorative Molding and Embellishments: Elevate the design of your DIY frame by incorporating decorative molding or embellishments. Explore various styles and patterns that resonate with your aesthetic preferences, turning your canvas into a work of art within a frame.
- Personalized Artwork or Quotes: Take your customization to the next level by adding your own artwork or meaningful quotes directly onto the frame. This can be done through hand-painting, stenciling, or even decoupage techniques, infusing a personal touch into the framing process.
- Photo Collage Frames: Instead of framing a single photo, consider creating a collage within your DIY frame. Arrange multiple smaller canvases or incorporate other sentimental items to tell a visual story on your wall.
- Dual-Functionality: Make your frame more versatile by adding features like a hidden compartment for small keepsakes, a chalkboard surface for notes, or even LED lights for an extra touch of ambiance.
- Themed Frames: Tailor your frame to suit specific themes or occasions. Whether it’s a seasonal theme, a celebration, or a tribute to your favorite hobby, aligning your frame with a particular theme adds a unique and personal flair.
By customizing your DIY Canvas Picture Frame, you not only create a beautiful display for your artwork but also set your post apart from others in the DIY framing niche. Encourage readers to experiment with these ideas and make their canvas frames truly reflective of their style and preferences.
More Easy DIY Projects
If you enjoyed this DIY project, you’ll love this DIY photo canvas keepsake that transforms a simple dollar store canvas into a customized photo canvas.
If you want a big DIY project for the home, you’ll love this DIY pallet bed frame project.
For those of us who love no-sew projects, you’ll love these no-sew farmhouse curtains!

DIY Canvas Frame
This DIY canvas frame is an easy way to add a finished look to a canvas.
Materials
- Canvas
- Trim
Tools
- Miter Saw
- Brad Nailer
- Measuring Tape
- Pencil
- Safety Glasses
- Optional: Sandpaper, Wood Stain, Paint
Instructions
Measure your canvas on all sides to determine the amount of trim needed. Head to the hardware store and select trim for your DIY frame. Using a Miter Saw, cut a 45-degree angle on one end of the trim. Then, cut 18 and 11/16 inches in the opposite direction. Repeat for the other sides. Change the saw to the other side, set it to a 45-degree angle, and cut the end to create an outside corner. Measure the distance between top and bottom; it should be 14 13/16 inches. Turn the saw around and cut at another 45-degree angle. Repeat for the other side piece. Line up the cut pieces on the canvas edges. If they align perfectly, use a brad nailer to secure them in place. Sand the frame if needed. Consider staining or painting for a personalized touch. Your canvas is now framed and ready to be showcased on your wall or displayed on a table.
Notes
Personalize with different stains, wood types, or type of canvas art.
About Thirty Something Super Mom

My journey started after a Crohn's disease diagnosis, inspiring a commitment to well-being. This site shares my distinctive approach to healthy living with my collection of nutritious recipes that boast authentic flavors, mimicking the indulgence of traditional dishes. I love sharing guilt free recipes for low carb, keto, gluten-free, paleo, and the specific carbohydrate diet. I also share tips on natural living, including homemade cleaners and cleaning hacks. I also share my experience as a veterinary technician and pet groomer, to integrate pet health tips, homemade dog food recipes, and grooming insights to ensure your pets thrive.

Leela
Sunday 10th of June 2018
I'd love to make one of these.
LeAnn Harbert
Sunday 10th of June 2018
I would get a picture of my granddaughters.
Leah Shumack
Sunday 10th of June 2018
I have some pictures from our vacation last summer that could use a really nice frame!
marlene a harris
Sunday 10th of June 2018
sounds like fun hope i win
wen budro
Sunday 10th of June 2018
I love DIY and creating things for my home. It saves a lot of money and makes each creation special and unique.