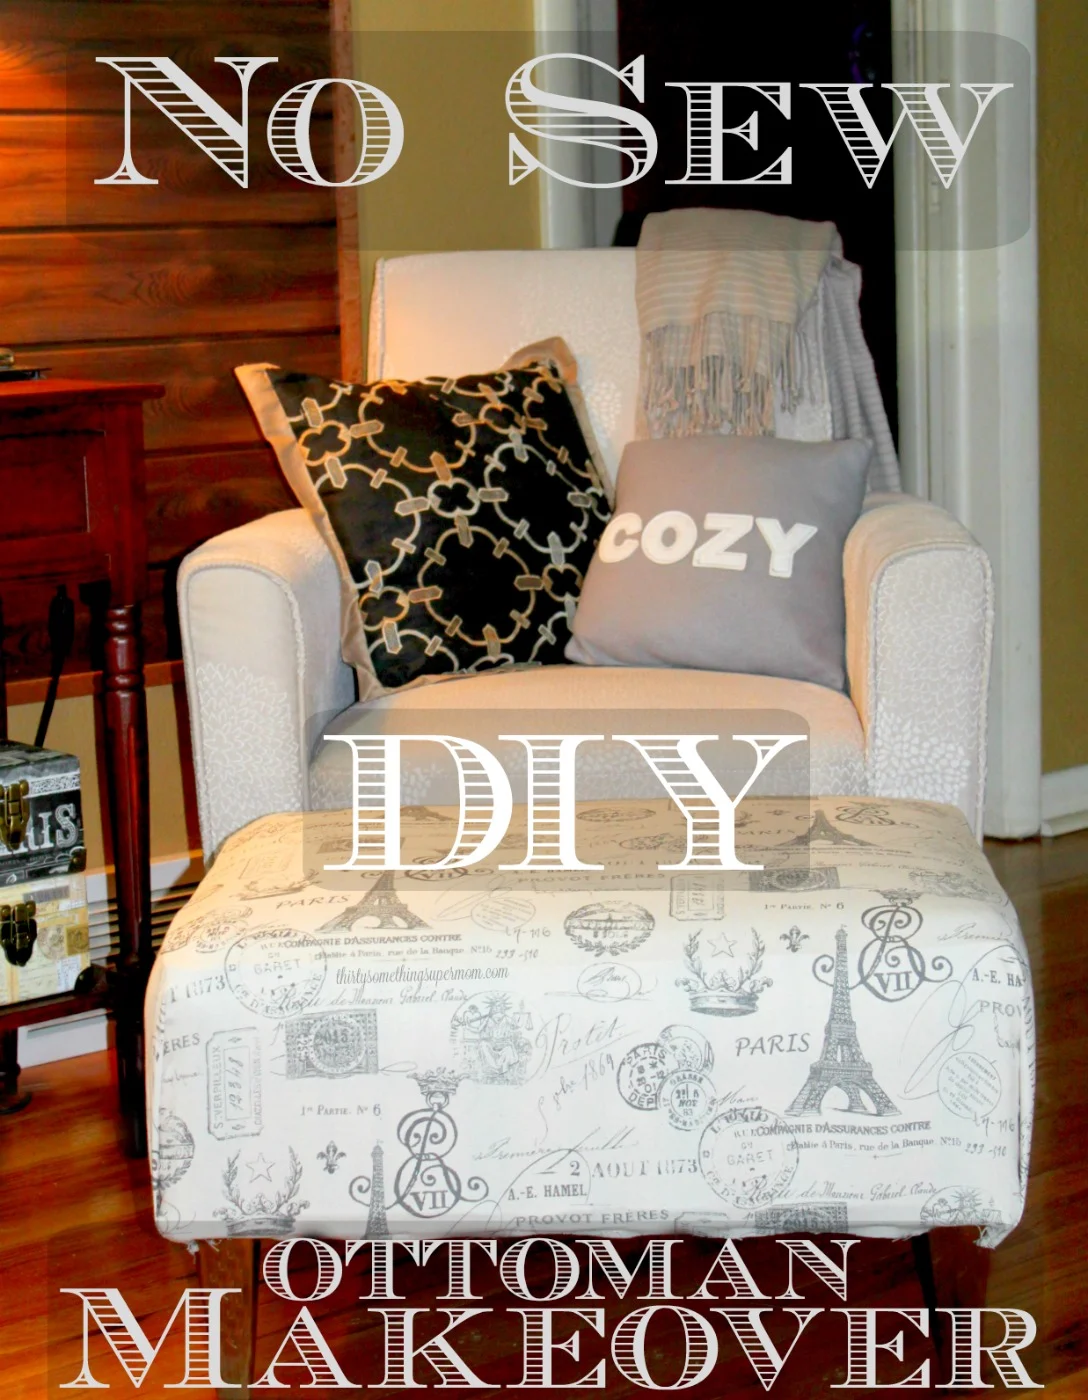
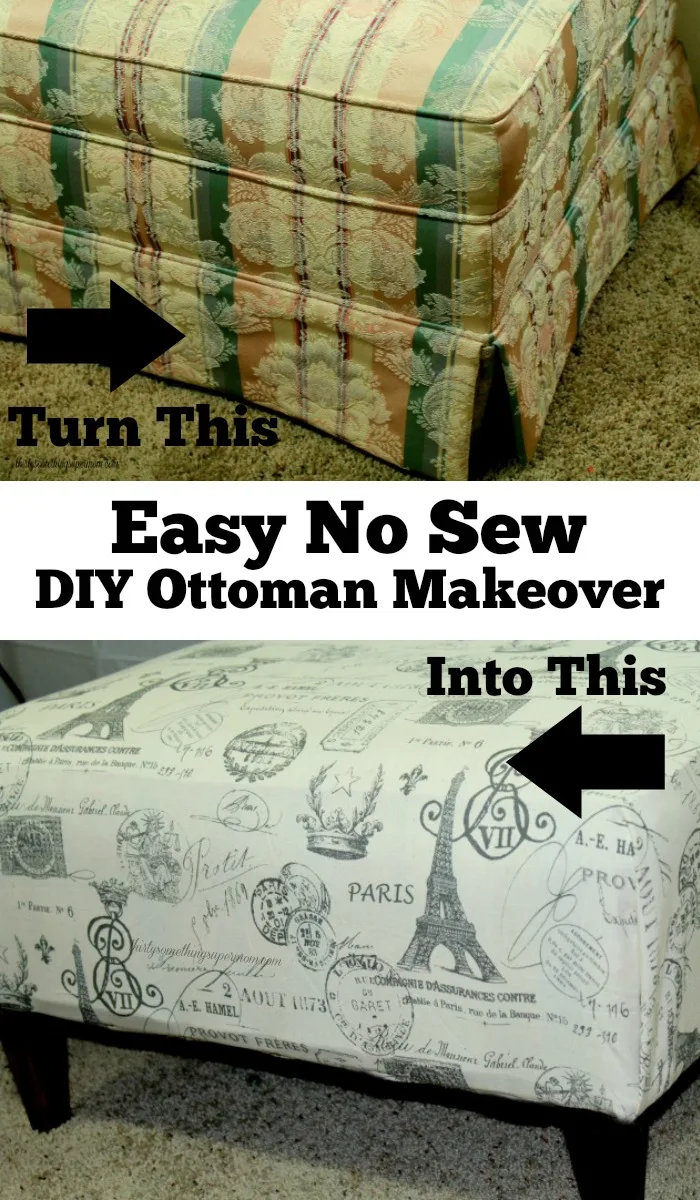
This ottoman DIY step-by-step guide is a great way to add a new look to an old ottoman for those of us who haven’t quite mastered the sewing machine.
Another great thing about this easy DIY project is that it doesn’t require the use of power tools since we will be giving a new look to an existing ottoman.
This budget-friendly DIY ottoman promises to breathe new life into your existing furniture, making it an ideal choice for those seeking an effortless yet rewarding home decor upgrade.
Let’s dive into the creative process and give your ottoman the makeover it deserves!
Keep in mind that this ottoman DIY contains affiliate links which means that if you make a purchase after clicking a link, I will receive a small portion of the sale at no additional cost to you.
Revive Your Space: A No-Sew DIY Ottoman Makeover
I was inspired to create a DIY upholstered ottoman after building a plank accent wall in my living room and adding extra seating.
This is the perfect project for your family room, living room, or even guest rooms that could benefit from a place to put up your feet at the end of the day.
This project is a great idea for those of us who want to create a versatile piece of furniture without making a trip to Home Depot.
No need to pick up a piece of plywood, pine boards, or wood glue, or even break out a drill bit for pre-drilled holes or pilot holes.
In fact, no circular saw, wood pieces, upholstery thread, upholstery foam, concrete form, or upholstery needle is required for this project, which makes this perfect for first time DIYers.
This is truly the easiest way to transform a flea market find into your own beautifully finished ottoman.
Plus, everything you learn from this DIY ottoman project can be used for creating an upholstered top for future projects.
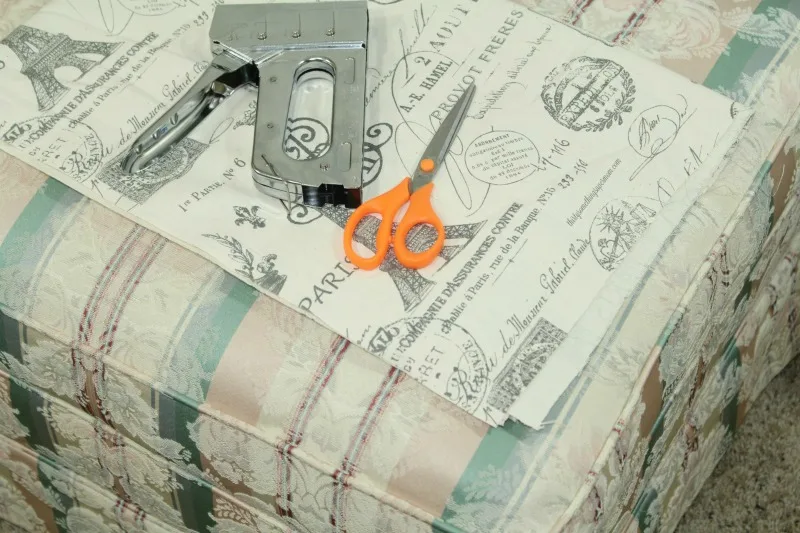
Supplies Needed for this No Sew DIY Ottoman
All you will need for this project is a staple gun, staples, upholstery fabric, scissors, and of course an ottoman.
Pick out your fabric and measure it to make sure it is the perfect size to cover the entire thing. You will want to measure the base of the ottoman and the whole top of the ottoman.
I only needed one yard and was able to spread it across my ottoman to see that it would be big enough to cover the top and sides of the ottoman.
Although while you are at Joann Fabrics or Hobby Lobby it wouldn’t hurt to pick up excess fabric just in case you need it.
This fabric might also come in handy for future crafting endeavors, such as creating a stylish vintage rug or fashioning your very own DIY pouf.
After creating your own ottoman DIY I am sure you will come up with many different ways to use leftover fabric around your home.
How to Create Your DIY Storage Ottoman
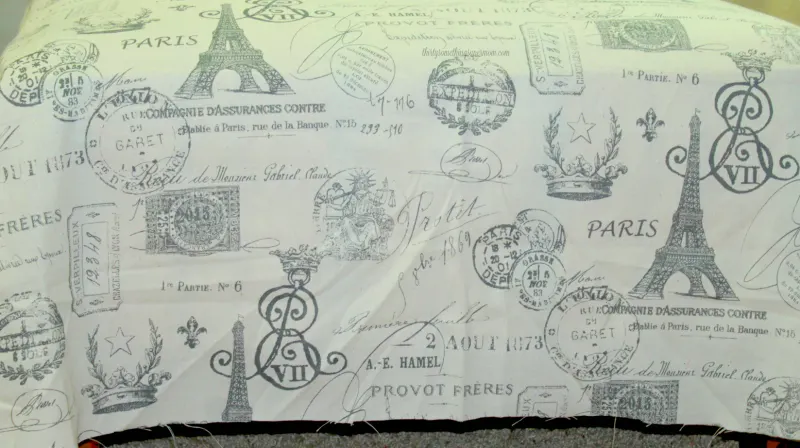
To ensure a seamless upholstery process, begin by cutting your fabric slightly larger size than what’s required to cover the ottoman.
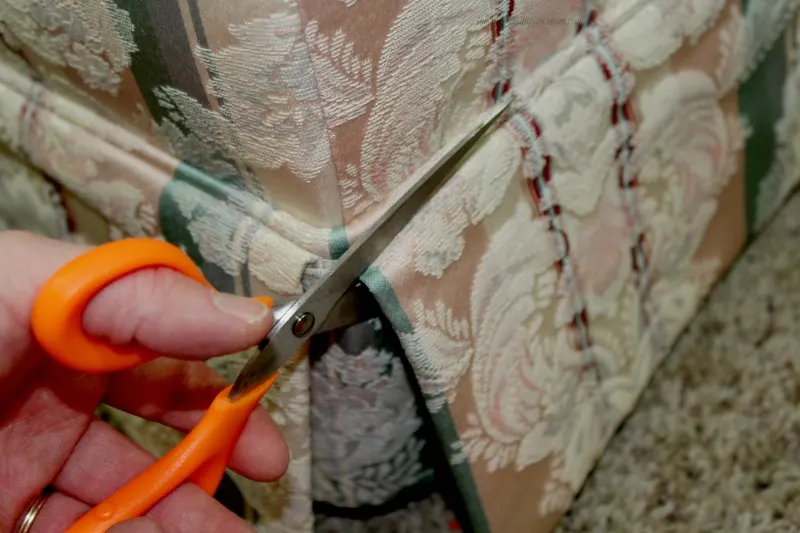
Now, it’s time to secure the fabric onto the ottoman’s base. Look for the existing piece of wood where the previous fabric was attached – this will serve as a sturdy anchor for your new fabric.
As you start working on the first side, don’t worry too much about pulling the fabric too tight initially.
You’ll have the opportunity to address any wrinkles or loose edges when you reach the opposite side.
However, it’s essential to maintain consistent tension and keep the fabric straight throughout the stapling process.
Adding the Fabric to Your DIY Storage Ottoman
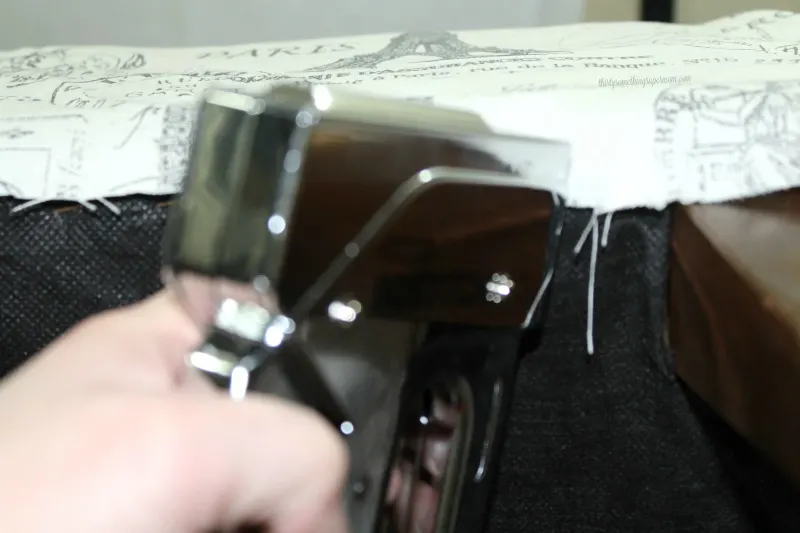
Begin stapling along the edge, and as you progress, move to the opposite side of the ottoman. If you find yourself stapling an opposing side to an area you’ve already worked on, consider enlisting a helper.
A little brother comes in handy to assist in pulling the fabric taut while you secure it creating a flat surface.
If you’re tackling this project solo, you can keep the fabric at the top of the foam in place by using your knees to hold down the ottoman’s legs.
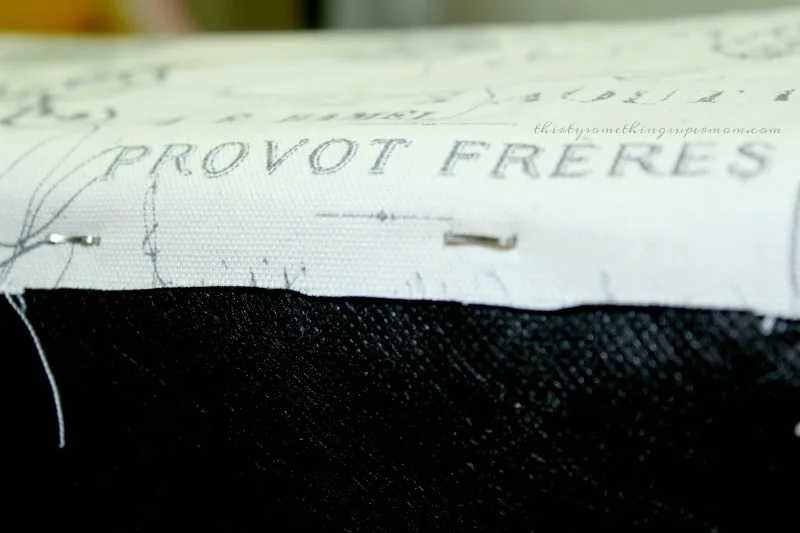
When you reach the corners, a nifty trick is to fold the fabric’s edge into a neat triangle underneath the outer layer. This technique ensures that you’ll achieve a clean, straight line along the ottoman’s edges.
The next step is to securely staple the fabric underneath while ensuring it remains taut on both ends.
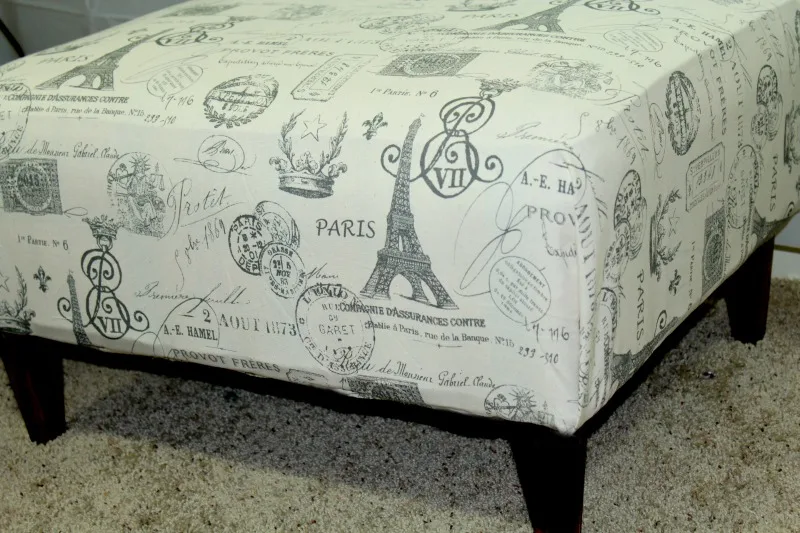
This meticulous approach will result in a beautifully upholstered surface, providing a flat and comfortable cushion for the top of the ottoman.
Taking Your DIY Ottoman to the Next Level
For those of you eager to take your DIY storage ottoman to the next level, let’s delve into some exciting possibilities and creative enhancements.
This comprehensive guide will show you how to infuse personality and functionality into your old coffee table turned stylish ottoman.
You can truly transform your space by exploring various upholstery options, including different colors, patterns, and textures.
Whether you want to harmonize with your existing furniture or make a bold design statement, the choice is yours.
Create a Tufted Top
To achieve a classic and sophisticated look, consider creating a tufted top. This process involves crafting tufted buttons and arranging them strategically on the top of the lid.
Experiment with button placement and spacing to achieve your desired tufted effect, adding an element of timeless charm to your piece.
Elevate the aesthetics of your ottoman by incorporating decorative trim, such as nailhead trim or fabric welt cord, along the edges.
These subtle yet stylish details will give your creation a polished and professional appearance.
It can also help to cover any blemishes created while working on this piece or highlight the good sides of your ottoman DIY.
Add a Personal Touch
Add a personal touch to the top pieces with monogramming or embroidery.
Whether it’s your initials, a meaningful design, or a memorable date, this customization will make your creation truly unique and special.
Can You Turn a Coffee Table Into an Ottoman?
Yes! When aiming to maximize storage in a compact living area, crafting your very own ottoman coffee table can be an ingenious solution.
Follow these steps to embark on this rewarding DIY project that is perfect for creating extra storage in a small space. No need to spend a bunch of money at West Elm or your local furniture store.
These DIY ottoman plans can transform wooden crates, an end table, a storage chest, or a side table to create your own storage ottoman.
Simple Steps for Creating a DIY Storage Ottoman
Begin by thoroughly cleaning and sanding off the old wood stain from your existing coffee table.
Eliminate any existing finish or paint until you expose the pristine, bare wood surface. This initial step ensures optimal adhesion of adhesive and fabric to come.
Measure the top surface of your coffee table meticulously, then proceed to cut a piece of plywood to precisely match these dimensions.
This plywood piece will serve as the sturdy base for your ottoman’s upholstered top.
Cut the upholstery foam to precisely fit the dimensions of your coffee table’s top. If you desire an extra layer of comfort, consider layering high-density foam or foam padding beneath it.
To securely attach the foam layers, utilize spray adhesive, ensuring a strong bond while trimming away any excess.
Adding the Fabric
Lay your chosen upholstery fabric over the foam-covered plywood, allowing it to extend a few inches beyond the edges.
Pull the fabric taut and begin the stapling process on the underside of the plywood. Initiate stapling from the center of each side, progressively working your way toward the corners.
Trim any surplus fabric for a clean finish or you might explore various seam allowance techniques to customize your upholstery.
Creating Storage
Create a box structure within the coffee table by attaching wooden boards along the inner perimeter of the table’s base.
When attaching wooden boards along the inner perimeter of the table’s base, it’s crucial to ensure these boards are tall enough to accommodate your desired storage depth.
To introduce convenient storage to your ottoman, affix hinges to one side of the coffee table’s top surface.
These hinges will enable the top to lift, unveiling the concealed storage space within.
Ensure the hinges are securely fastened to both the top of the box and the base of the table for reliability.
In the final stages of your DIY ottoman project, you’ll find that attention to detail on the right side of your piece can make all the difference.
As you approach the last step, remember to secure any structural components with 2-inch wood screws and reinforce your ottoman’s stability with precision pocket holes.
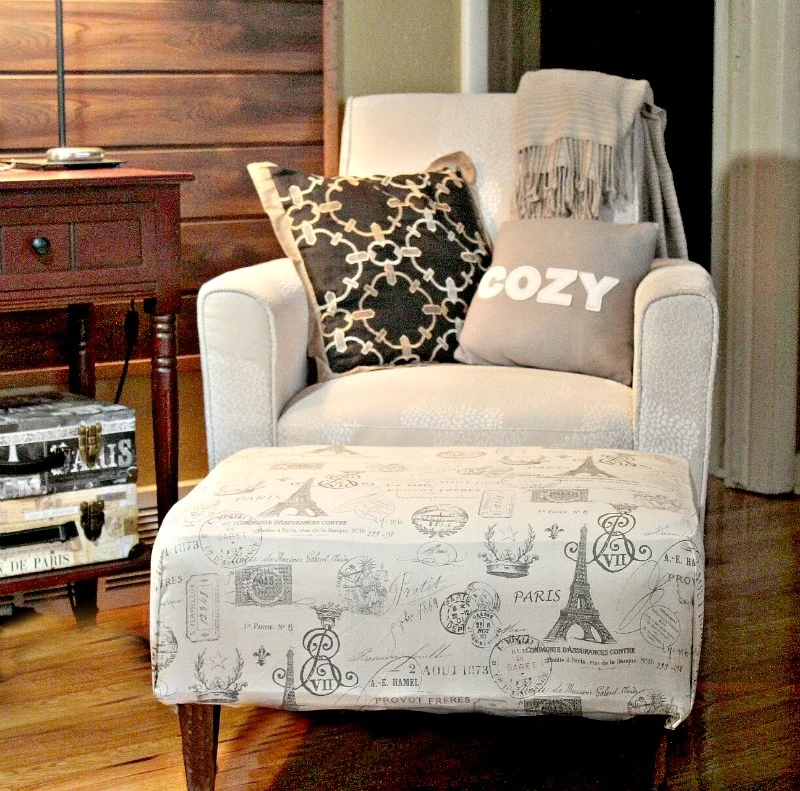
As you complete your ottoman, take a moment to appreciate your craftsmanship and the good time you’ve had crafting this versatile piece.
Your DIY journey, guided by a gallon bucket of creativity and a few long pieces of wood, will result in an ottoman that not only serves as a practical addition but also showcases your unique style.
Looking for More Easy DIY Furniture Projects?
Learn How to DIY a Pallet Bedframe and for beginners, this DIY Pallet Coffee Table is easy to make, no matter your DIY skill level.
Make your own sofa table to display decor in an otherwise unused space.
Don’t forget to join our free newsletter, share this post across your social networks, and follow us to stay up-to-date and never miss another post!
About Thirty Something Super Mom

My journey started after a Crohn's disease diagnosis, inspiring a commitment to well-being. This site shares my distinctive approach to healthy living with my collection of nutritious recipes that boast authentic flavors, mimicking the indulgence of traditional dishes. I love sharing guilt free recipes for low carb, keto, gluten-free, paleo, and the specific carbohydrate diet. I also share tips on natural living, including homemade cleaners and cleaning hacks. I also share my experience as a veterinary technician and pet groomer, to integrate pet health tips, homemade dog food recipes, and grooming insights to ensure your pets thrive.

Aduke @ Aduke Schulist
Saturday 8th of April 2017
That's a huge change. It's definitely more updated now. And it looks like it was so easy.
Aubrey
Friday 7th of April 2017
This looks great!
Terry Stevens
Friday 31st of March 2017
I love doing DIY projects and this ottoman looks so awesome. Thank you for sharing this makeover.
Ana Rose | Roads and Pages
Friday 31st of March 2017
It looks great! Such a good idea that it is possible to make it without a need to sew it at all. I appreciate your creativity.
John H.
Thursday 30th of March 2017
This is really cool and it seems possible to do this.