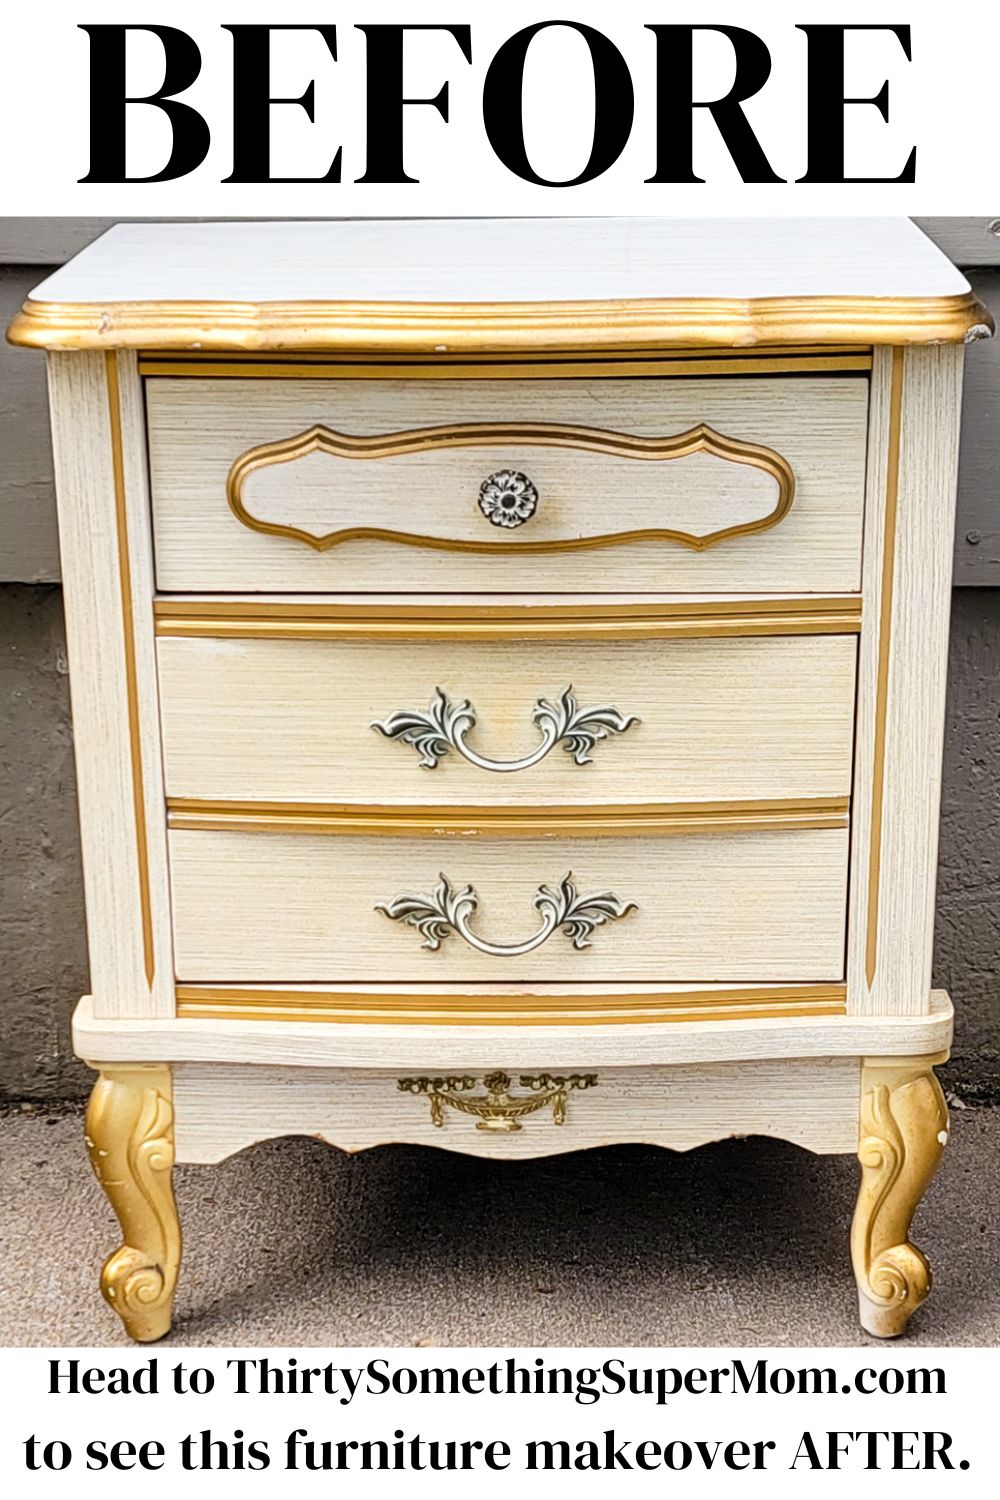
Whether you’re aiming for a stylish nightstand makeover, a charming side table makeover, or an impressive trash to treasure transformation, this guide will provide you with the inspiration and steps needed to achieve a professional finish. Furniture makeovers are a wonderful way to breathe new life into old pieces, save money, and personalize your space.
Discover how a nightstand makeover can transform your bedroom, how a side table makeover can add charm to your living room, and how upcycling furniture can turn any dated piece into a stunning focal point.

This before and after furniture makeover contains affiliate links which means that if you make a purchase after clicking a link, I will receive a small percentage of the sale at no additional cost to you.
Let’s dive into the process of upcycling furniture and turning a dated piece into a stunning focal point. With detailed instructions, creative ideas, and expert tips, you’ll be able to achieve a beautiful before and after furniture makeover that will elevate your home decor.
Start your DIY furniture makeover journey today and enjoy the satisfaction of creating a unique, personalized piece that showcases your style.
Why Upcycle Furniture?
Upcycling furniture is an eco-friendly choice that not only reduces waste but also allows you to create unique, customized pieces for your home. By transforming old furniture, you can match your decor style without the high cost of buying new items. This nightstand makeover project will show you how to turn a seemingly worthless piece into a treasure.
Tools and Materials Needed for Nightstand Makeover
Before you start your furniture makeover, gather these essential tools and materials:
- Sandpaper (various grits)
- Primer
- Paint (chalk paint or latex paint)
- Paintbrushes and rollers
- Drop cloths
- New hardware (optional)
- Protective gear (gloves, mask)
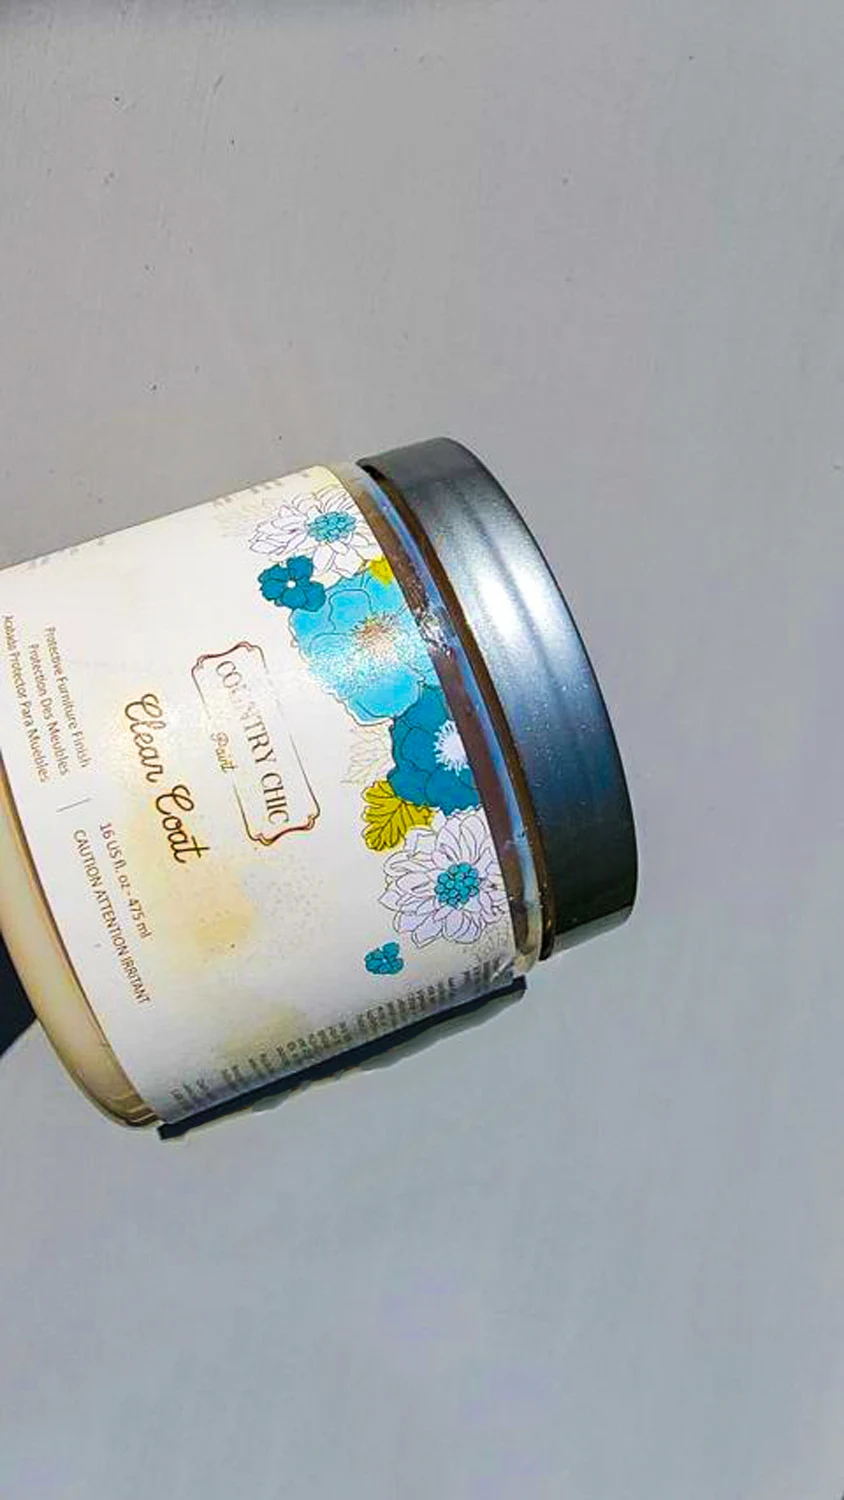
- Sealer (wax or polyurethane)

Step-by-Step Nightstand Makeover
1. Preparation
Start by thoroughly cleaning your nightstand. Remove any dirt, grime, or old hardware. This ensures a smooth and clean surface for your makeover.
2. Sand the Surface
Use sandpaper to remove the old finish and smooth out any imperfections. This step is crucial for ensuring the new paint adheres well.
3. Priming
Apply a coat of primer to the entire surface. This will help the paint stick better and provide a uniform base for your paint.
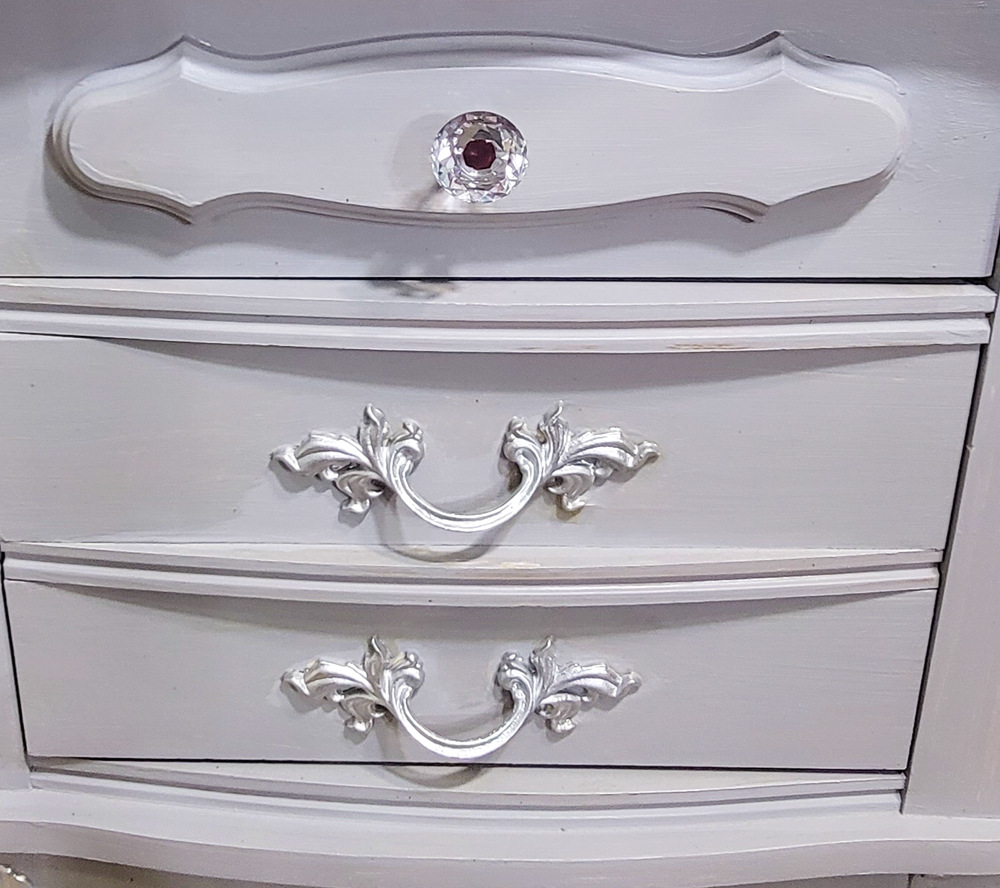
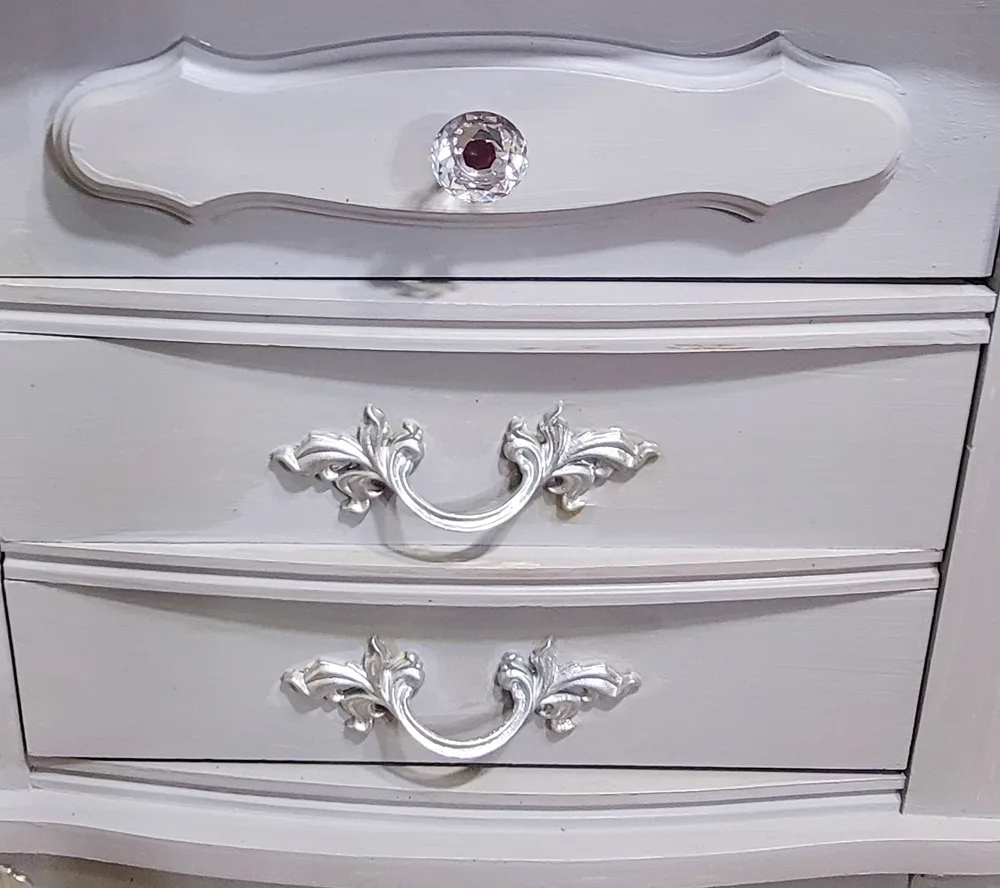
4. Painting
Choose a high-quality paint suitable for furniture. Chalk paint is popular for its matte finish, while latex paint offers durability. Using a brush or roller, apply thin, even coats of paint. Allow each coat to dry completely before adding the next to prevent drips and ensure a smooth finish.
5. Finishing Touches
If you’re updating the hardware, now’s the time to install it. New knobs or handles can make a significant difference. Apply a finishing wax or sealant to protect your makeover and ensure your nightstand looks great for years to come.
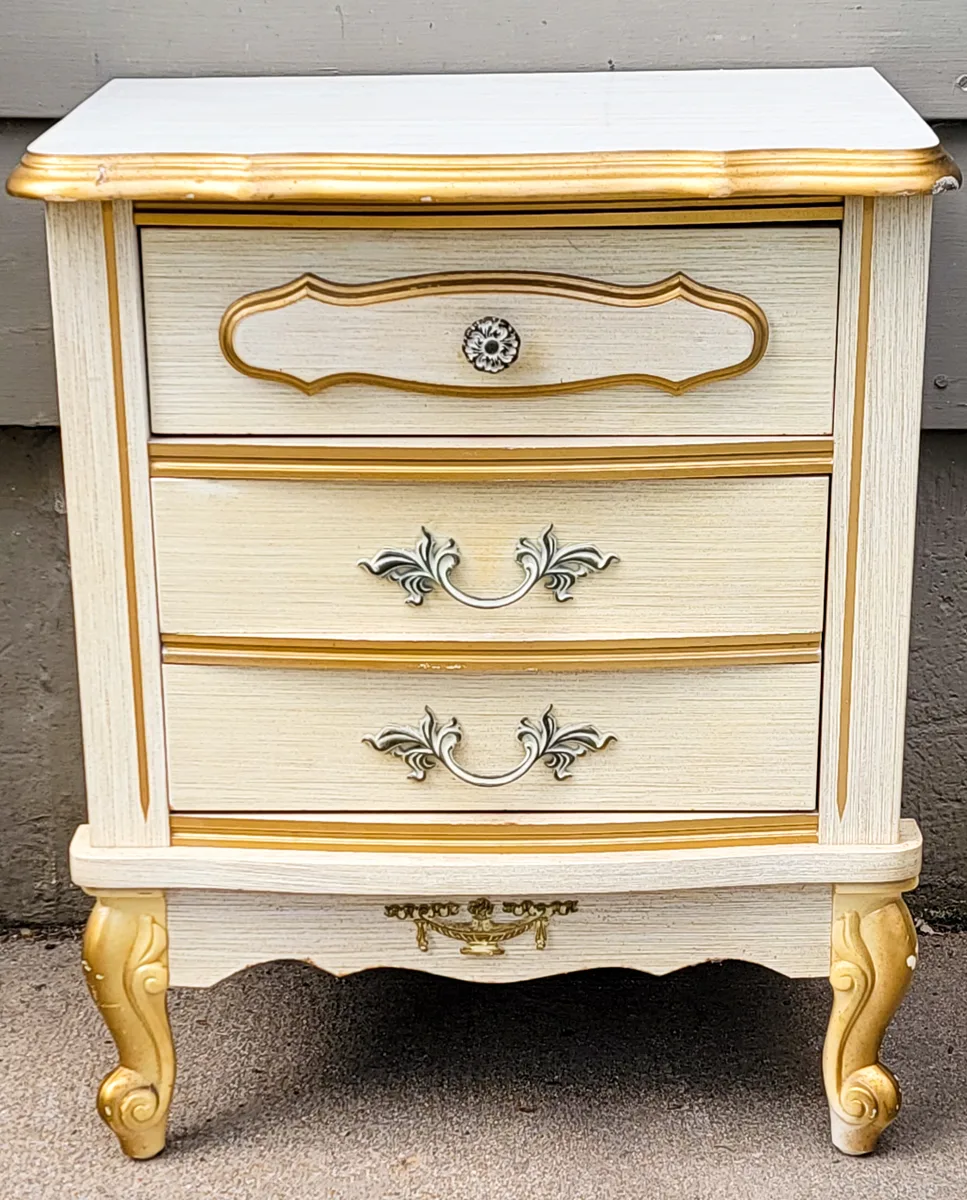
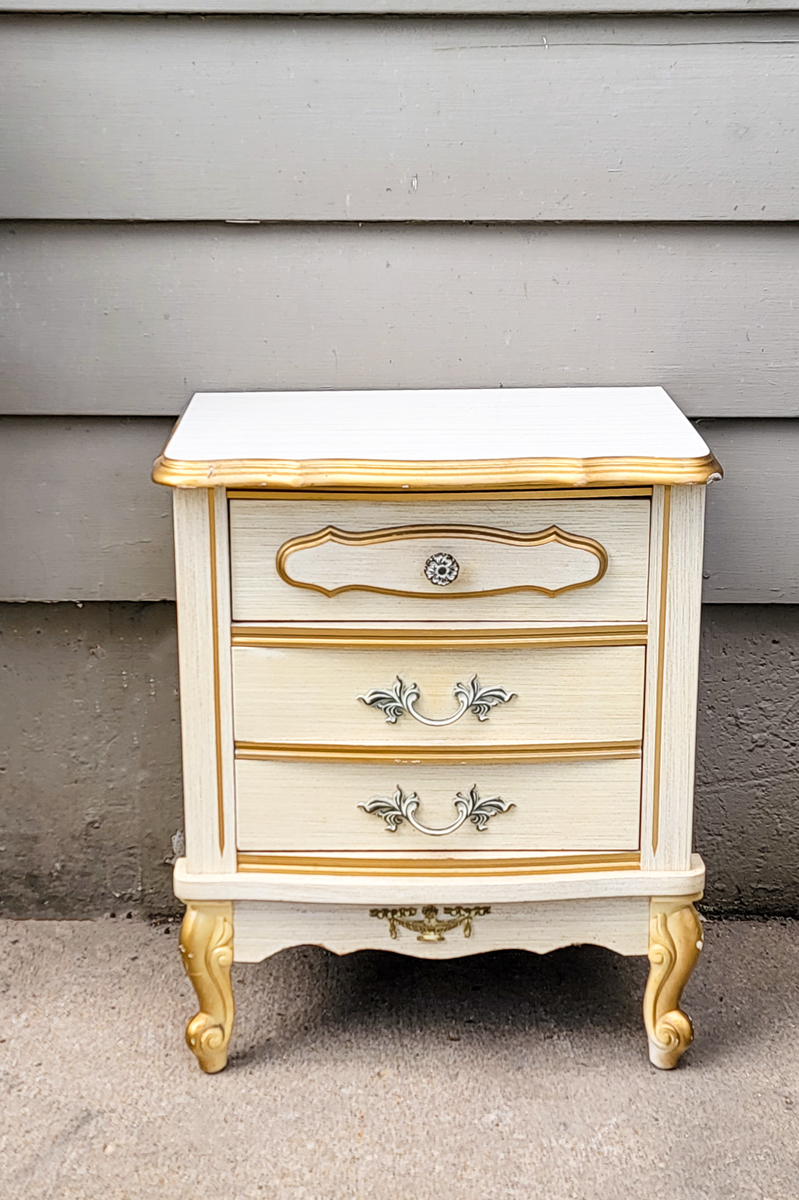
Before and After Furniture Makeover Ideas
Transforming a piece of furniture can be incredibly rewarding. Here are some inspiring before and after projects:
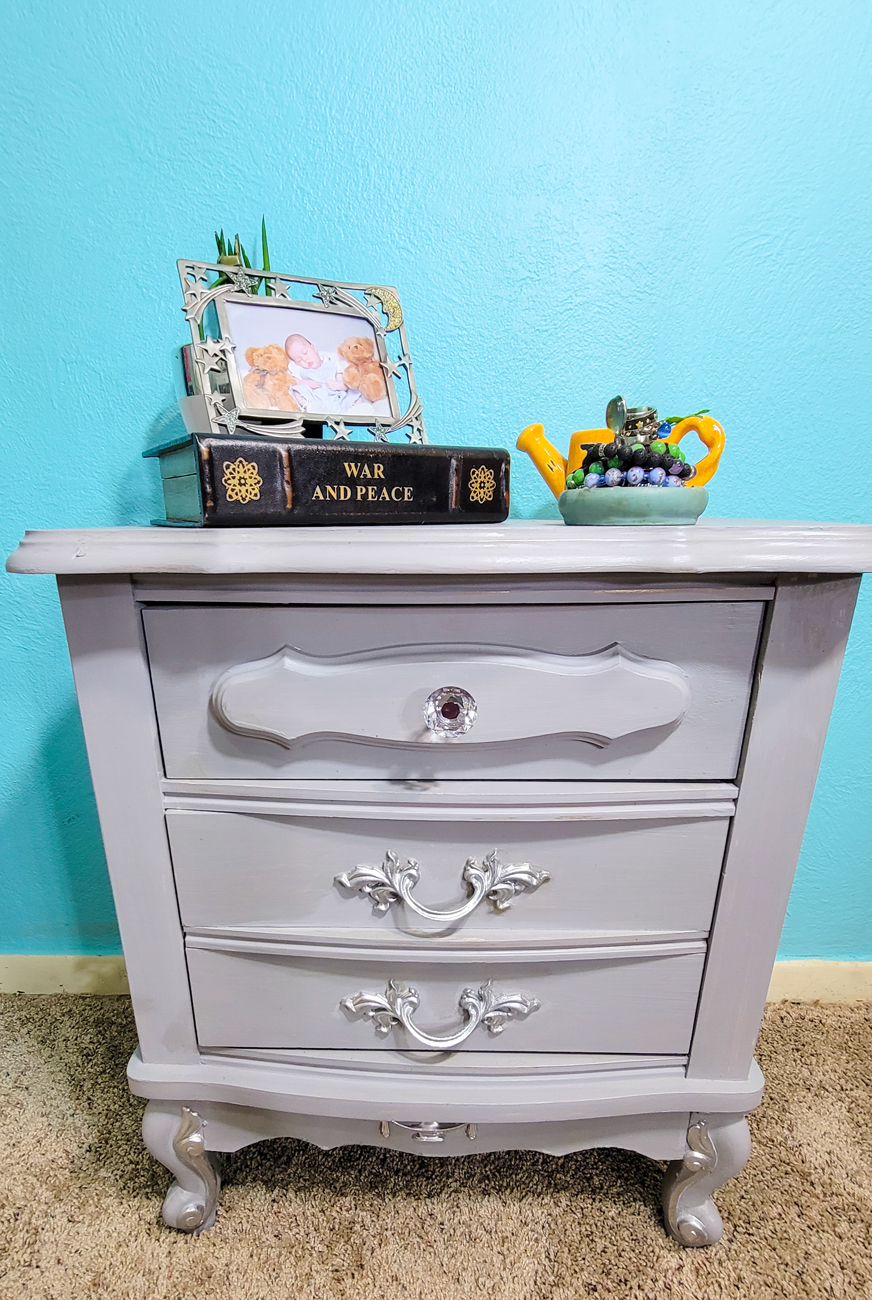
- Vintage to Modern: Give a vintage nightstand a sleek, modern look with bold colors and new hardware.
- Rustic Charm: Embrace the farmhouse trend by using distressed painting techniques and rustic hardware.
- Bold and Bright: Make a statement with a vibrant color that adds a pop of personality to any room.
Tips for a Successful Makeover
- Plan Your Design: Before you start, plan your design. Consider the color scheme and style that will best fit your space.
- Test Paint Colors: Always test your paint on a small area first to see how it looks once dry.
- Take Your Time: Rushing can lead to mistakes. Allow ample drying time between each step.
- Use Quality Materials: Investing in high-quality paint and tools will make a big difference in the final result.

FAQs on Nightstand Makeovers
Can I paint over varnished wood without sanding?
It’s best to sand varnished wood to ensure proper paint adhesion. However, some high-bond primers can allow you to skip sanding.
What type of paint is best for furniture makeovers?
Chalk paint is popular for its easy application and matte finish, while latex paint is durable and comes in various finishes.
How do I achieve a distressed look?
After painting, use sandpaper to lightly sand the edges and areas that would naturally wear over time.

Tips for Updating Old Furniture Pieces
When working with old furniture it can be difficult to plan ahead because much like working on an old house, you never really know what’s going on until you begin the project.
Don’t let that discourage you from working all things thrifty or prevent you from tackling furniture transformations with old furniture. I have learned an easy way to get around almost everything that comes my way, thanks to many step-by-step tutorials as well as trial and error.
- Stripping paint can be a better option rather than repainting despite how overwhelming the process may seem to be at first. This is especially the case with old vintage pieces built from solid wood. Plus, this is a great way to get a new lease on an old item without having to cover it in paint.
- Sanding can help remove dark wax from old pieces to get the surface ready for a new stain. Just be sure to cover it with a clear wax to protect the exposed wood when done.
- Staining an old piece of furniture can restore it back to its original look.
- Be sure to look over your next piece before committing to a project. Check for gouges in the wood and make sure the mechanics of the piece are in good shape. There are ways to fix both of those problems if you are handy but if you are not, it may not be a great idea to tackle that project.
- Check the drawer fronts to see if they can be removed and if not, you can either use a little bit of imagination or move on to the next piece.
- If you aren’t sure about choosing chalk paint colors, go with neutral colors that can fit into any environment for the best results.

More DIY Projects You’ll Love
- DIY Furniture Makeover TV Stand to Buffet
- How to Make an Easy Upholstered Ottoman DIY- No Sew
- 1 Hour DIY Wood Accent Wall Ideas for Less than $75
- Makeup Vanity Makeover with Chalk Paint
- How to Build a Retaining Wall the Right Way
- DIY Canvas Frame – Easy & Budget Friendly
- How to Make a DIY Patriotic Hanging Sign from Fence Pickets
Don’t forget to follow along on social media and sign up for emails so that you never miss a post again.
About Thirty Something Super Mom


My journey started after a Crohn's disease diagnosis, inspiring a commitment to well-being. This site shares my distinctive approach to healthy living with my collection of nutritious recipes that boast authentic flavors, mimicking the indulgence of traditional dishes. I love sharing guilt free recipes for low carb, keto, gluten-free, paleo, and the specific carbohydrate diet. I also share tips on natural living, including homemade cleaners and cleaning hacks. I also share my experience as a veterinary technician and pet groomer, to integrate pet health tips, homemade dog food recipes, and grooming insights to ensure your pets thrive.