This guide to tomato sauce pressure canning contains affiliate links which means that if you make a purchase after clicking a link I will receive a small portion of the sale at no additional cost to you.
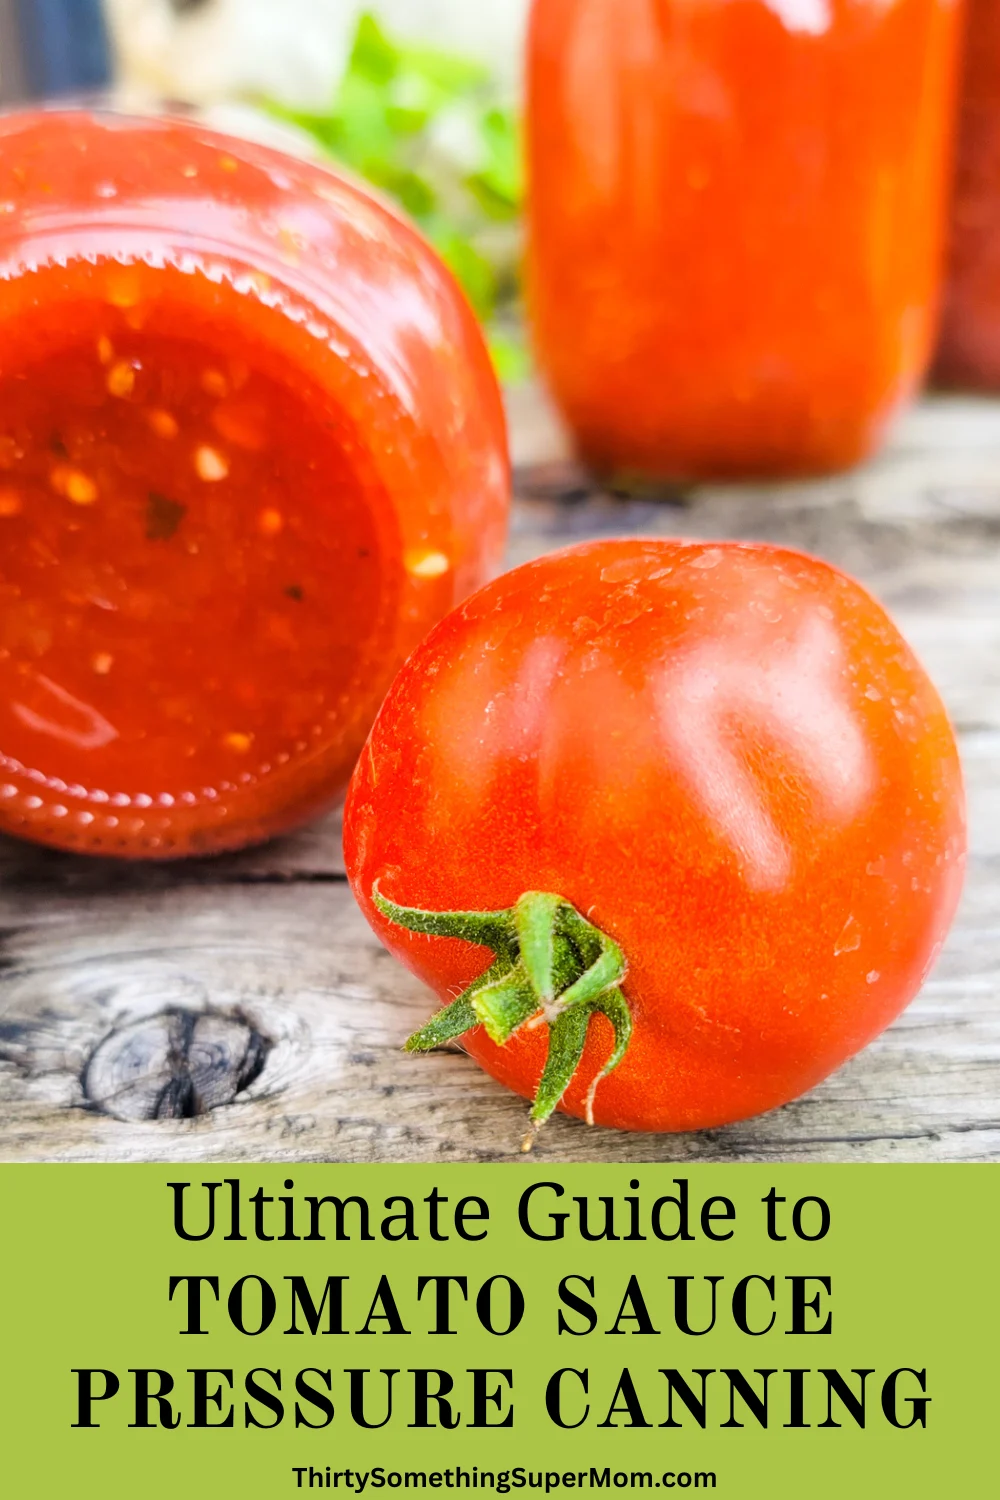
Every summer, my garden yields juicy tomatoes that burst with flavor. As the sun kisses each vine-ripened tomato I know that soon I’ll embark on my favorite culinary adventure of pressure canning tomato sauce.
In this blog post, I’ll teach you how to make canned tomato sauce in a pressure cooker. This method for preserving garden tomatoes is fast and easy compared to traditional canning methods.
Now you can enjoy the taste of summer all year round with this efficient and flavorful canned tomato sauce.
Whether you’re a seasoned canner or a newbie in the world of preserving, this step-by-step guide will walk you through the process, ensuring your homemade tomato sauce stays fresh and delicious for months to come.
- Canning Tomato Sauce Tips
- Is Tomato Sauce Acidic Enough to Can?
- Tomato Sauce Pressure Canning Instructions
- What Pressure Cooker Is Best for Canning Tomato Sauce?
- Are Any Electric Pressure Cookers Approved by USDA for Low Acid Foods?
- Which Electric Pressure Canners USDA Approved?
- Recipes for Using Canned Tomato Sauce
Canning Tomato Sauce Tips
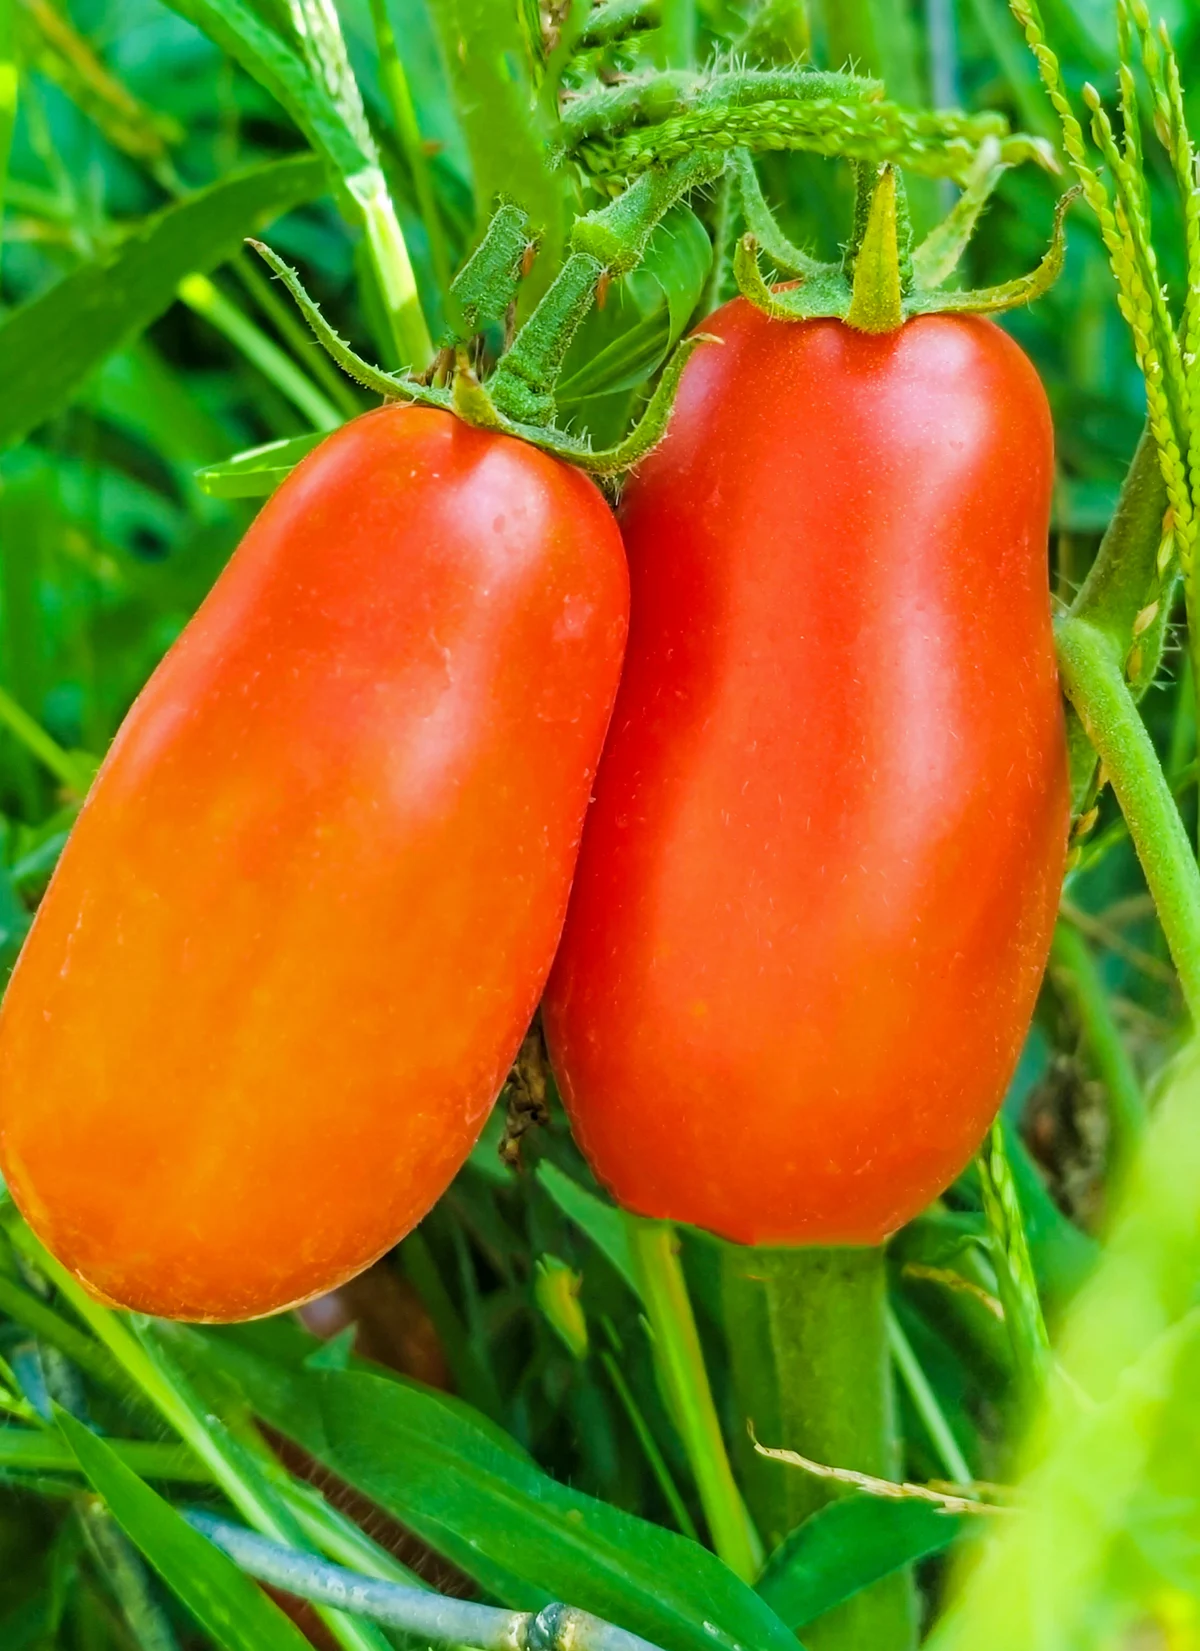
The first step in making a canned tomato sauce recipe is to start with the best tomatoes for canning tomato sauce.
This means that only the best tomatoes should make it into your homemade sauce recipe.
Do not use any bruised or rotted tomatoes because they can ruin the whole batch. That doesn’t mean you have to throw them away.
I like to use tomatoes with blemishes for recipes that call for chopped fresh tomatoes such as this low carb taco casserole recipe or for making chunky garden salsa.
Using high-quality ripe tomatoes for making homemade tomato sauce will deliver the best flavor.
Opt for a high-quality pressure canner for low-acid foods and a water bath canner for high-acid options like tomato sauce.
Always ensure your canner is in top condition.
Maintain the advised headspace, usually 1/2 to 1 inch, at the jar’s top. This space accommodates expansion during processing and prevents jar breakage.
After filling jars, gently use a plastic spatula or bubble remover tool to release trapped air bubbles. This step guarantees secure seals.
Before sealing with lids, carefully inspect and wipe jar rims clean. A pristine rim is essential for achieving proper seals.
Is Tomato Sauce Acidic Enough to Can?
Tomatoes are initially high-acid foods, but when they are processed into tomato sauce, their pH level increases due to cooking and the addition of other ingredients.
This makes tomato sauce a low-acid food.
To safely preserve low-acid tomato products like tomato sauce, it’s important to use canning methods that account for this decrease in acidity, such as water bath canning or pressure canning.
Be sure that you are following approved recipes and procedures to prevent spoilage.
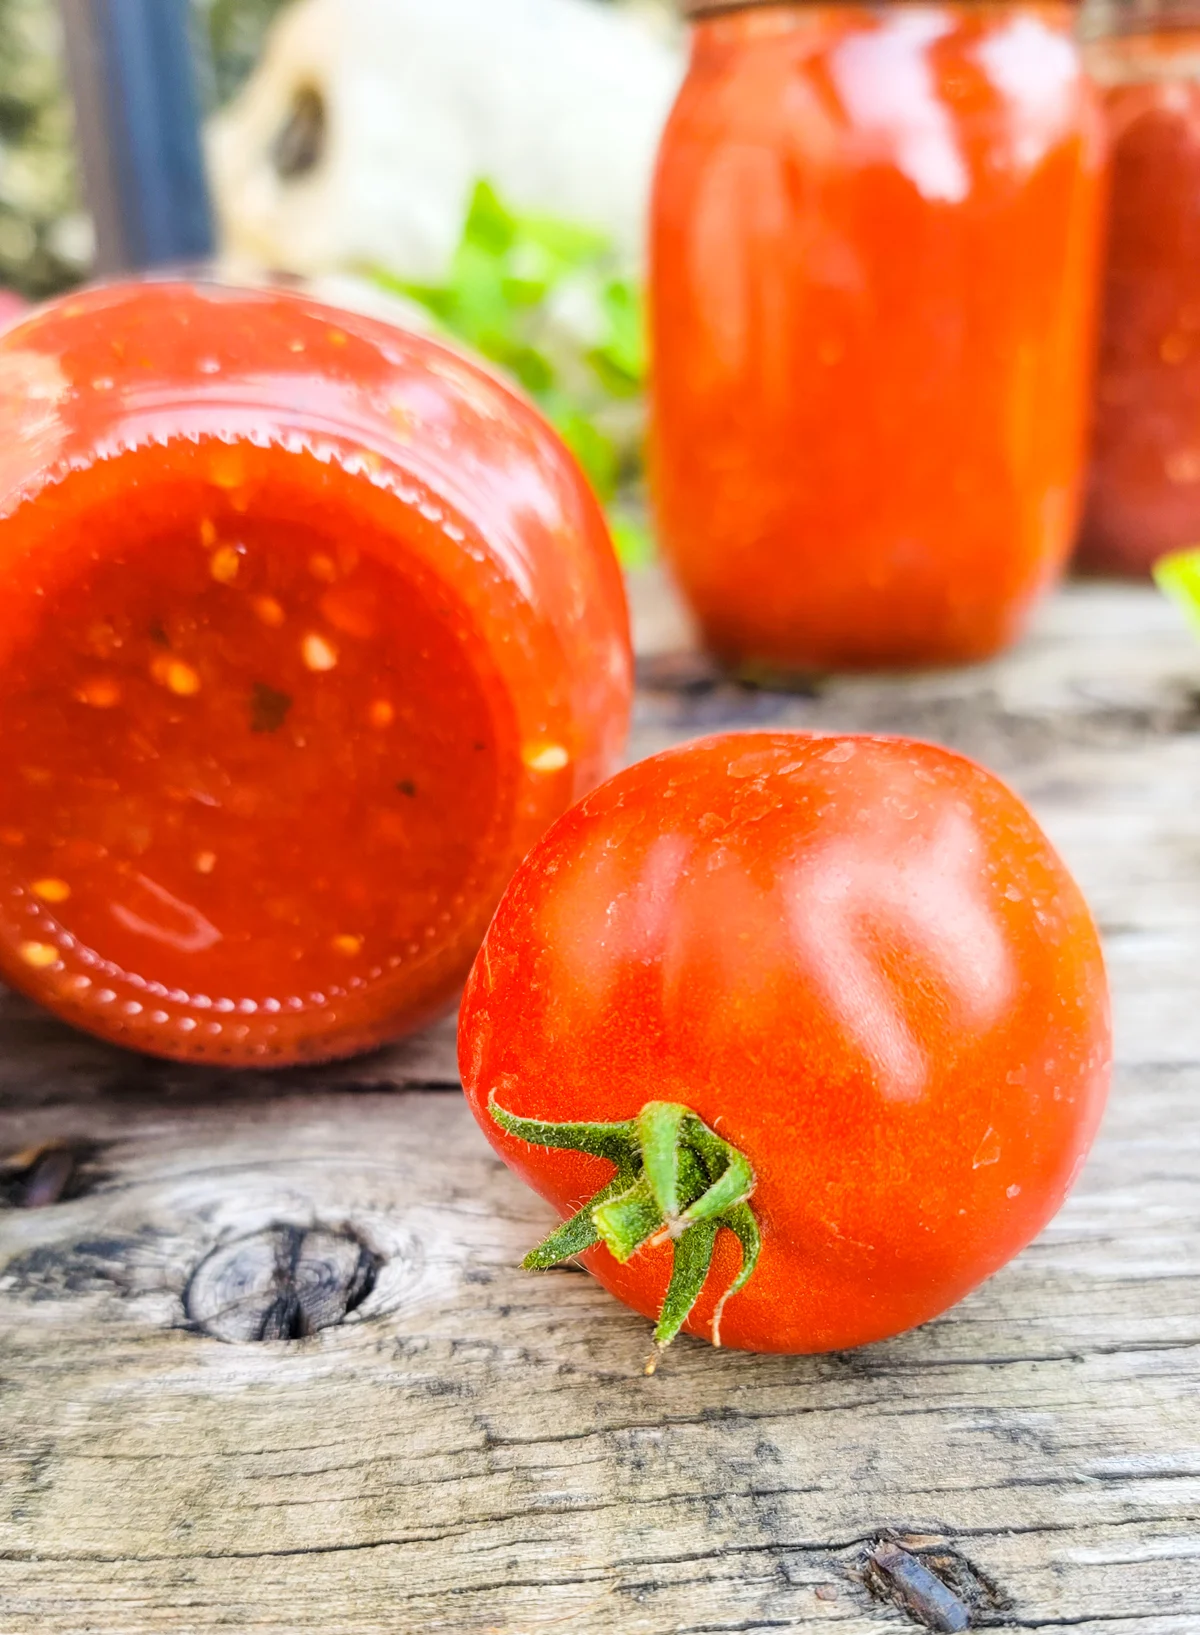
Tomato Sauce Pressure Canning Instructions
Begin by filling a generously sized saucepan halfway with water. Submerge the jars into the water, allowing them to gently warm up as you bring the water to nearly a simmer over medium heat.
Keep those jars nice and toasty until you’re ready to use them, ensuring they’re hot to prevent any unexpected jar breakage.
Now, let’s get your pressure canner prepped and ready. Follow the specific water-filling instructions provided by your manufacturer.
Once filled, set the water to a gentle simmer and maintain this simmering state until you’re all set to place your filled jars inside the saucepan.
How to Peel Tomatoes for Sauce
Begin by setting a generously sized pot of water on the stove and bringing it to a vigorous boil.
While the water heats up, prepare a bowl filled with ice and cold water to have it ready for use.
Once the water reaches a rolling boil, carefully immerse the whole tomatoes into it, letting them blanch for about 30-60 seconds.
Immediately following this, swiftly transfer the tomatoes into the waiting cold water bath.
Allow the tomatoes to cool sufficiently for easy handling before proceeding.
At this point, you can commence the next step, which involves peeling the tomato skins from top to bottom on each tomato and then adding them to a large pot on your stovetop.
Alternatively, you can use a tomato sauce recipe for canning that suits your taste preferences and can be safely preserved for long-term storage.
What is the Best Tomato Sauce Recipe for Canning?
If you are looking for a delicious tomato sauce recipe for canning, start with this post sharing How to Make Sauce from Roma Tomatoes, and then be sure to come back to this post sharing tips for canning tomato sauce in a pressure cooker.
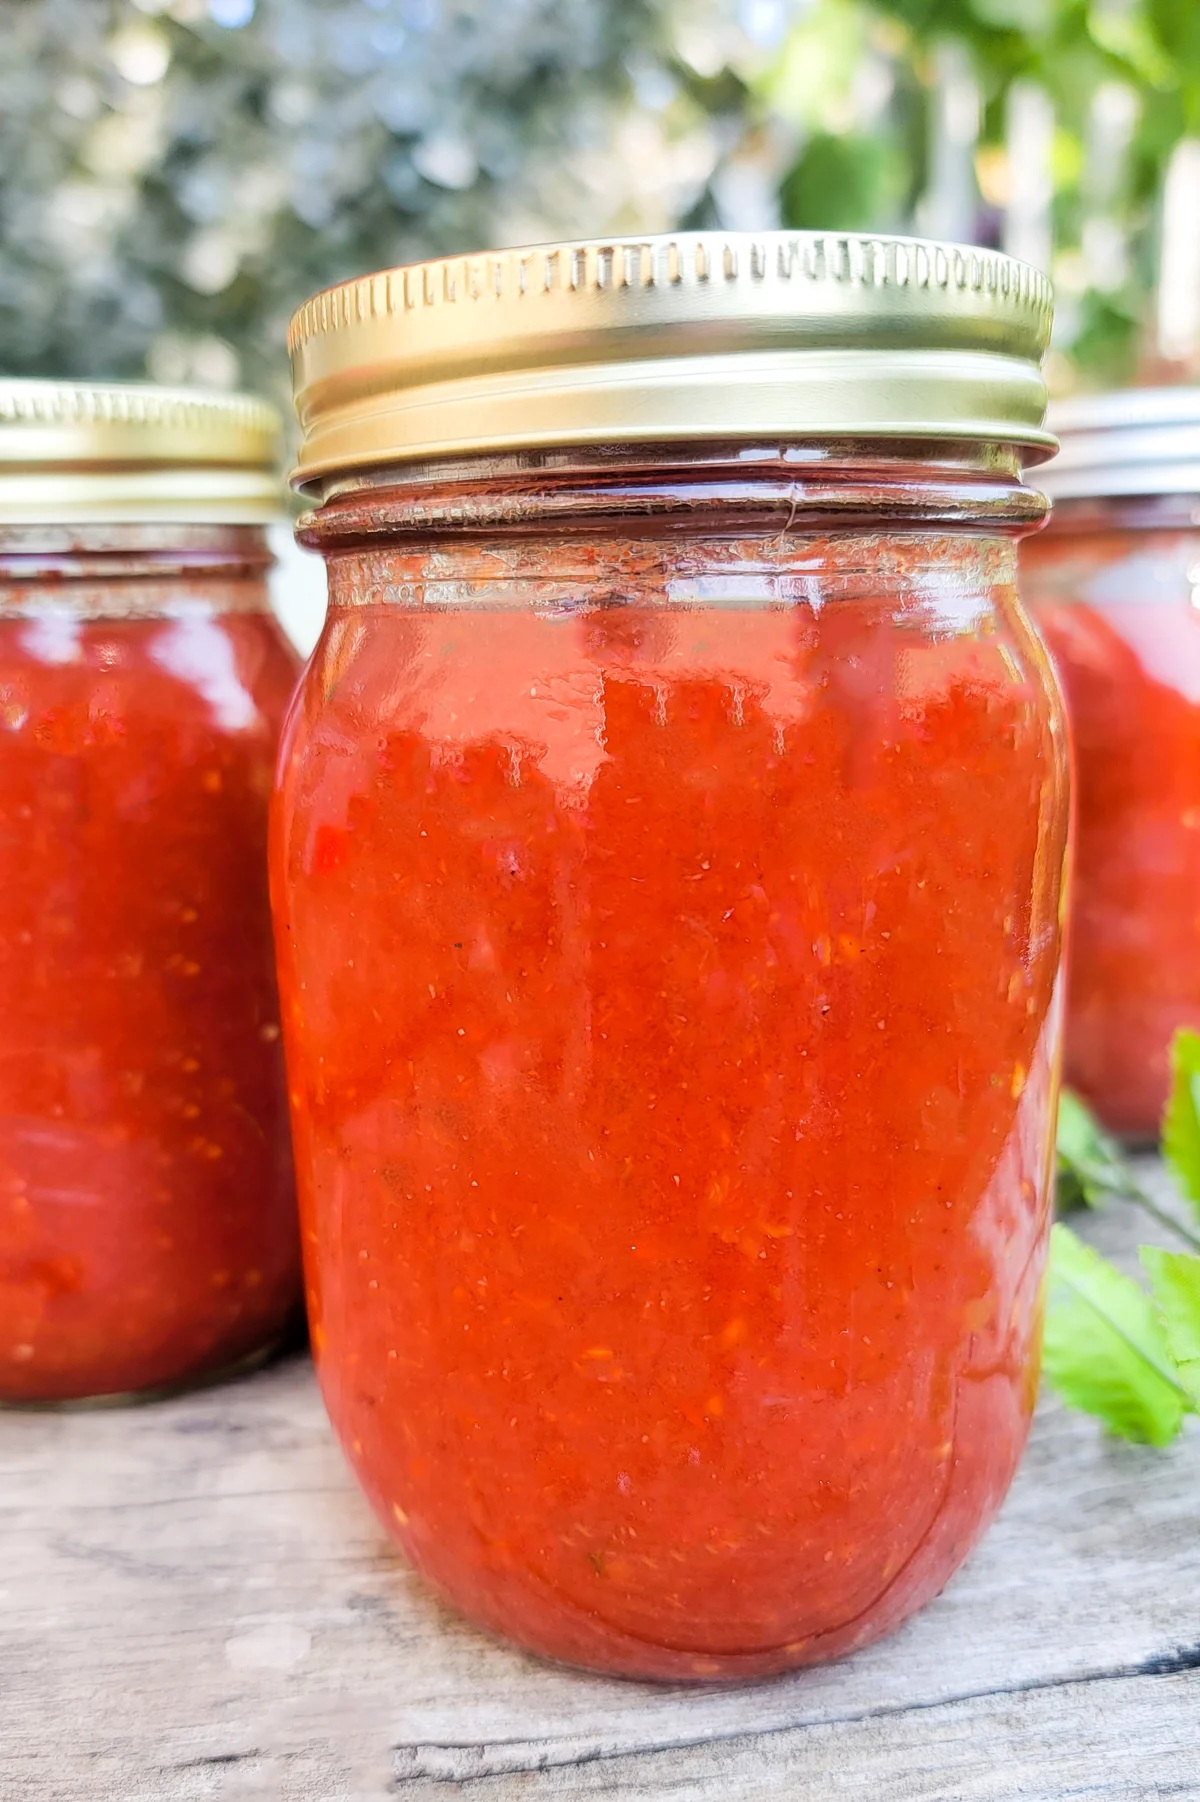
How to Can Tomato Sauce Using a Pressure Cooker
After removing the skins from the tomatoes and placing them in a pot on the stove, the next step is to use an immersion blender to break them down.
Then bring the tomato sauce to a boil for about five minutes.
If you do not have an immersion blender you can use a potato masher or wooden spoon to break them down but you will be left with chunks.
If you want a liquified tomato it is best to use a food processor, or blender, or the easiest way is to use an immersion blender for this step.
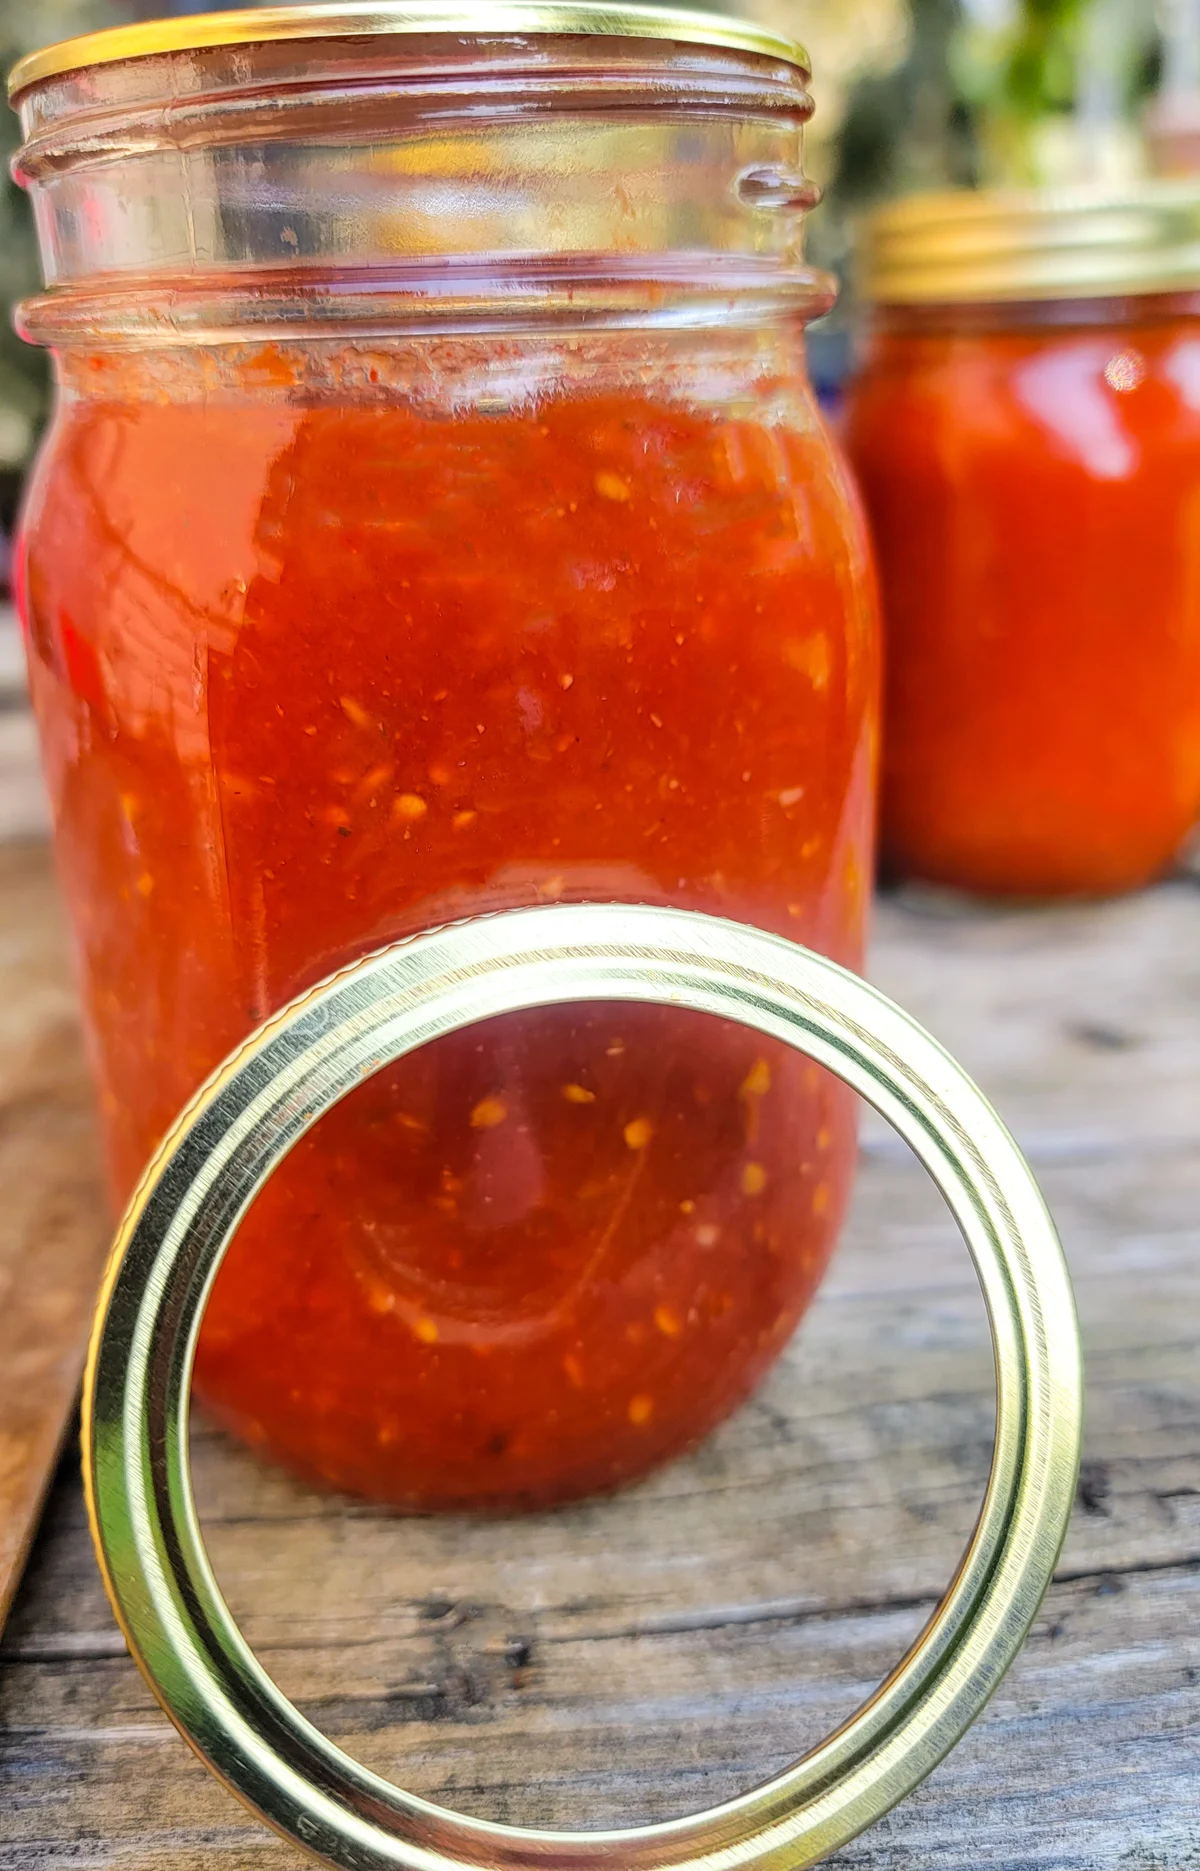
How Do I Preserve My Homemade Tomato Sauce?
Once jars are warmed up, add a 1/4 teaspoon of citric acid per pint or 1/2 teaspoon per quart.
If you prefer to use lemon juice and salt to preserve your tomato sauce, you can add 1/2 teaspoon salt and one tablespoon of bottled lemon juice to heated jars.
If you are using quarts, add 1 tsp salt and 2 tablespoons. bottled lemon juice.
Fill the hot jars with tomatoes leaving 1-inch headspace, removing any air pockets.
Add the bands and lids.
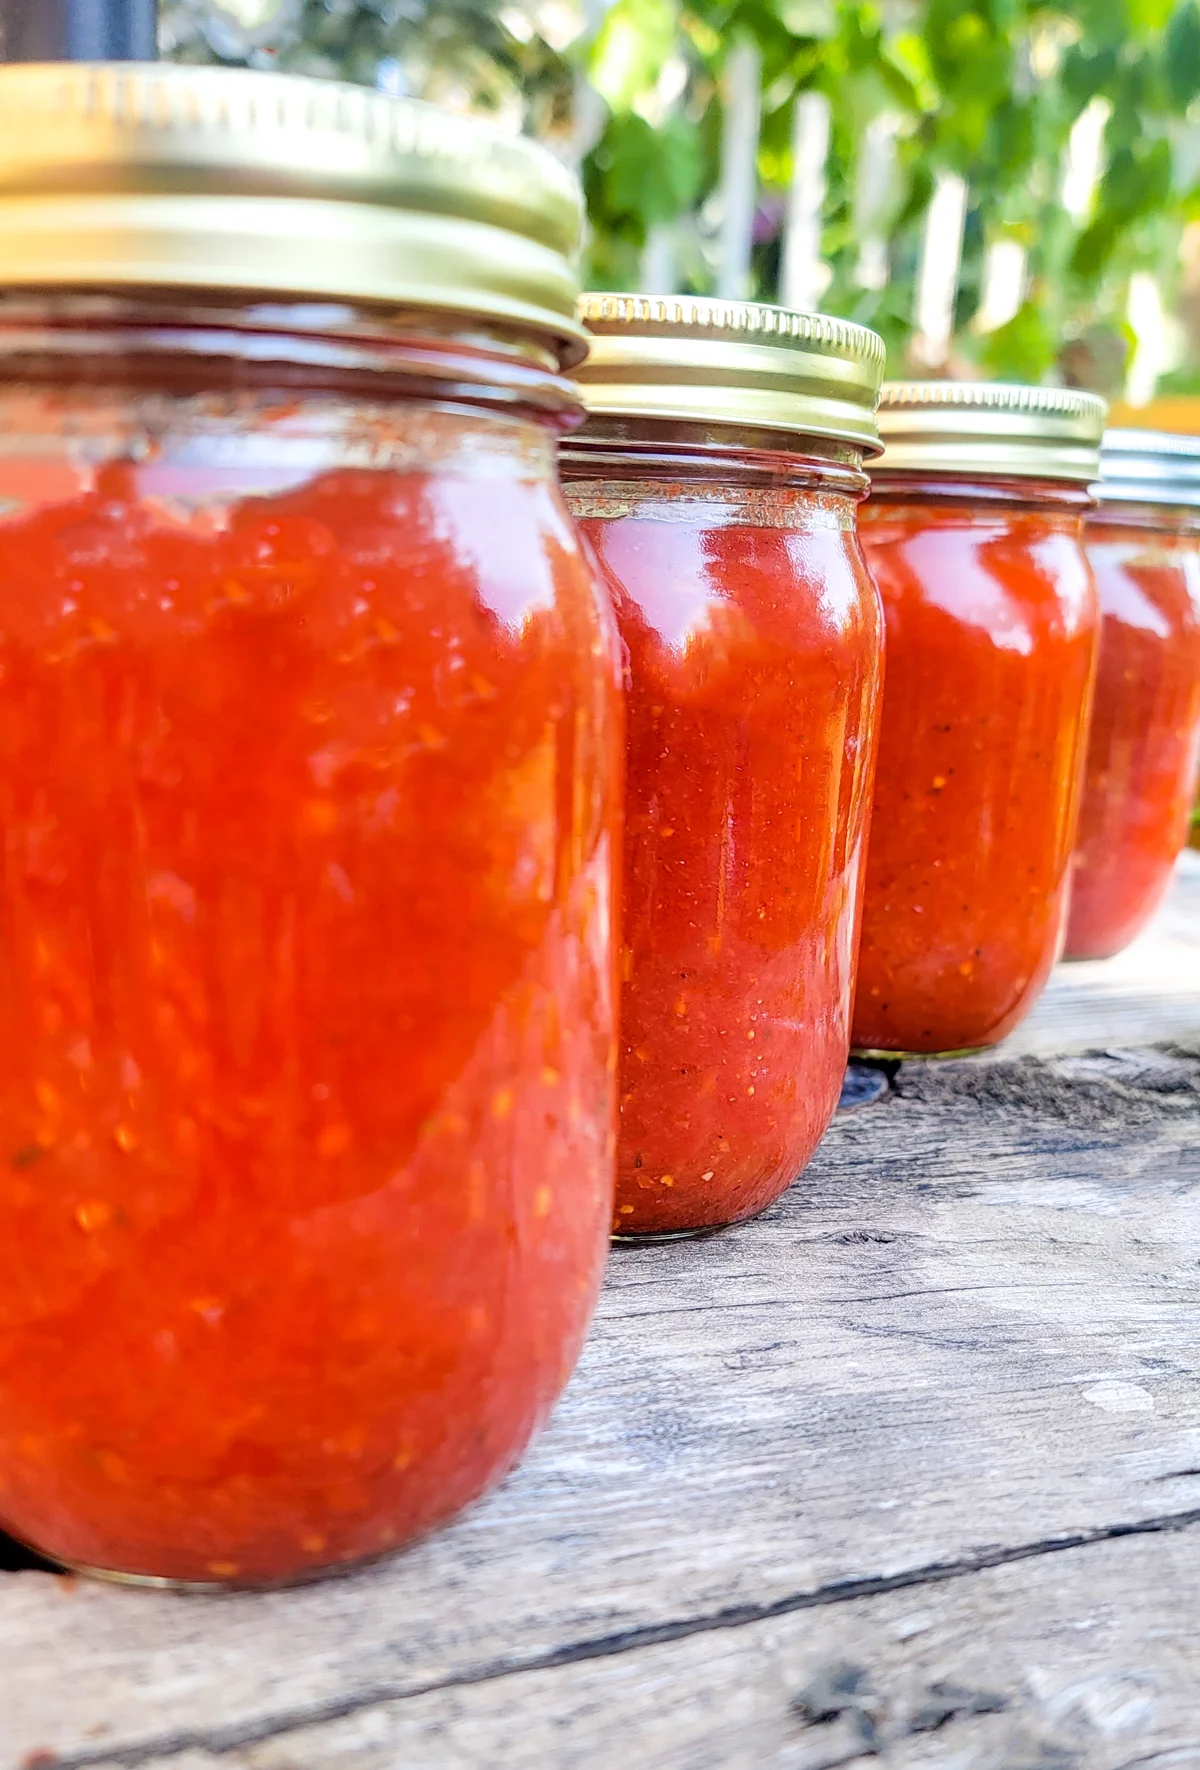
Canning Tomato Sauce Pressure Cooker Instructions
Diligently adhere to your manufacturer’s instructions for pressure canning.
Begin by fine-tuning the water level, securing the lid, and then ramping up the heat to medium-high to set the stage for boiling.
Allow the steam to vent for 10 minutes before you seal off the vent. Now, the pivotal moment arrives—aim to maintain a steadfast 10 pounds of pressure.
Both pint and quart jars are in for a 15-minute processing journey.
But here’s the golden rule: should the pressure slip below that crucial 10 pounds, promptly bring it back up and reset your kitchen timer to zero to ensure safe canning.
Once your processing is done, switch off the heat source and let the canner cool down naturally.
Allow it to reach zero on its own without removing the gauge. After reaching zero, wait an additional five minutes, then carefully remove the gauge and unlock the lid.
Take out the jars from the canner and place them upright on a kitchen towel.
Allow the jars to rest peacefully for a full 24 hours.
What to Do If Your Canning Jars Don’t Seal
Inspect the lids to ensure they have been sealed correctly.
If any jars haven’t been sealed properly, place them in the refrigerator and use their contents within one week.
As for the sealed jars, be sure to label them and store them in a cool, dark location, where they will remain safe to enjoy for up to one year.

What Pressure Cooker Is Best for Canning Tomato Sauce?
When you’re on the hunt for the perfect pressure canner to preserve your delicious tomato sauce, keep an eye out for models explicitly labeled and crafted for canning.
It’s crucial to stick closely to the manufacturer’s instructions and adhere to the USDA’s guidelines for safe home canning practices.
Are Any Electric Pressure Cookers Approved by USDA for Low Acid Foods?
The United States Department of Agriculture (USDA) does not recommend the use of many popular brands of electric pressure cookers for canning low-acid foods like vegetables, meats, and tomato sauce.
Based on my research it seems that the USDA has only approved and provided guidelines for canning using traditional stovetop pressure canners.
However, this seems to be due to size as well as temperature settings of electric pressure cookers.
The USDA does not recommend canning in small pressure cookers. To safely can low-acid foods, use a canner that can hold at least four quart-size jars.
So before picking up an electric pressure cooker such as Instant Pots or Ninja Foodi for canning, be sure to do your research to ensure the safety of canning tomato sauce using a pressure cooker.
Small pressure cookers have shorter preset cook times, which can result in underprocessing and unsafe canned foods.
Which Electric Pressure Canners USDA Approved?
While there are a lot of pressure canners on the market, the only actual pressure canner that is USDA approved is the Presto Precise Digital Pressure Canner.
This model is made specifically to can fruits and vegetables which is why it may be recommended.
Pressure canners are designed with adequate depth to accommodate either a single layer of quart-sized or smaller jars or alternatively, two layers of pint-sized or smaller jars.
To align with USDA published processes, it is advisable that a pressure canner should possess the capacity to comfortably hold at least four quart jars.
This ensures compliance with USDA recommendations for safe and effective pressure canning practices.
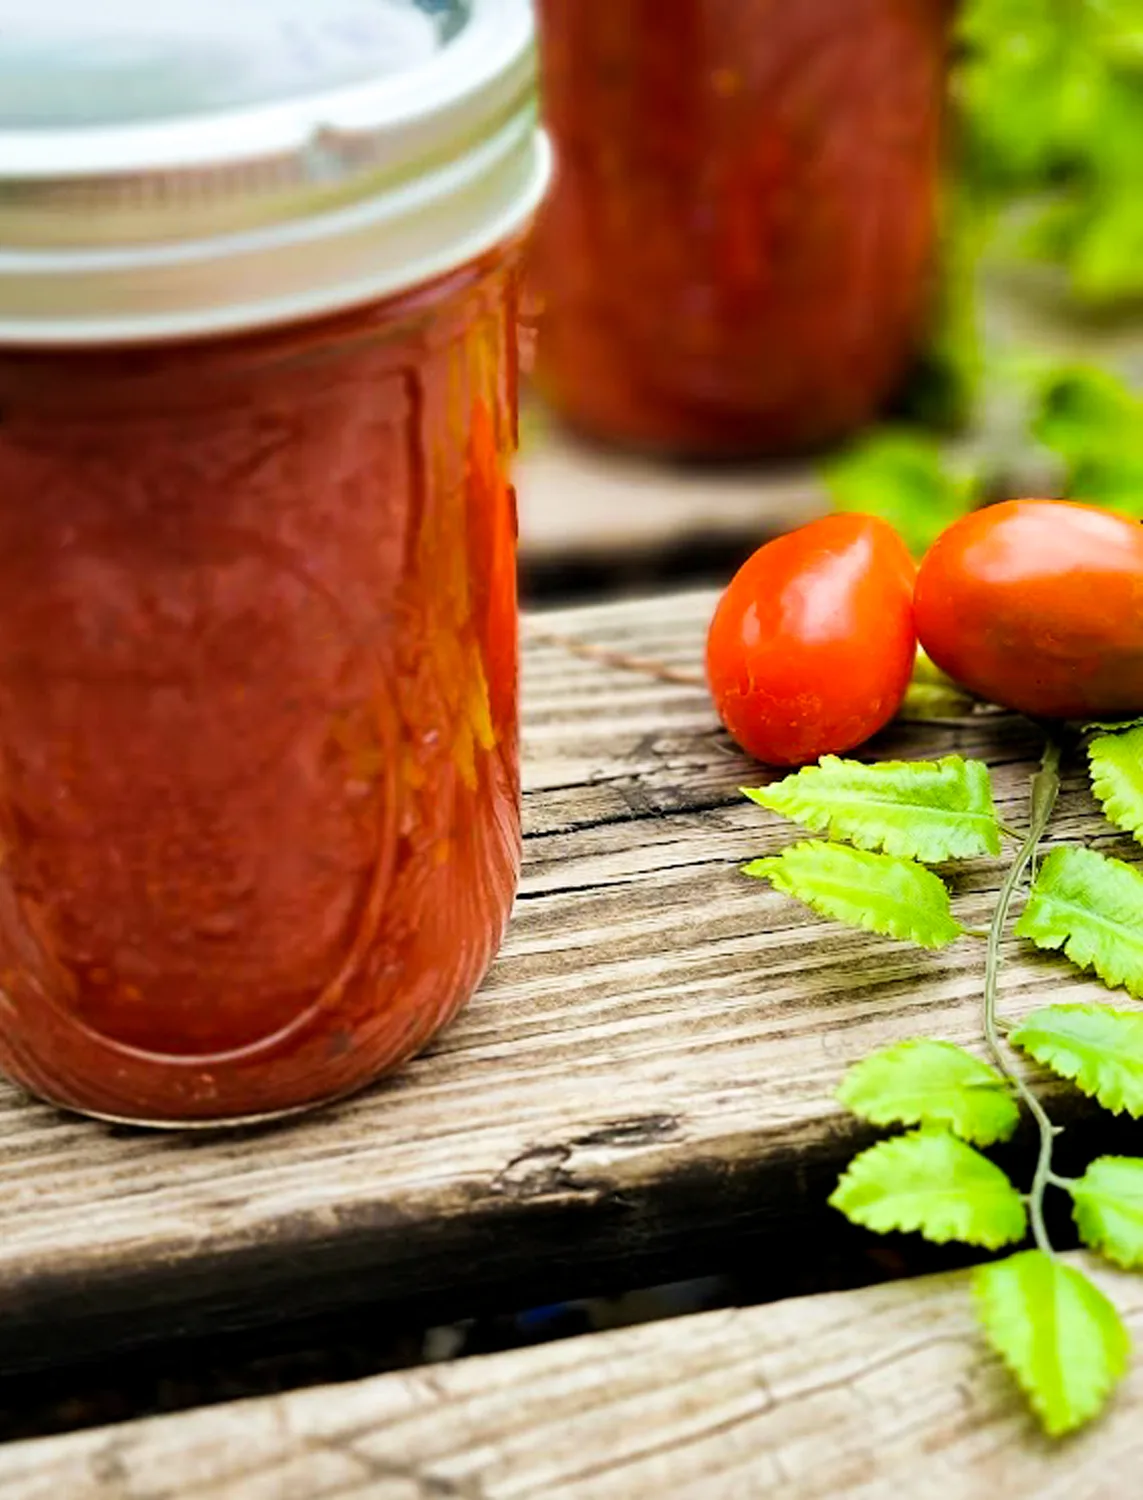
Recipes for Using Canned Tomato Sauce
Now that you are a pro at tomato sauce pressure canning, let’s explore some delightful recipes where you can put that delicious homemade tomato sauce to good use.
Easy Chicken Parmesan Recipe
Dive into the classic flavors of Chicken Parmesan with a twist of simplicity.
This easy-to-follow recipe combines tender chicken, your homemade tomato sauce, and gooey cheese.
How to Make Lasagna with Zucchini Layers
Embrace a healthier lasagna with zucchini layers. Your canned tomato sauce will infuse this dish with robust flavor.
Low-Carb Meatball Casserole
Dive into a hearty, low-carb meal with our Meatball Casserole. The rich tomato sauce from your canning adventure complements these savory meatballs perfectly.
Spaghetti Squash Casserole
Swap traditional pasta for spaghetti squash in this mouthwatering casserole. Your homemade tomato sauce will tie all the flavors together.
Low-Carb Cauliflower Lasagna
Delight in a low-carb twist on lasagna, featuring cauliflower. Your canned tomato sauce adds that essential zing to this comforting dish.
How to Make Meatballs
Craft the perfect meatballs to pair with your homemade tomato sauce. These meaty delights are versatile and can be used in various recipes.
Want recipes sent straight to your inbox? Sign up for the free newsletter so you never miss another recipe again!
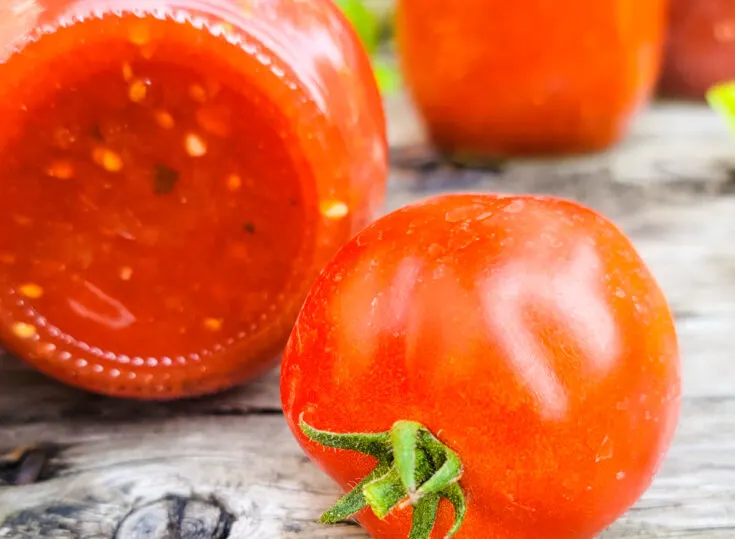
Tomato Sauce Pressure Canning Guide
How to use a pressure canner for canning tomato sauce.
Ingredients
- Tomatoes
Instructions
- Begin by filling a generously sized saucepan halfway with water. Submerge the jars into the water, allowing them to gently warm up as you bring the water to nearly a simmer over medium heat.
- Keep those jars nice and toasty until you’re ready to use them, ensuring they’re hot to prevent any unexpected jar breakage.
- Now, let’s get your pressure canner prepped and ready. Follow the specific water-filling instructions provided by your manufacturer.
- Once filled, set the water to a gentle simmer and maintain this simmering state until you’re all set to place your filled jars inside the saucepan. Begin by setting a generously sized pot of water on the stove and bringing it to a vigorous boil.
- While the water heats up, prepare a bowl filled with ice and cold water to have it ready for use.
- Once the water reaches a rolling boil, carefully immerse the whole tomatoes into it, letting them blanch for about 30-60 seconds.
- Immediately following this, swiftly transfer the tomatoes into the waiting cold water bath. Allow the tomatoes to cool sufficiently for easy handling before proceeding.
- At this point, you can commence the next step, which involves peeling the tomato skins from top to bottom on each tomato and then adding them to a large pot on your stovetop. Alternatively, you can use a tomato sauce recipe for canning.
- If you are looking for a delicious tomato sauce recipe for canning, start with this post sharing How to Make Sauce from Roma Tomatoes, and then be sure to come back to this post sharing tips for canning tomato sauce in a pressure cooker.
- After removing the skins from the tomatoes and placing them in a pot on the stove, the next step is to use an immersion blender to break them down. Then bring the tomato sauce to a boil for about five minutes.
- If you do not have an immersion blender you can use a potato masher or wooden spoon to break them down but you will be left with chunks. If you want a liquified tomato it is best to use a food processor, or blender, or the easiest way is to use an immersion blender for this step.
- Once jars are warmed up, add a 1/4 teaspoon of citric acid per pint or 1/2 teaspoon per quart. If you prefer to use lemon juice and salt to preserve your tomato sauce, you can add 1/2 teaspoon salt and one tablespoon of bottled lemon juice to heated jars.
- If you are using quarts, add 1 tsp salt and 2 tablespoons. bottled lemon juice. Fill the hot jars with tomatoes leaving 1-inch headspace, removing any air pockets. Add the bands and lids.
- Diligently adhere to your manufacturer’s instructions for pressure canning. Begin by fine-tuning the water level, securing the lid, and then ramping up the heat to medium-high to set the stage for boiling.
- Allow the steam to vent for 10 minutes before you seal off the vent.
- Now, the pivotal moment arrives—aim to maintain a steadfast 10 pounds of pressure. Both pint and quart jars are in for a 15-minute processing journey. But here’s the golden rule: Should the pressure slip below that crucial 10 pounds, promptly bring it back up and reset your kitchen timer to zero to ensure safe canning.
- Once your processing is done, switch off the heat source and let the canner cool down naturally. Allow it to reach zero on its own without removing the gauge.
- After reaching zero, wait an additional five minutes, then carefully remove the gauge and unlock the lid.
- Take out the jars from the canner and place them upright on a kitchen towel.
- Allow the jars to rest peacefully for a full 24 hours. Inspect the lids to ensure they have been sealed correctly.
- If any jars haven’t been sealed properly, place them in the refrigerator and use their contents within one week.
- As for the sealed jars, be sure to label them and store them in a cool, dark location, where they will remain safe to enjoy for up to one year.
Recommended Products
As an Amazon Associate and member of other affiliate programs, I earn from qualifying purchases.
Nutrition Information
Yield
24Serving Size
1Amount Per Serving Calories 1Total Fat 0gSaturated Fat 0gTrans Fat 0gUnsaturated Fat 0gCholesterol 0mgSodium 0mgCarbohydrates 0gFiber 0gSugar 0gProtein 0g
The nutrition in recipes is calculate by AI, mistakes happen. It is highly recommended to check carb counts to make sure these recipes fit into your diet. Also, if you are following a specific diet or have allergies to certain foods, be sure to do your research on products before considering it safe to consume.
About Thirty Something Super Mom

My journey started after a Crohn's disease diagnosis, inspiring a commitment to well-being. This site shares my distinctive approach to healthy living with my collection of nutritious recipes that boast authentic flavors, mimicking the indulgence of traditional dishes. I love sharing guilt free recipes for low carb, keto, gluten-free, paleo, and the specific carbohydrate diet. I also share tips on natural living, including homemade cleaners and cleaning hacks. I also share my experience as a veterinary technician and pet groomer, to integrate pet health tips, homemade dog food recipes, and grooming insights to ensure your pets thrive.


