This shop sharing a DIY Santa Gift Bag has been compensated by Collective Bias, Inc. and its advertiser. All opinions are mine alone. #SendHallmark #CollectiveBias
It seems like every year my Christmas list grows and I am always in search of presents up until the last day of the shopping season.
This year Walmart and Hallmark made it easy by offering Hallmark cards, Hallmark Ornaments, and all of the supplies I need to wrap the gift with flair by presenting it in a DIY Santa Gift Bag.

I headed to Walmart to pick up the supplies to make my Santa Gift Bag and Hallmark items. I first found the Hallmark ornaments in the Christmas seasonal section.
There were so many to choose from it was easy to find one for each person on my list. I picked up some tinsel garland and tissue paper while I was in that area as well.

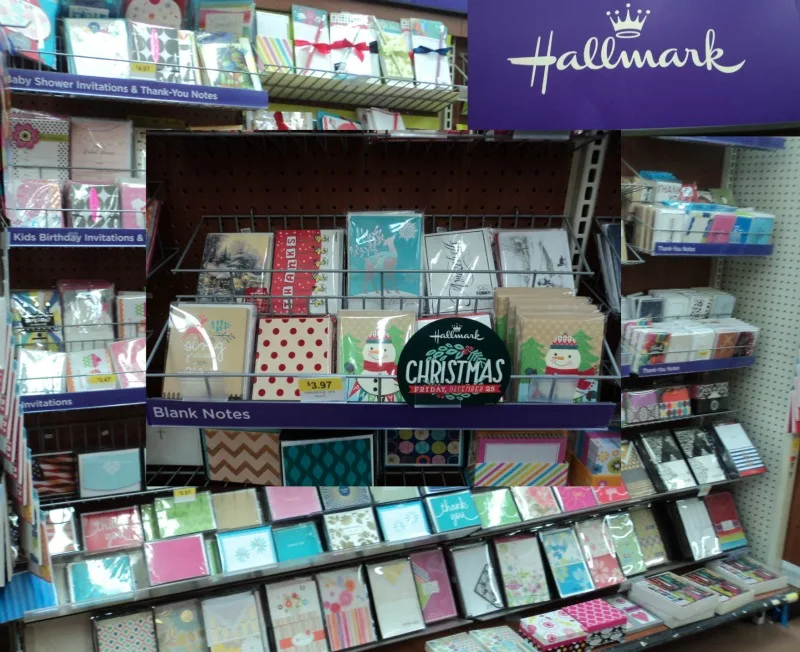
My next stop was the Hallmark Card section and I was thrilled to find so many options for spreading holiday cheer to all of my friends and family.
I loved the selection of Hallmark cards because I was able to pick up many different kinds that are perfect for sending on a special occasion as well as any day that you want to show you care.
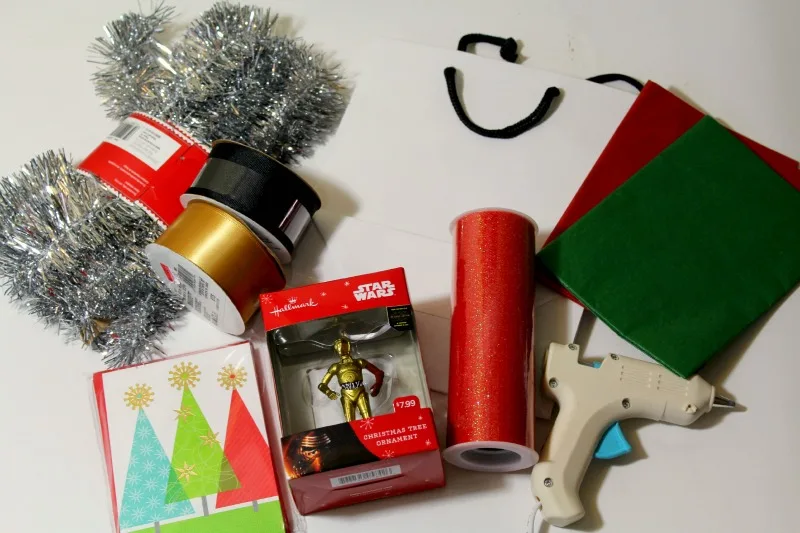
Next, I headed to the craft section to get my supplies. I picked up a simple white gift bag, red glittery tulle, and black and gold ribbon.
If you don’t have a glue gun or sticks, don’t forget to get them because you will need them for this project.
Once I got home, I couldn’t wait to get started on my Santa Gift Bag!
The first step in wrapping the gift bag in the red glitter tulle. You may want to add a few dots of glue to the spot you are starting at to ensure a good wrap.
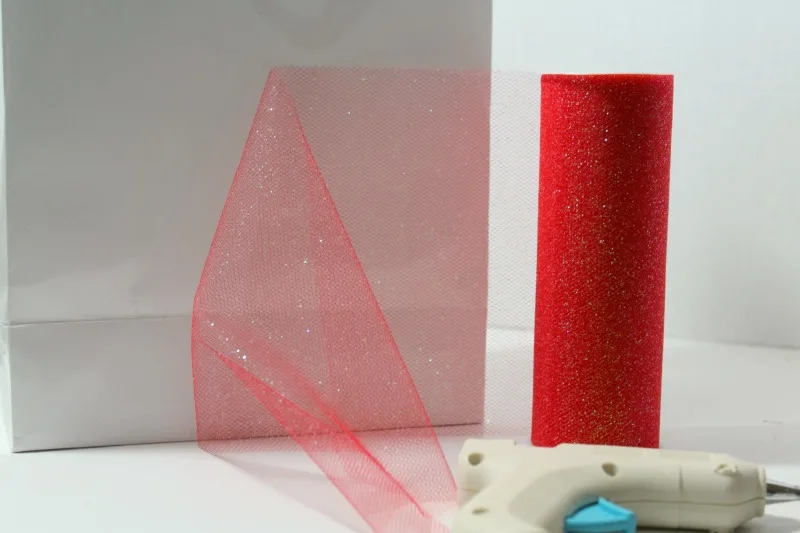
You can use as much tulle as you would like but I kept wrapping until I couldn’t see any white from the bag.
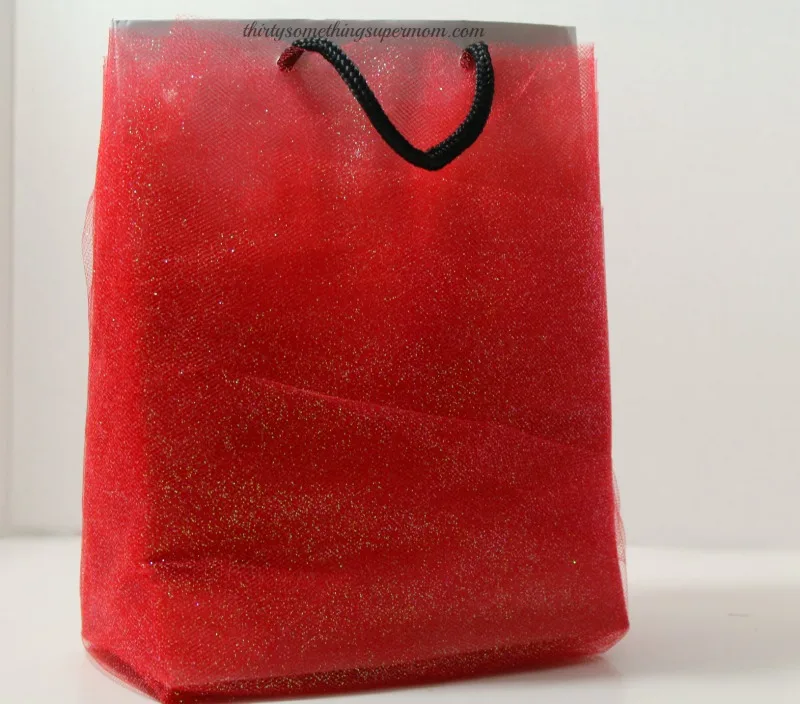
Don’t worry about the top as much because this part will be hidden by the tinsel garland that you will add on last.
The next step is to add your black ribbon, this will be Santa’s belt. A few drops of glue to each end and middle should do the trick on this one.
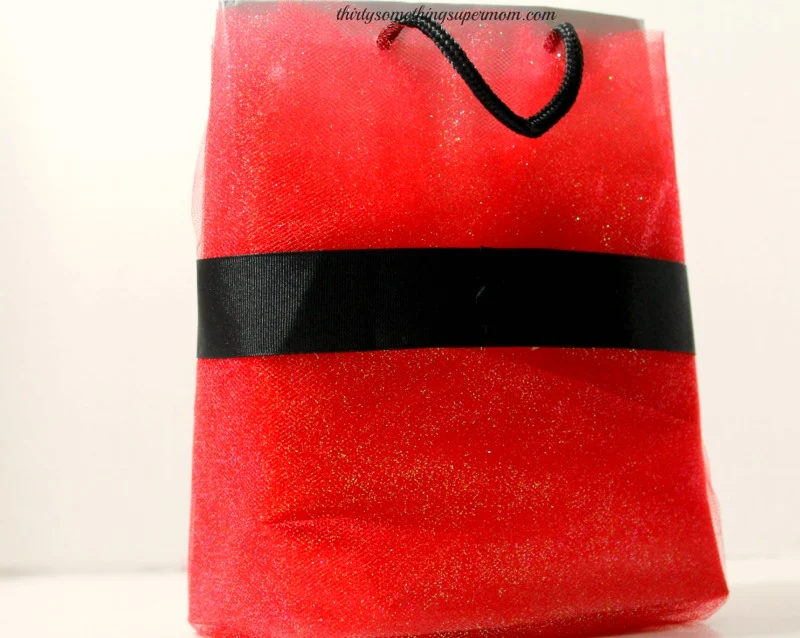
I added mine to the center of the bag but you can lower it or raise it depending on the look you want to achieve.
I like the center because it creates the illusion of the bottom being Santa’s belly and that is supposed to be nice and full.
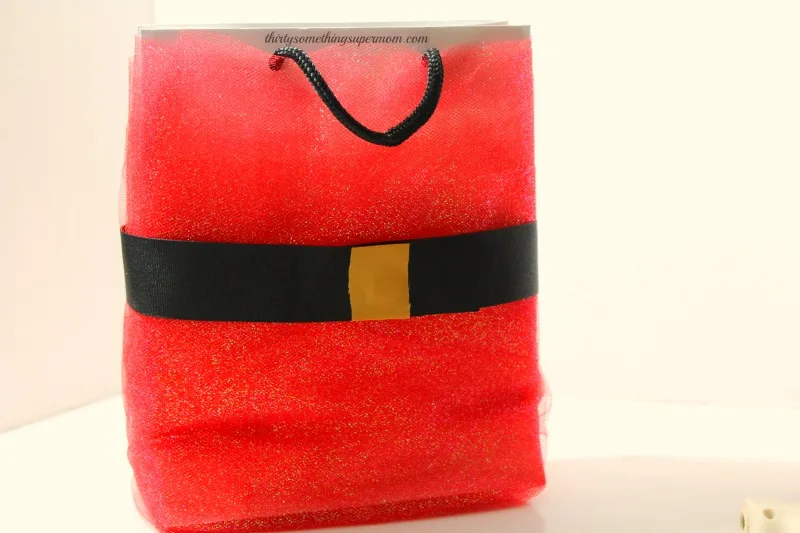
Cut a square from the gold ribbon and use your glue gun to secure it to the black ribbon right in the center to create the belt buckle.
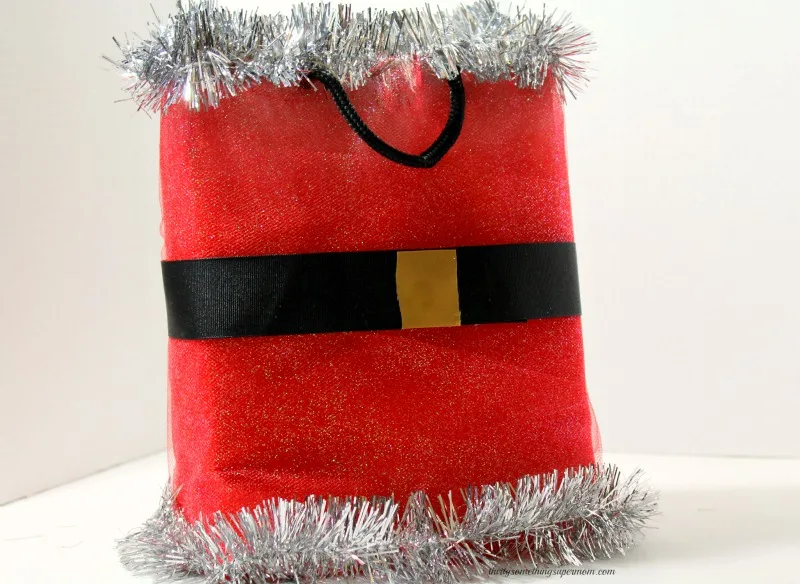
Then add your tinsel garland to the top and bottom.
This part is best to be done last because it allows you to hide any imperfections from the tulle.
Add glue to the tinsel before pushing against the bag, be careful with this step because the string inside is very thin and you are most likely to get a little glue on your hands during this part.
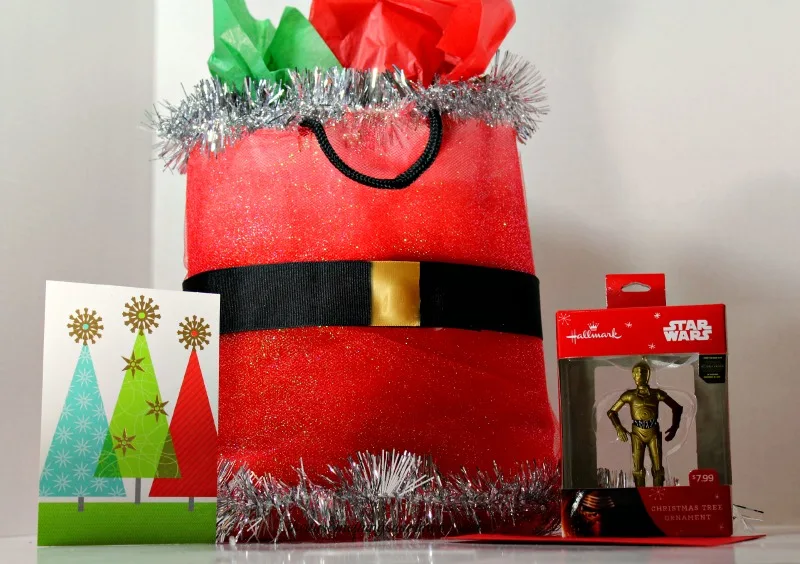
Your bag is ready to be stuffed with goodies like Hallmark ornaments and presented with a beautiful Hallmark Card.
Tell me which Hallmark Ornament are you looking forward to seeing this year.
You may also be interested in these posts:
- DIY Honey Hair Mask Gift
- How to Fold Napkins into Christmas Trees
- 16 Christmas Desserts that are Perfect for the Holidays
- DIY Poinsettia Napkin Rings
- Fun Ways to Enjoy the Outdoors During the Colder Months
About Thirty Something Super Mom

My journey started after a Crohn's disease diagnosis, inspiring a commitment to well-being. This site shares my distinctive approach to healthy living with my collection of nutritious recipes that boast authentic flavors, mimicking the indulgence of traditional dishes. I love sharing guilt free recipes for low carb, keto, gluten-free, paleo, and the specific carbohydrate diet. I also share tips on natural living, including homemade cleaners and cleaning hacks. I also share my experience as a veterinary technician and pet groomer, to integrate pet health tips, homemade dog food recipes, and grooming insights to ensure your pets thrive.

Amy+Orvin
Sunday 6th of December 2015
This is the cutest bag. I would have never thought of this.
Melissa
Friday 4th of December 2015
Actually it was Walmart where I picked up these Hallmark holiday essentials. They have so much stuff it is like visiting your own mini Hallmark store.
Chubskulit+Rose
Friday 4th of December 2015
How creative. I am definitely trying this so thank you for sharing how.
JanetGoingCrazy
Friday 4th of December 2015
I saw this on social media earlier today and I had to come see the tutorial. This is so adorable! Thank you for the tips and tutorial.
Melissa
Friday 4th of December 2015
Well that's awesome! Thanks for stopping by!
Mimi Green
Friday 4th of December 2015
This is a really cute gift bag idea, I might give this a try. I never thought to makeover a gift bag.