Want to add a personal touch to your space? This DIY wall art from reclaimed wood is a great way to use leftover materials and showcase your creativity. Last year, after a severe storm knocked over a giant tree, my porch steps were destroyed. When I rebuilt the stairs, I had some leftover stair tread cut-offs that I just couldn’t throw away.
I knew they could be repurposed into a DIY home decor project, and that’s how my unique DIY patio wall art came to life.

Transforming Reclaimed Wood into Patio Wall Art
While decorating my patio, I noticed it needed something extra to reflect my personality. So, I decided to turn one of the leftover stair treads into custom wall art. Not only is this project a great way to upcycle scrap wood, but it also adds charm and character to your outdoor space.
Materials You’ll Need for DIY Patio Wall Art
- Leftover wood or stair tread
- Acrylic paint (I used purple)
- White paint for lettering
- Thin-tipped paintbrush
- Water to dilute the paint
- Sandpaper (optional, for smoothing the wood)
Step-by-Step Guide to Making DIY Patio Wall Art
1. Prep the Wood
If your reclaimed wood needs a little cleaning up, use sandpaper to smooth the surface. You want to ensure your wood is free from debris and splinters so that the paint adheres well.
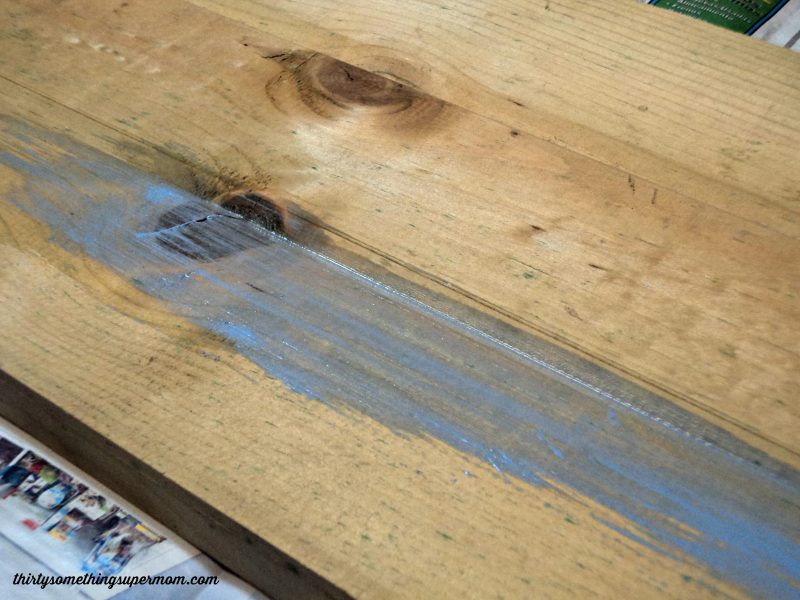
2. Choose Your Paint Color
I wanted to add color to my DIY patio wall art but didn’t want to cover up the beautiful natural grain and knots of the wood. To achieve this, I used a purple acrylic paint and diluted it with water to create a translucent effect.
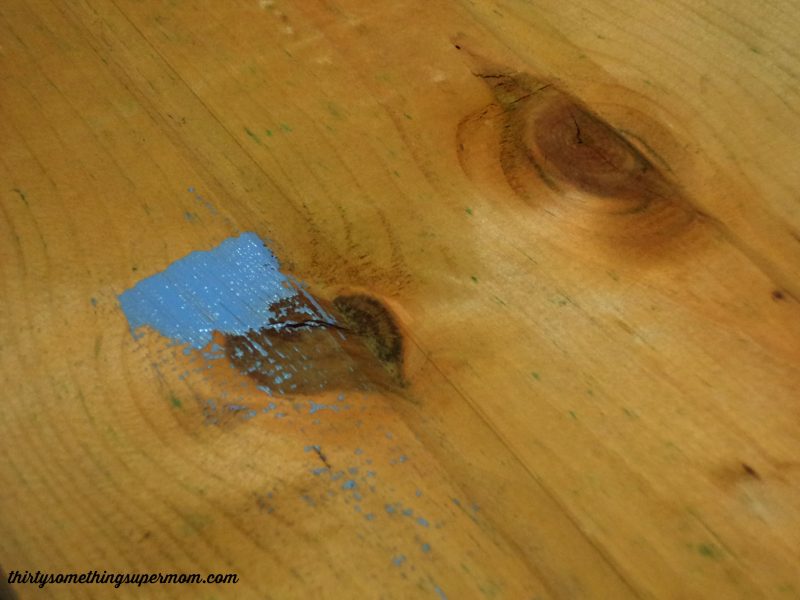

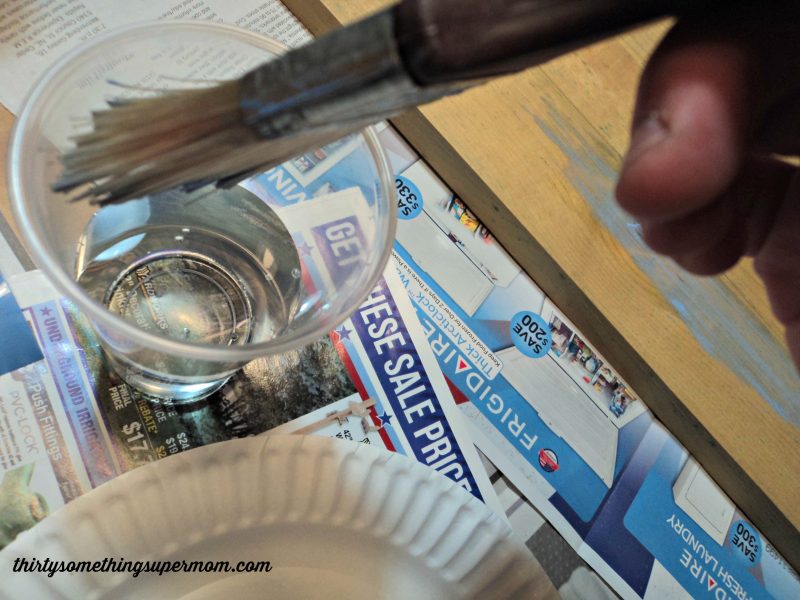
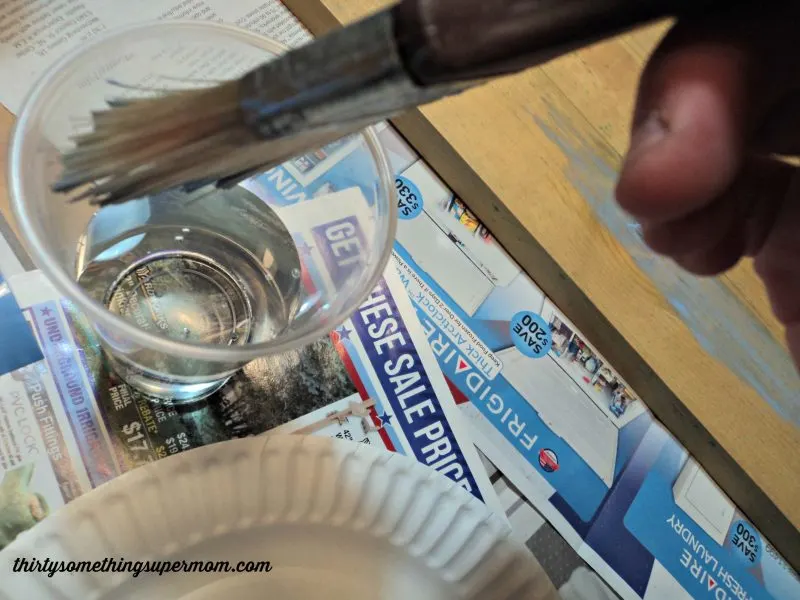
3. Apply the Paint
Using a wet paintbrush, I applied a light coat of the diluted purple paint, ensuring the natural texture of the wood remained visible. The diluted paint gave the wood a soft wash of color, adding visual interest without hiding its unique character. You can experiment with different colors depending on your style!
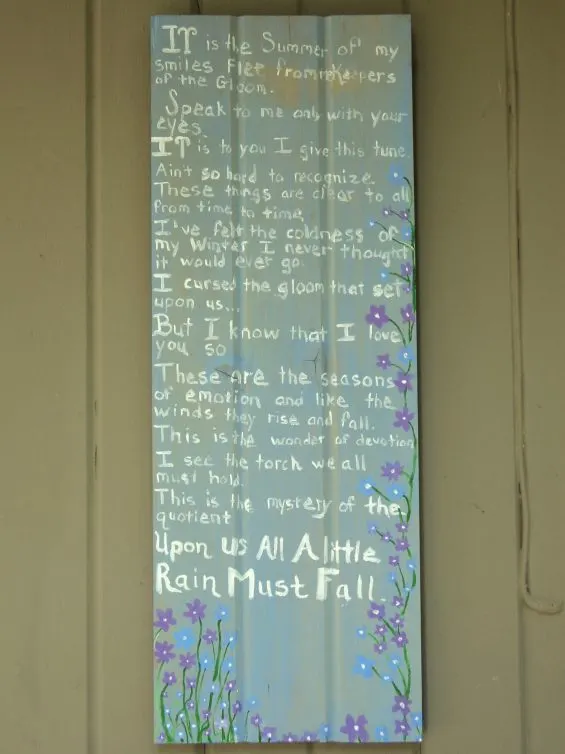
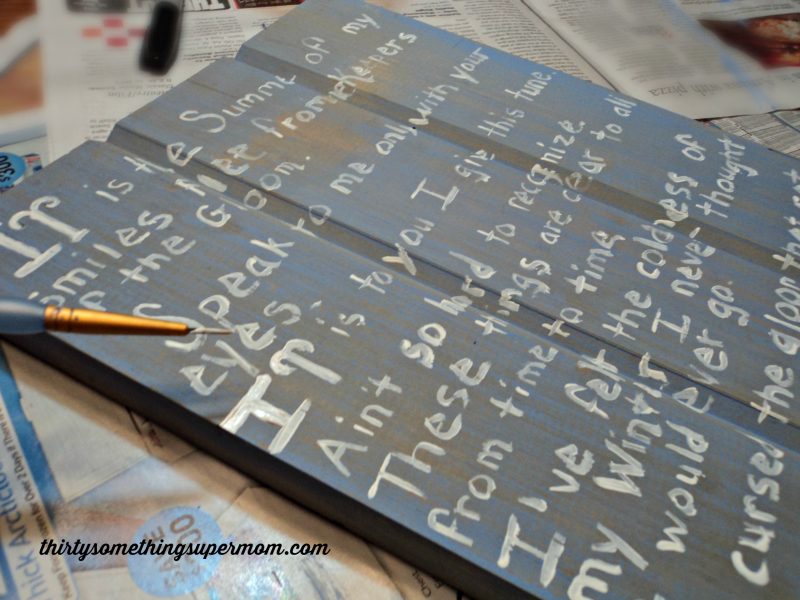
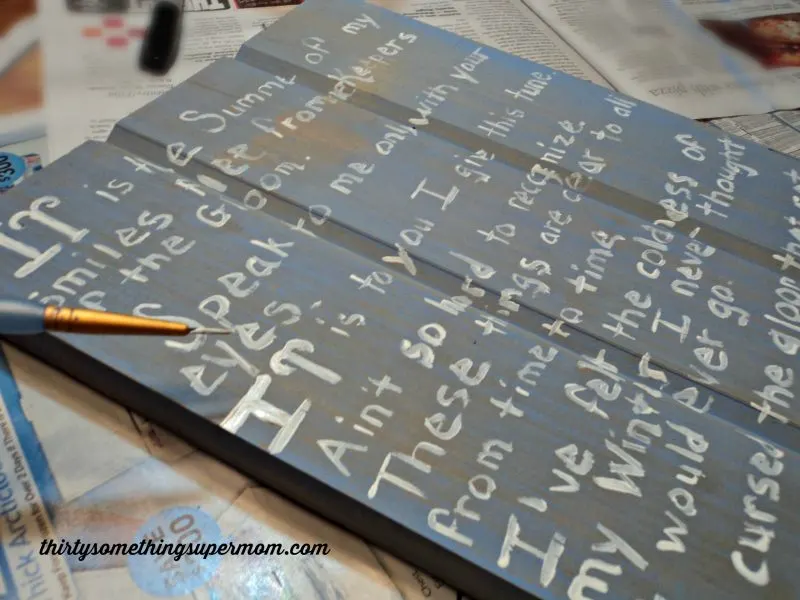
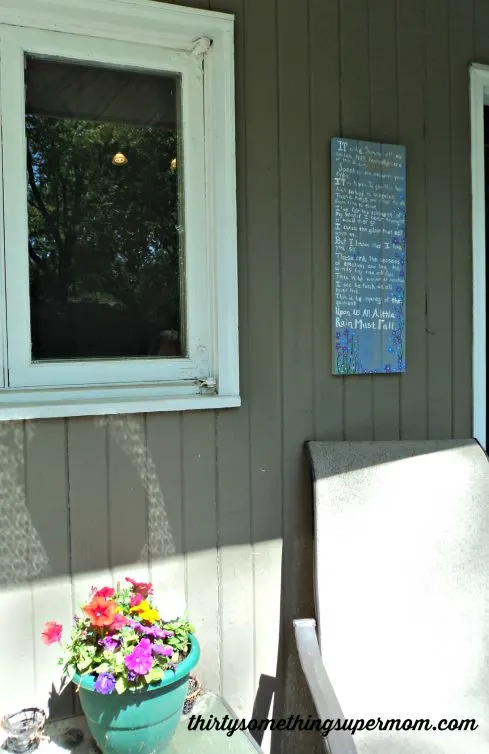
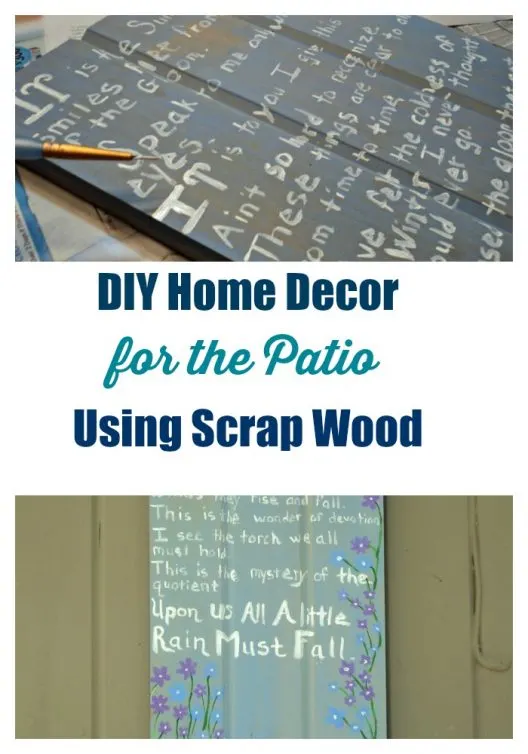
4. Add a Personal Touch with Handwritten Lyrics
To make this DIY patio wall art even more personal, I decided to write the lyrics to one of my favorite songs, “The Rain Song” by Led Zeppelin. It felt fitting for my patio garden, especially since the inspiration came from a storm. Instead of using stencils, I opted for freehand painting with a thin-tipped brush. The imperfections of hand-painted letters give the piece an authentic, aged look that adds to its charm.
Why DIY Patio Wall Art is the Perfect Summer Project
Creating DIY patio wall art is not only an affordable way to decorate your outdoor space, but it’s also a great way to repurpose materials you already have. Whether you’re upcycling scrap wood, old pallets, or leftover treads, this project can transform any outdoor area into a cozy, personalized haven. Plus, the possibilities are endless. You can write your favorite quotes, lyrics, or even family names on the wood to make it truly unique.

FAQs: DIY Patio Wall Art
What kind of wood should I use for patio wall art?
Reclaimed wood or leftover wood from other projects works great for this. It gives your art a rustic, vintage look while also being eco-friendly. Just make sure the wood is clean and smooth before painting.

Can I use different types of paint?
Absolutely! I used acrylic paint because it’s easy to work with and water-resistant once sealed. You can also experiment with chalk paint for a more matte finish or spray paint for a quicker application.
How do I hang my DIY patio wall art?
You can attach picture-hanging hardware to the back of the wood, or for a more rustic look, use twine or wire to hang it from hooks on your patio wall.
How long will it take to complete this project?
This project can be completed in an afternoon. The longest part is allowing the paint to dry between coats if you decide to layer colors.

Share Your DIY Wall Art from Reclaimed Wood
Are you planning to make your own DIY patio wall art this summer? What will you write on yours? Let me know in the comments below! I’d love to see how you add a personal touch to your outdoor space.
Pin this project to save it for later or share with friends who are looking for fun, creative summer DIY projects. Don’t let those leftover materials go to waste—transform them into beautiful decor!
More Easy DIY & Craft Projects
- DIY Nightstand Makeover: Before and After Furniture Makeover
- DIY Furniture Makeover TV Stand to Buffet
- DIY Pallet Bed Frame
- How to Make a DIY Patriotic Hanging Sign from Fence Pickets
- Personalized Name Sign Craft Tutorial
About Thirty Something Super Mom


My journey started after a Crohn's disease diagnosis, inspiring a commitment to well-being. This site shares my distinctive approach to healthy living with my collection of nutritious recipes that boast authentic flavors, mimicking the indulgence of traditional dishes. I love sharing guilt free recipes for low carb, keto, gluten-free, paleo, and the specific carbohydrate diet. I also share tips on natural living, including homemade cleaners and cleaning hacks. I also share my experience as a veterinary technician and pet groomer, to integrate pet health tips, homemade dog food recipes, and grooming insights to ensure your pets thrive.